Mastering the Art of Soaking and Blocking Your Knitted Sweater
Aloha, fellow fiber enthusiasts! Today, we'll do a deep dive into a critical, but sometimes misunderstood, and unfortunately overlooked, step in the knitting process: soaking and blocking your sweater. This step is particularly crucial when you're knitting a sweater in pieces, as it ensures each part will fit together perfectly.
I want to give a special note of thanks to Ted (“silverpeacock” in most social places) for taking me up on sharing something in knitting that he has a question about— and my knitting friend, YOU can do the same. Simply click here: https://www.videoask.com/fccd7ng6e and share with me something that may be of interest to you. You can ask me about WIPs or whatever else is on your mind. Maybe I can help!
Now let’s dig in!
Blocking helps shape your knitted pieces and gives your final garment a polished, professional look. This post will walk you through the process of soaking and blocking, focusing primarily on wool yarns. We'll also touch on differences in blocking cotton and synthetic fibers.
I will be sharing the process I just used with my Ilya sweater, and as luck would have it, that sweater incorporates superwash wool by way of Madeline Tosh and Spincycle Yarn and a silk and wool split from Sundara Yarn. So I will be careful to share tips about working with wool, as well as silk and even acrylic (though there is none in my sweater).
So, let's gather our tools and get started! (heads up, I am just writing out this How-To, and presently do not have photos. At the time of creating this post, it has been the rainest stretch in my entire time here, and snapping photos has been nearly impossible. HOWEVER, you really do not need to see my work. The steps are straightforward and you are absolutely equipped to do this, so READ ON!)
Essential Tools for Blocking Your Handknits:
Before we begin, it's important to have the right tools:
Pins: Stainless steel or rustproof T-pins will hold your garment in shape as it dries. I lot of folks do not like working with pins, but trust me when I tell you they are a great tool to have on hand!
Blocking Wires: Ideal for ensuring straight edges on your knitted pieces. These are especially wonderful for shawls! I was skeptical at first, I mean after all, I had pins, but these are such great helps with keeping an even tension and slick edge.
A Blocking Mat: Any surface you can pin into without damage from moisture will work. Some people swear by these, while others prefer towels.
A Basin or Sink: For soaking your sweater. By basin, I mean you can use any large device that will hold water and allow the pieces to soak uncluttered. I do know loads of people who say you can stuff lots of things in at once to soak, and I find this only successful if I use my bathtub. Otherwise, the knits don’t have enough space to release dirt or residue without sharing it with the object under or around them.
A Towel: To remove excess water from the soaked pieces. This will need to be an additional towel to the one you may want to use in lieu of the blocking mats.
A Measuring Device: A soft tape measure or ruler is essential for getting the correct dimensions and aligning our piece to our pattern’s schematic.
Now that we have our tools, let's walk through the process step-by-step.
Step 1: Understanding Your Pattern Schematic
Before you begin soaking, take a close look at your pattern's schematic. This is a drawing that shows all the different pieces of your sweater and their dimensions. This will guide you in how much your knitting needs to stretch or contract during blocking. Measure and note the dimensions, keeping in mind that some stretching will occur during the blocking process. I know you think you will remember your measurements, but take a quick moment to write them down anyway. You may very well refer back to them if you use this same yarn again, or knit this pattern again. Honestly, as clever as we knitters are, we can not remember all the numbers, so write them down.
Step 2: The Soak
Fill your basin or sink with tepid, or lukewarm water and gently submerge the knitted pieces, being careful not to agitate them. Leave the pieces to soak for at least 20 minutes, ensuring the fibers are fully saturated. Some people do this step just with water, but I love to add some special no-rinse fiber wash. My favorites are Soak in Celebration! scent and Fig scent. I also love Eucalan Grapefruit and Sewrella Yarn Wool Wash in Warm Cashmere. These no-rinse formulas allow you to drain the water and move on to the next step with no additional soaking in water without detergent. If you find the water dingy with quite a bit of dirt collecting at the bottom, be extra kind to your knits and yourself, and lift the knits out gently, place them in a safe spot that won’t allow all the extra water to drain everywhere you don’t want it, refill water and add detergent and give the pieces another soak. It is worth the extra step. Clean knits are set up for success and a lovely, long life!
Step 3: Removing Excess Water
After we’ve left our knitting to soak awhile, we will need to move it gently into the next stage where we take it out of the water. Again **gently** lift your knitting out of the water, supporting its weight to avoid stretching. Once we overstretch or distort our knitting, it is tricky to go back, without putting it back in the water to start the process again. Once out of the water, I hold the piece still and allow the water to drain. There is usually quite a lot that will just run off, and I encourage a bit more to drain by lightly pressing my hand on the top to sandwich the piece between my hands. Once the water is no longer dripping heavily I move it onto the towel. Slowly roll up the towel, and press to remove excess water. I will carefully stand on the towel and let my weight press out more water. A word of caution: be careful not to twist and turn, as the towel applies that same motion to the knitting it is wrapped around—and we definitely don’t want that.
Step 4: The Blocking
Here comes the magic! Lay your damp sweater pieces back onto the blocking mat. Use your pre-soak measurements and the pattern schematic as guides to shape your pieces.
To ensure even stretching, start at the center and work your way out, gently coaxing your knitting to the required dimensions. I keep my pattern schematic or the written measurement info nearby. I actually have a waterproof paper cover I think about using after I have gotten the pattern soaked, so maybe take a minute yourself and slip your pattern into something to keep it dry. Having it handy reminds you to use the pattern specifications and don’t over (or under) stretch out your knitting. And regarding stretching and shaping: be careful not to stretch one area more than others, as this can lead to a distorted shape. Please go little by little, incrementally getting the growth and shape you desire. I may be a broken record but: It is very difficult to UNstretch the fiber as opposed to stretching it.
Now, use your pins and blocking wires to hold the pieces in the desired shape. If your piece has lacework or cables, make sure to pin these areas out so they become defined.
Step 5: The Wait
Now, patience is key. Let your sweater pieces dry completely. This portion used to fly by when we lived in Hawaii and St. Thomas. The climate there was magic for drying anything, and thick wool knits were never any trouble! Now that I am in a cooler, wetter climate, I’ve learned how long a long time can actually be! My patience has been sorely tested as I wait, and wait, and wait! Once dry, you'll find your pieces lay flat, and any lace or cable patterns are open and defined. They're now ready to be sewn together! I should note here that even with handknits that are not in pieces, I usually wait until after the soak and block to weave in ends. I find this especially helpful in the event I want or need to make changes to my knitted item. It may be the hemline needs adjusting, or the underarm area needs to have a few stitches to close holes.
A quick word about the crease lines from laying the pieces flat:
As your sleeves dry there will be a crease line on top and underneath. This will also occur noticeably on the sides for knit-in-the-round garments. Many people don’t notice these. I do, and it will drive me bananas if I don’t fix it! My quick fix is a light press with an iron. I set it at low steam for wool and I use a tea towel folded double placed on top of my knitting so that the iron never comes in direct contact with the knit. BUT BEFORE I DO THIS I ALWAYS TEST IRONING ON MY SWATCH. No kidding. If my swatch is unscathed, then I proceed. I am telling you there is never a good reason not to swatch, That square is a lifeline and worth its fiber weight in gold! A good, gentle press will remove the lines. If you are resistant to the iron you can lightly mist the crease lines with water from a spray bottle once you put on the knitted piece. Once it is damp, gently hand-press out the crease and allow it to air dry.
Different Fibers, Different Care
While we've focused on wool for this guide, different types of yarn require slightly varied approaches when it comes to blocking. Cotton is more prone to stretching when wet, while synthetic fibers may not retain their blocked shape without heat application. So let’s dig in a little more!
Wool: Wool and wool-blend yarns are some of the most forgiving when it comes to blocking. They respond well to wet blocking and easily retain their new shape once dried. One word of caution, though: Be gentle when you handle the wet pieces as they can stretch out of shape.
Cotton: Unlike wool, cotton fibers can stretch significantly when wet and may not spring back into shape as wool does. This means you must be extra careful not to overstretch cotton pieces during the blocking process. Let them dry flat, and they should hold the blocked shape well. You will find a lovely, crisp fabric once it is dry.
Synthetic Fibers: Synthetic fibers, such as acrylic, can be a bit trickier. They don't respond to wet blocking the same way natural fibers do. I haven’t had much experience with these, as I haven’t knit garments from acrylic before. However, for you Dear Knitting Friend, I polished my glasses and dug into research mode to ensure I had a little insight to offer you, and this is what I discovered. To effectively block synthetic pieces, you might need to apply gentle heat, like from our aforementioned steam iron. This technique, often referred to as "killing" the yarn, which I must confess is quite a distressing label for it, but it means that it sets the blocked shape permanently. However, be advised, it can also cause the yarn to lose some of its original texture and elasticity, so it's vital to approach it with caution. And please, please, PLEASE remember, whenever you use an iron on fiber, you should use a tea towel, or hand towel over the fiber, and test preferably on your swatch to ensure the process will not harm. (I know I said that before, but it is always worth the repeat!)
Silk: Silk yarns, with their beautiful sheen, are delicate and need careful handling. When blocking silk pieces, avoid wringing or twisting to remove water, as this can damage the fibers. Instead, press out the water gently using a towel. Like cotton, silk can also stretch significantly when wet, so be mindful of this during the blocking process. I am a chicken when it comes to silk and heat, so I do not iron silk. If you have found tips to help or experiences to share, pros or cons, please be a help to others and share in the comments!
Remember, no matter the yarn type, always refer to the care instructions provided by the yarn manufacturer. The more attention you pay to the specifics of each type of fiber, the more impressive your finished product will be.
There is a book on my shelf I highly recommend called "The Knitter's Book of Knowledge" by Debbie Bliss. https://www.amazon.com/Knitters-Book-Knowledge-Essential-Techniques/dp/145470926X It was given to me years ago, and has helped a time or two with a variety of things, not just soaking and blocking.
This next suggestion is on the recommendation of a friend who did purchase it and said she enjoyed it quite a lot: Craftsy's "Blocking Handknits" course. It is about 50 US bucks. https://www.craftsy.com/product/blocking-handknits-dvd-streaming/. I have not reviewed the class, but the teacher is well-regarded and knows her stuff.
The big thing to remember:
Never underestimate the power of blocking!
It's a game-changer that elevates your knitting projects, and honestly, if you are going to seam pieces together, it gives you an advantage of ease and positioning.
Share your tips and techniques below. I would love to hear things you have learned to do, and also avoid!
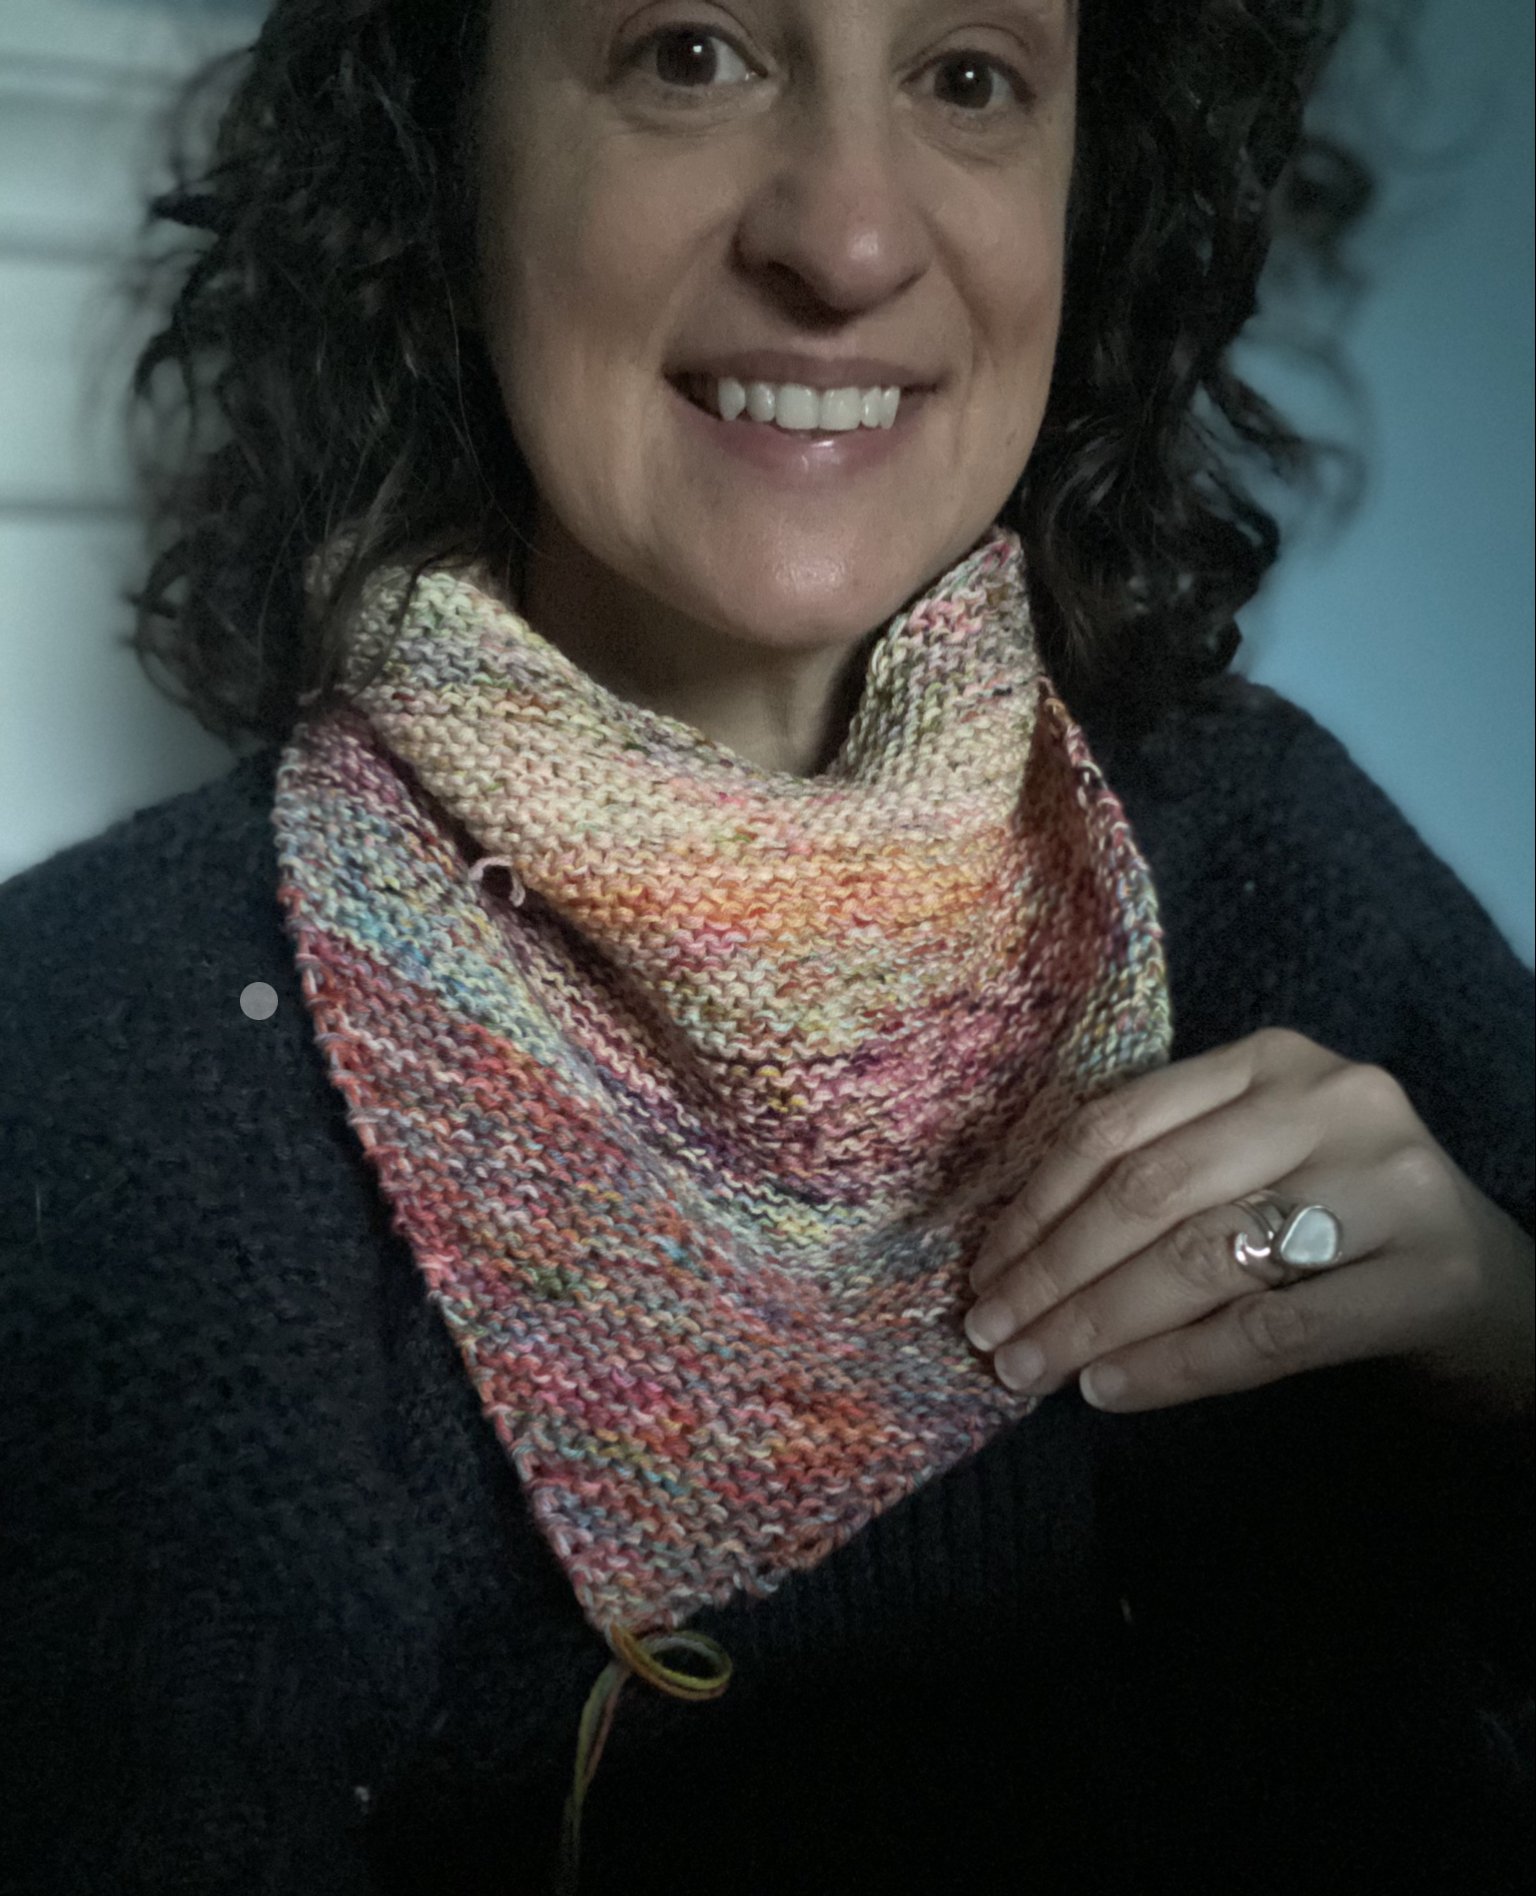
Color Play: An Exploration of Self and Inspiration
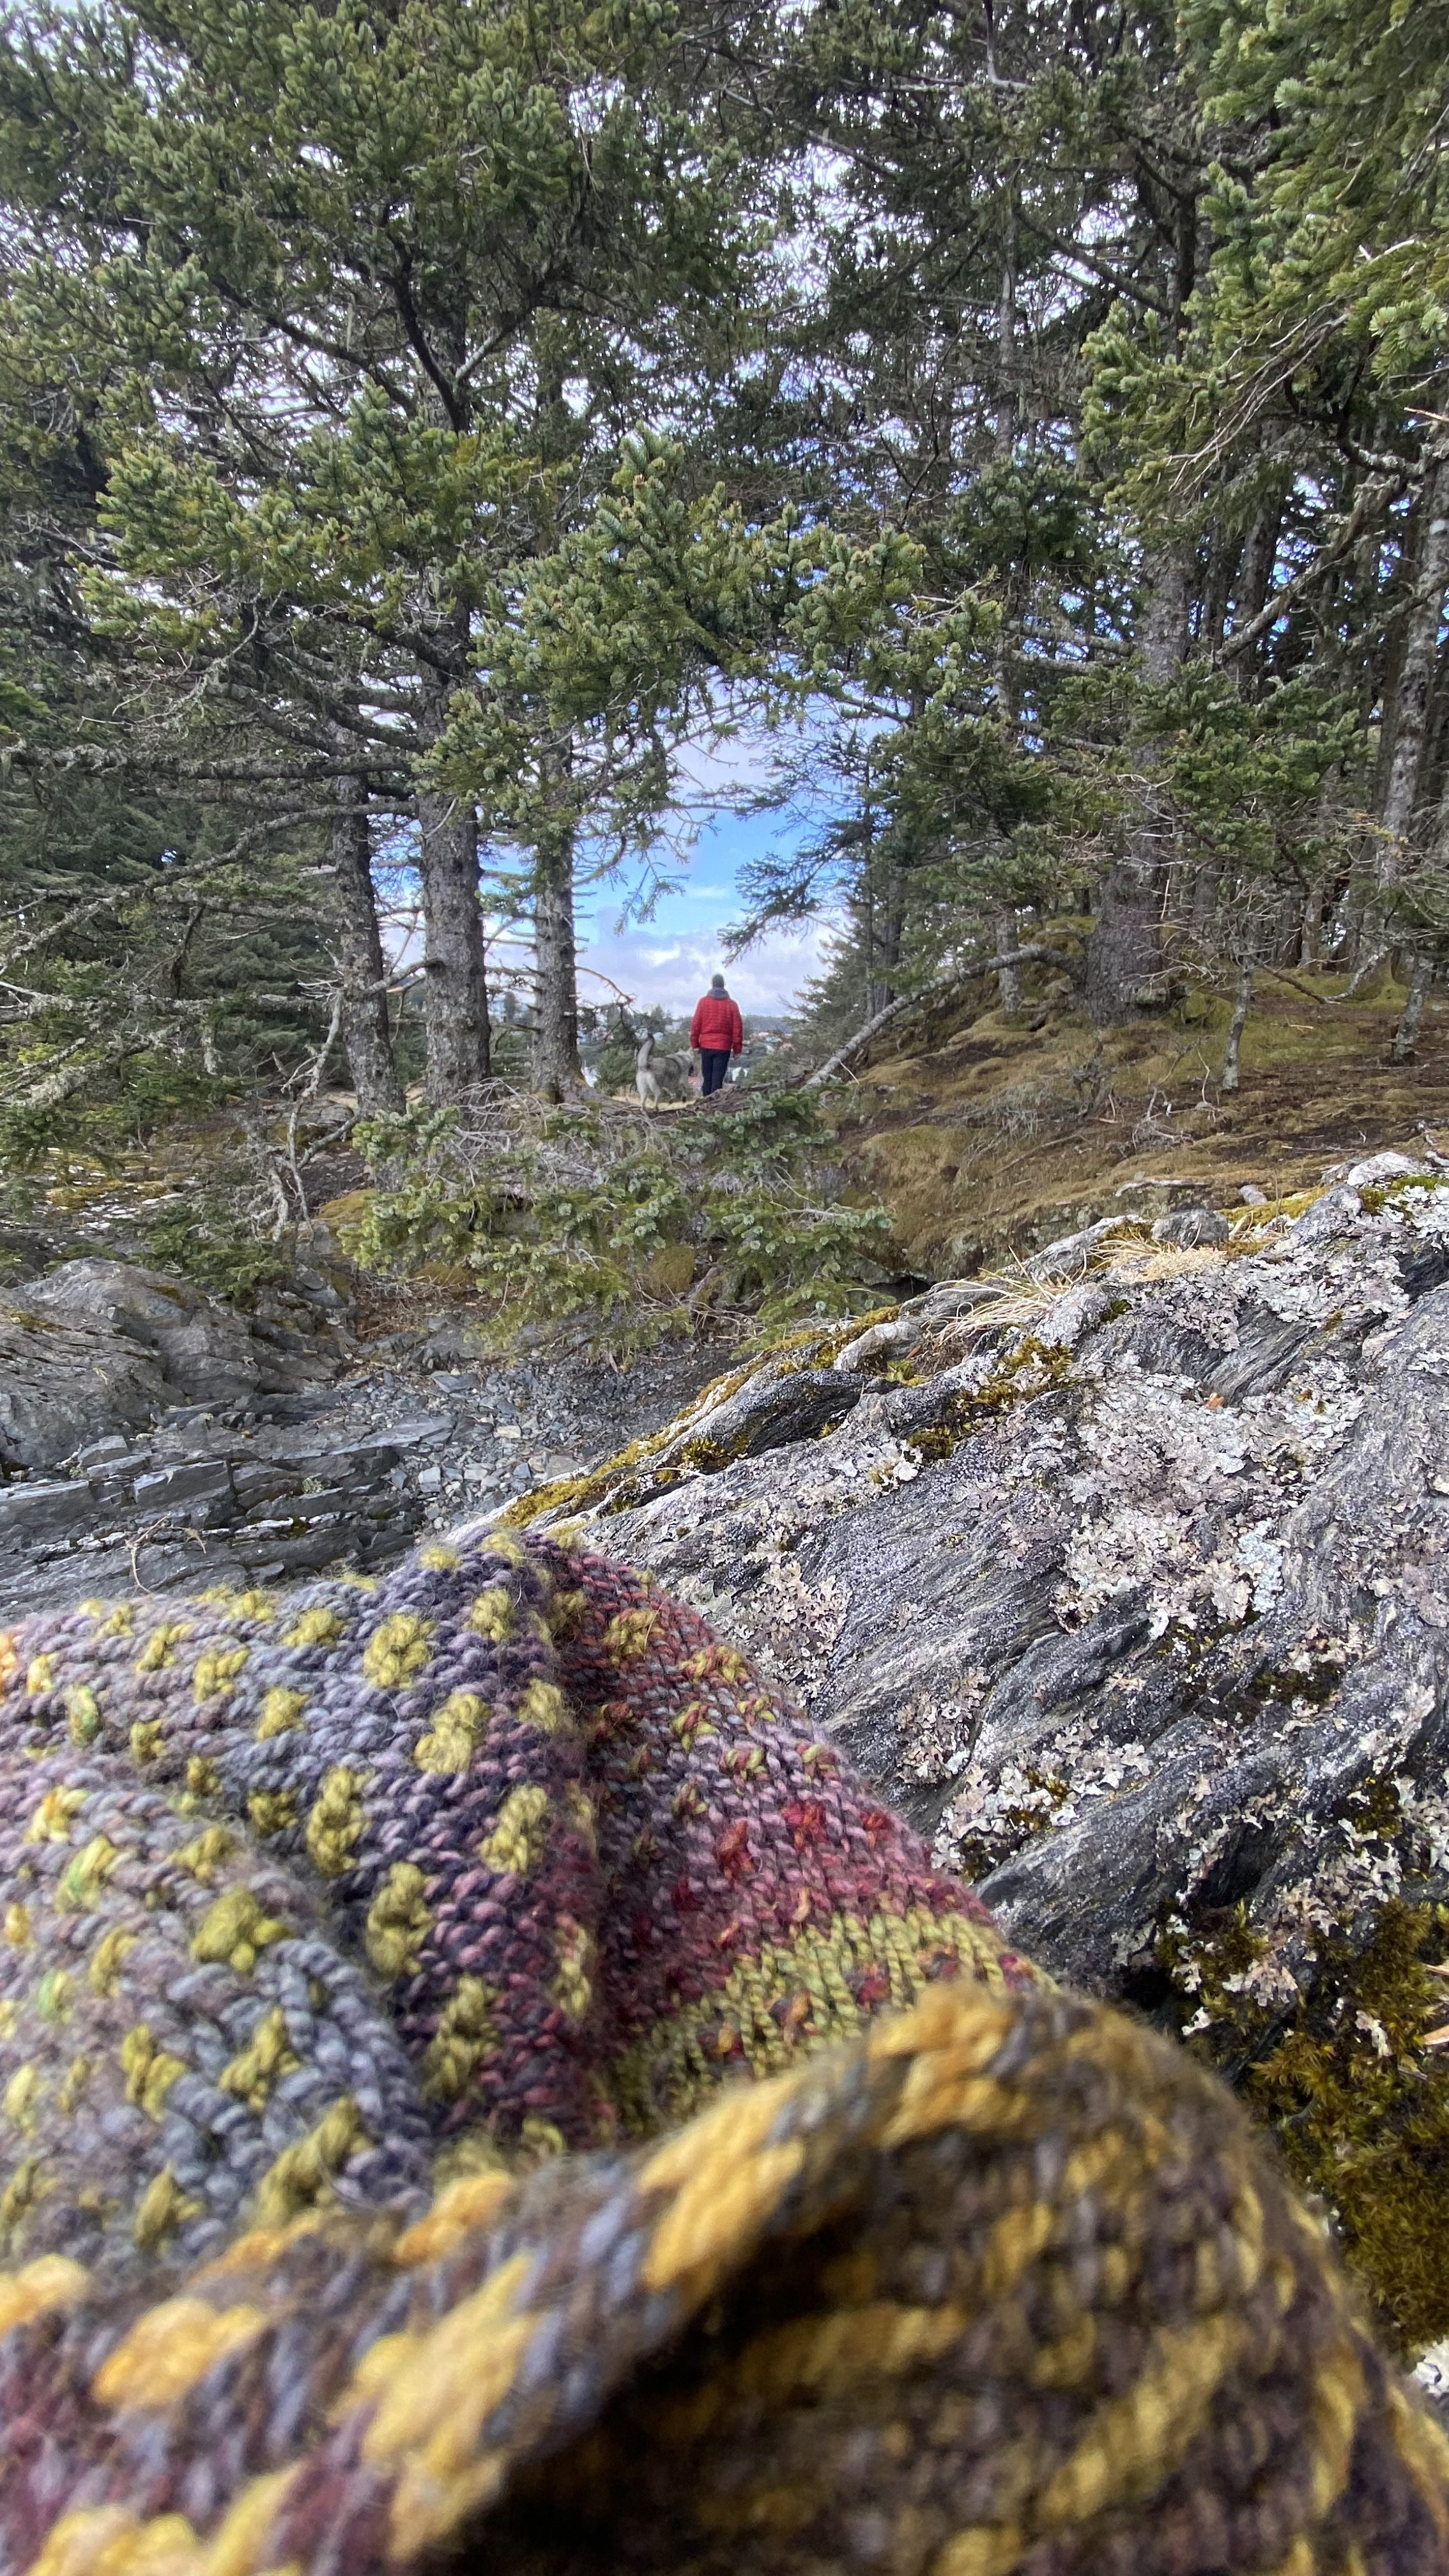
I thought I would share the colors of nature here in Kodiak that are inspiring me…plus the dogs are adorable!
If you are anything like me, I see inspiration everywhere, and yet for the longest time, the color on my needles was always the same. I had found what I loved and wasn’t budging. Partly because I was enjoying what I was knitting, and partly because I was not color-confident.
Now if you are loving what you are knitting HURRAH! That is wonderful! And it is also fine to be thoroughly enjoying what you are doing, and still find immense value in challenging yourself. How do I know? Well, for ages I loved my natural palette! I couldn’t get enough of my grays and brown yarns.
My autopilot was taking me through my yarn decisions. Yes, I knew what I loved, but I didn’t know I could love more!
Our heart doesn’t divide up a certain amount of love. Love is endless! Love is huge! Love is ABUNDANT!
Our affections are not limited to “THIS MUCH AND NO MORE!”
My friend, once we adopt a mentality of abundance there is no stopping us!
We are free to love ALL the colors, and we love making socks AND shawls AND SWEATERS (and napkins and washcloths, stuffed animals). Trust me when I tell you, we never have to choose.
We never lose an opportunity in our knitting.
And this is true EVEN WHEN WE know OUR KNITTING TIME IS LIMITED.
So for now, let’s just acknowledge and appreciate where we are: “I love knitting with neutrals AND I am willing to grow and explore other things without fear or obligation. I can try new things in order to grow and evolve as well as confirm what I know!”
Let me get back to helping you get started on trying new ways to develop your color palette and plan successfully your next colorwork project! Here are my 10 strategies to help us in knitting or crocheting, sewing, or scrapbooking. These tips are transferable when it comes to color and successful preparation:
10 strategies to help us in knitting or crocheting, sewing, or scrapbooking… everywhere!
Look to Nature. I shared in a previous podcast and blog post how to look for inspiration in nature, in our own backyard. (Click here to listen and read more) We can also draw inspiration from photographs, paintings, or color palettes found in magazines or online platforms like Pinterest. This will help you establish a starting point for your color choices. Learning from examples of color combinations not only helps you with color ideas you may already be trying to formulate, but looking at inspiration can open up a whole new buffet of ideas you hadn’t considered AND never knew you liked! And by the way, if you are on Pinterest, look for me there! I share a ton that will help you with all sorts of knitting-related ideas. It’s a fun place to be inspired!
Consider Color Temperature: This is something I started digging into a few years ago when we bought this house and began to paint. Colors can be categorized as warm (reds, oranges, yellows) or cool (blues, greens, purples). Before painting the walls, I didn’t consider that mixing temperatures A) was even a possibility and B) could evoke some exciting things! Experiment with combining warm and cool tones to create contrast and balance in your colorwork……… and also decor! Bright clear sky blue REALLY DOES LOOK AMAZING with soft yellow sunshine inside my home, on my needles as well as outside.
Use a Color Wheel: I went into a deeper dive with this idea on that same podcast and blog post I mentioned earlier. The color wheel is a great visual tool and even though I didn’t discover the help it offered until well into adulthood…that just shows that it is never too late to try new technology! You can refer to the color wheel to explore various color harmonies. Complementary colors (opposites on the wheel) create high contrast, while analogous colors (neighbors on the wheel) offer a more harmonious blend. A really fun activity I have found is to use the wheel to match my yarn choices and take small lengths from each to play with to see how they behave off of the wheel in real settings. This has become a real confidence booster as I have a template that I can start with that works and then adjust it to the actual yarn I have in stash!
Number 4 is one I am actually practicing right now on my needles….
Think About Value: Value refers to the lightness or darkness of a color. I want to stop and share why I am taking the time to define the terms as we go: because for so long I did not have them in my vocabulary in the context of color. I share these definitions with you simply because I wish someone had done that for me. Value to me used to mean “the worth of an object” and now I get it a bit better as it pertains to color to the lightness or darkness of a color… Incorporating a range of values within your colorwork can add depth and dimension to your project. Be brave and experiment with light, medium, and dark shades to create contrast and visual interest. The variety of values I am exploring is for a sweater on my needles. It has a rich, true black, 3 different fading values of black/grey, and white, as well as a punch of unexpected color…which I am on the fence about. But onto the next point…
Test Color Combinations: I have a long scarf-like tube I have been trying this with for years. It feels as if it will be as long as the Dr. Who Scarf. It is teaching me a lot about the power of subtle shifts… For this point, I think a big takeaway is: Before committing to your final color choices, consider creating color swatches or small samples to see how the colors interact. This allows you to evaluate how the colors blend, contrast, or compete with one another. I spoke a ton about this in the aforementioned podcast and blog. It really could offer you some insight if you haven’t yet listened. Basically, I have NEVER regretted taking the time to swatch. I have only regretted not swatching. And that usually is when I am ripping out my work! Colorwork swatches can be “useful” or “utilitarian” rather than meaningless squares. You could test out a color combo in a square form. When you are done, sew a backing onto it, and voila! You can have a mug rug to treat yourself to, or surprise someone else with it! You could start, and develop a swatch journal, which can become a valuable resource for you, or your knitting group. The bottom line, YOUR EDUCATION IS WORTH INVESTING TIME AND RESOURCES INTO. You will learn from your swatch, even if it is just proving you were right all along! And the amount of yarn you are using for creating the swatch? My friend, you are worth more than a million swatches, so apply that abundant mentality to this. YOU LEARNING AND DEVELOPING is not wasteful. A swatch does not waste yarn. It educates you. One thing I left out that I’d like to share here as an aside is seeing how the colors will behave WHEN YOU LAUNDER THEM! You of course use a swatch to understand and admire OR DETEST- the color ideas you had, but I have saved myself so much anguish when I soak and block my swatch and discover one of my colors bleeds heavily. Oh, my friend, seeing the deep blue make the light grey a totally different color felt a bit sad for me when I saw it happen on my swatch, but it was not the same level of disheartened…bummed…I am so so sad feeling I would have had seeing those grey stripes discolored in the final knit on a sweater I worked days and days on, as opposed to an hour on my swatch.
Begin your color exploration with a Dominant Color (… or at least what you think will be the dominant color!) Choose one yarn color that will be the focal point or dominant hue in your colorwork. This color will appear more prominently in the design and can set the tone for the rest of the color combination. Once you play with that, feel free to flip it, or reverse it. Would it be better as a bold accent? Which do you like better for your sweater? Or your socks? Or your shawl?
Play with Neutrals: Neutral colors like grays, browns, or creams can help balance and tone down vibrant or contrasting colors. They can act as grounding elements or provide a smooth transition between bolder color choices. If you are prone to brights and bolds, this will be a bit of a change-up! Give yourself space to have some fun with the power of neutrals. And as you are led, pop one of your bold or brights in there to see what happens. You may find you love the bright pop— and you also may discover it feels nice to just relax in the neutral color zone without anything added to spice it up.
Incorporate Variegated Yarns: I am not going to lie to you about this one or pretend this is easy. Variegated yarns are NOT my thing. My eyes feel twitchy when I think of variegated yarns. There are so many things happening in the skein and I panic a bit and want to step away from the yarn. HOWEVER, once I remind myself my brain is just trying to keep itself from having to do more work, I can calm down a bit and not be a drama queen. What do I mean by that? Well, my brain, and yours, too, is hardwired to always keep us safe. And for our brains most often SAFE equates with FAMILIAR. Things that are familiar we like, and most often because there is no risk associated with the familiar. I dig into this point in greater detail in the podcast episode. CLICK TO LISTEN.
Seek Inspiration from Existing Patterns: Look for colorwork patterns or projects that catch your eye! What is it that speaks to you? I recommended keeping a little journal or opening your notes app on your phone to record all the different things that catch your eye and share a thought or two as to why. Examine the color combinations used. Are you digging the high contrast or the subtle blending? Analyze how different colors interact and consider how you can incorporate similar combinations in your own projects. And one more thing about this point that incorporates the first point: look at quilt patterns. I subscribe to QuiltFolk magazine and in every issue I’m absolutely delighted by the knitting inspiration I find from each page and project! QuiltFolk was the actual catalyst for why I went with the bold red pop of color on the Ilya sweater. (shown below)
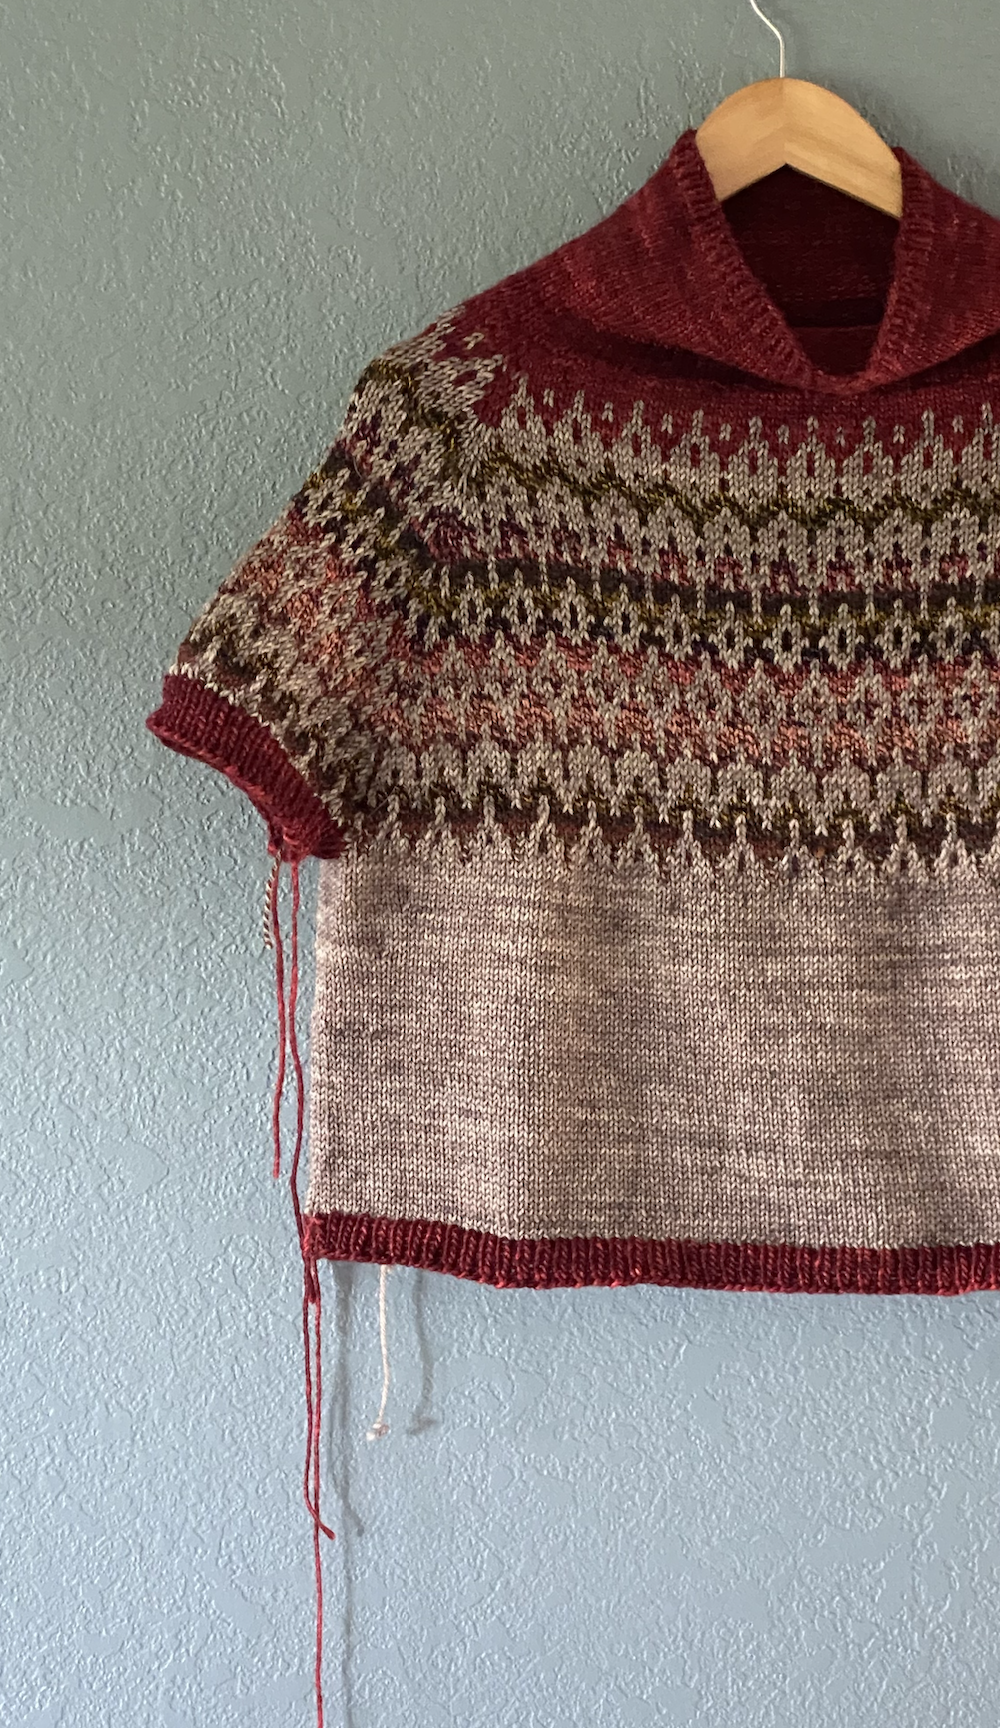

The beautiful wrong side of the knitting for my Ilya Sweater by Boyland Knits showcases long, even, colorwork floats that I would be proud to wear inside-out!
10. Trust Your Instincts: This last one is probably the hardest at first, and yet the most liberating! Color is subjective, and what appeals to one knitter may not resonate with another. Give yourself permission to trust your instincts to choose colors that speak to you personally. Be courageous and tell yourself a better story than the one I told myself for so long. Rather than: “Mel, you should knit that from the preassembled kit because you are terrible at color.” I could have said: GIRL! How about trying something new? It may turn out fabulous! Or instead of saying: Urgh, I feel overwhelmed by color choices and I just can’t decide I could have been telling myself: “WOOOHOO! Look at the endless opportunities for colors! There is zero chance of me making a bad call with all these options! Which one is making me the happiest right now?” I want to encourage you to experiment and take risks with your color choices. Knitting is one place our “risky behavior” is not that much of a risk. Yeah, I know we are investing time and money in knitting, but neither resource is lost. If we learn, time is well spent. And if we have to rip it out, that yarn will not go to waste. We can repurpose it in a hundred different ways!
Remember, color is a creative and personal choice! Have fun exploring different combinations and let your imagination guide you in creating unique and beautiful colorwork knits!
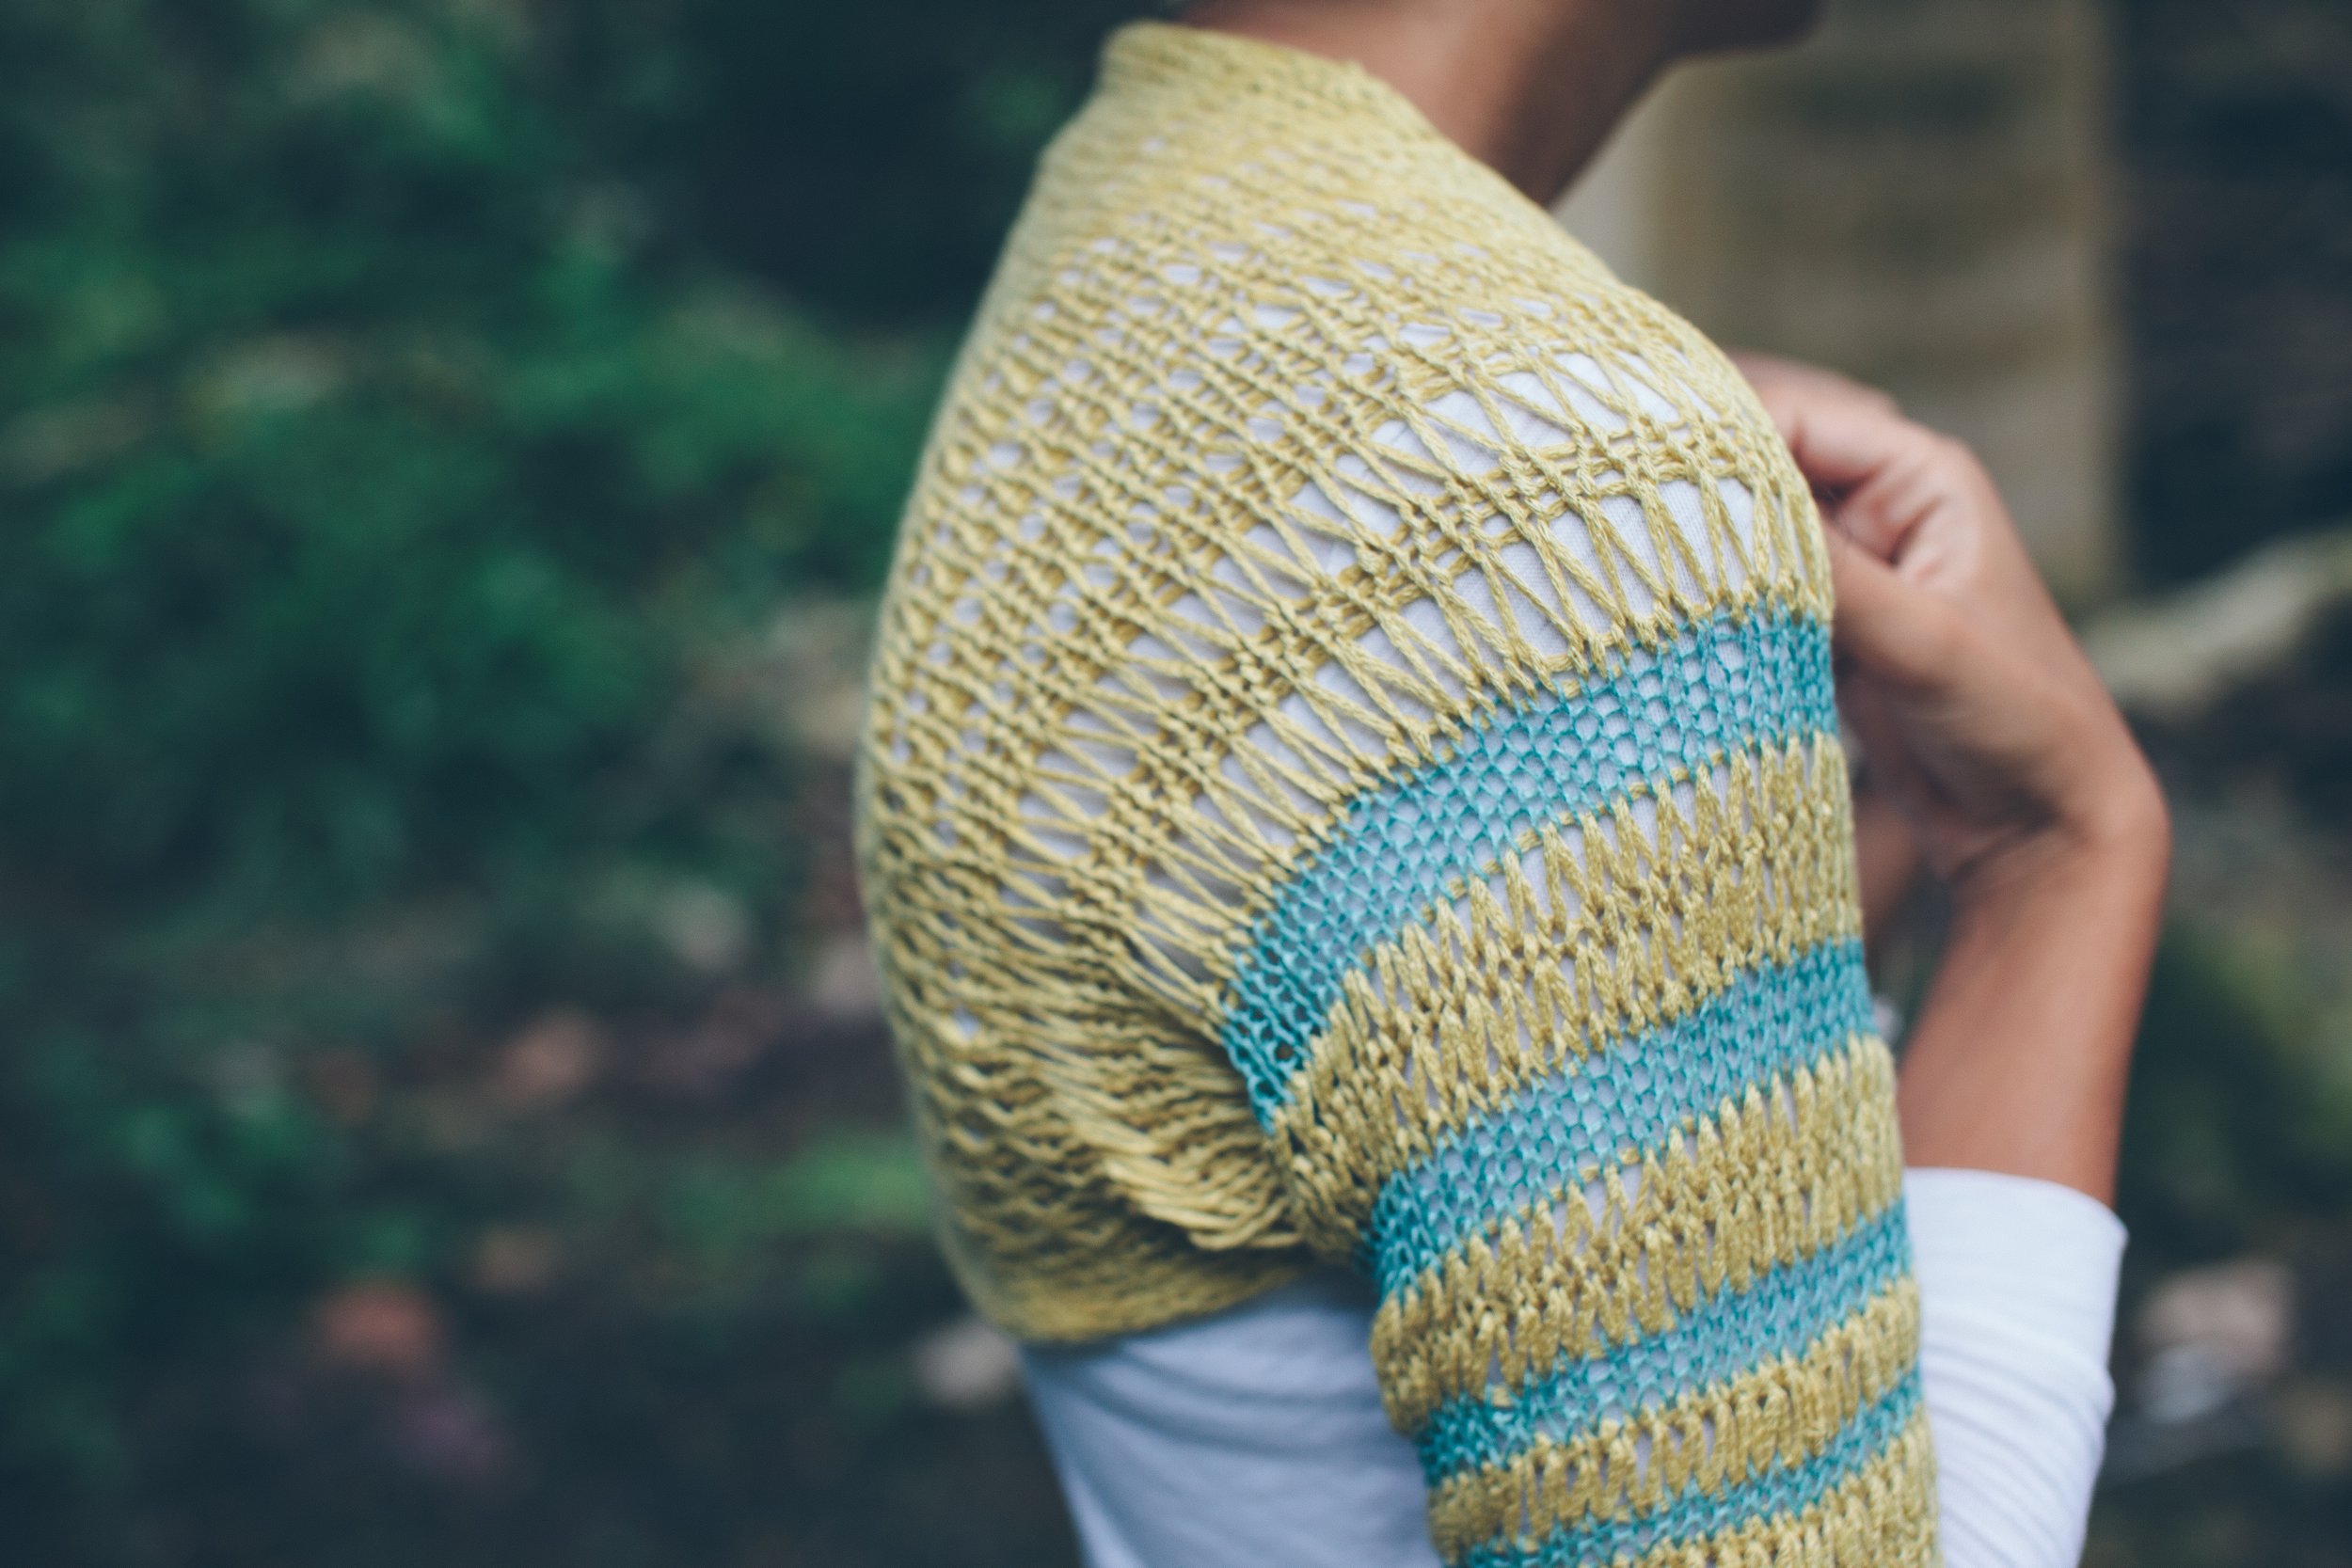
I hope you are enjoying these color-focused moments together! If you are and want dig into color play or yarn substitution, I have a free pattern called SkyLine which incorporates 2 very distinct colors and weights of linen fiber to create a fun, easily customizable shrug. It works up quickly, so think of it as a low-risk opportunity that gives you creative license to simply have some fun while training your brain to be open to endless possibilities. You can play with color, fiber, and yarn weights. You think you hate linen? Here is your chance to flip that script. No linen in your stash? No worries! Get creative and substitute. Be open to honest-to-goodness freedom in bravely experimenting.
Finding A Perfect Color Palette To Knit Your Sweater
Imagine knitting with a color palette that resonates with your own personal experiences and connection with nature. It sounds magical, right? Well, that's exactly what we'll be exploring together…
For the longest time, Kodiak, Alaska has been getting rain—day upon day upon day. When you look outside the grey of the clouds meets the blue-gray of the ocean, and sometimes the soft interruption of the green Sitka spruce trees peek through the white fog. For outdoor activities, it isn’t the most wonderful view.
For color inspiration, it is a masterclass.
If you are anything like me, choosing new color palettes for knitting is often overlooked, or perhaps I should admit it is intentionally set aside. Placed on a back burner. Not necessary. I mean, I’ve got my color safety net, why mess up a good thing? It took me so long to conjure up the palette I have, considering a new one seems laborious and even a little premature. Surely I haven’t exhausted all the ways to use light brown, golden brown, reddish brown, and deep dark chocolate brown!
To be candid about color, I have experienced many moments in life where I have not felt confident mixing up colors, and that used to carry over into my knitting.
I had a breakthrough many years ago while living on Kauai. And it all started by staring out my window!
Today I am going to share a few lessons I learned, and continue to learn, each time I open my eyes to nature’s examples. Together let’s delve into the world of nature and explore how, as a knitter, we can find inspiration and confidently mix color combinations.
So, grab your knitting needles, cozy up, and let's discover the beauty of nature's hues!

Embracing the Beauty of Natural Color Palettes
When it comes to color inspiration, nature is an unparalleled artist, and she doesn’t mind at all if we try to emulate her artistry.
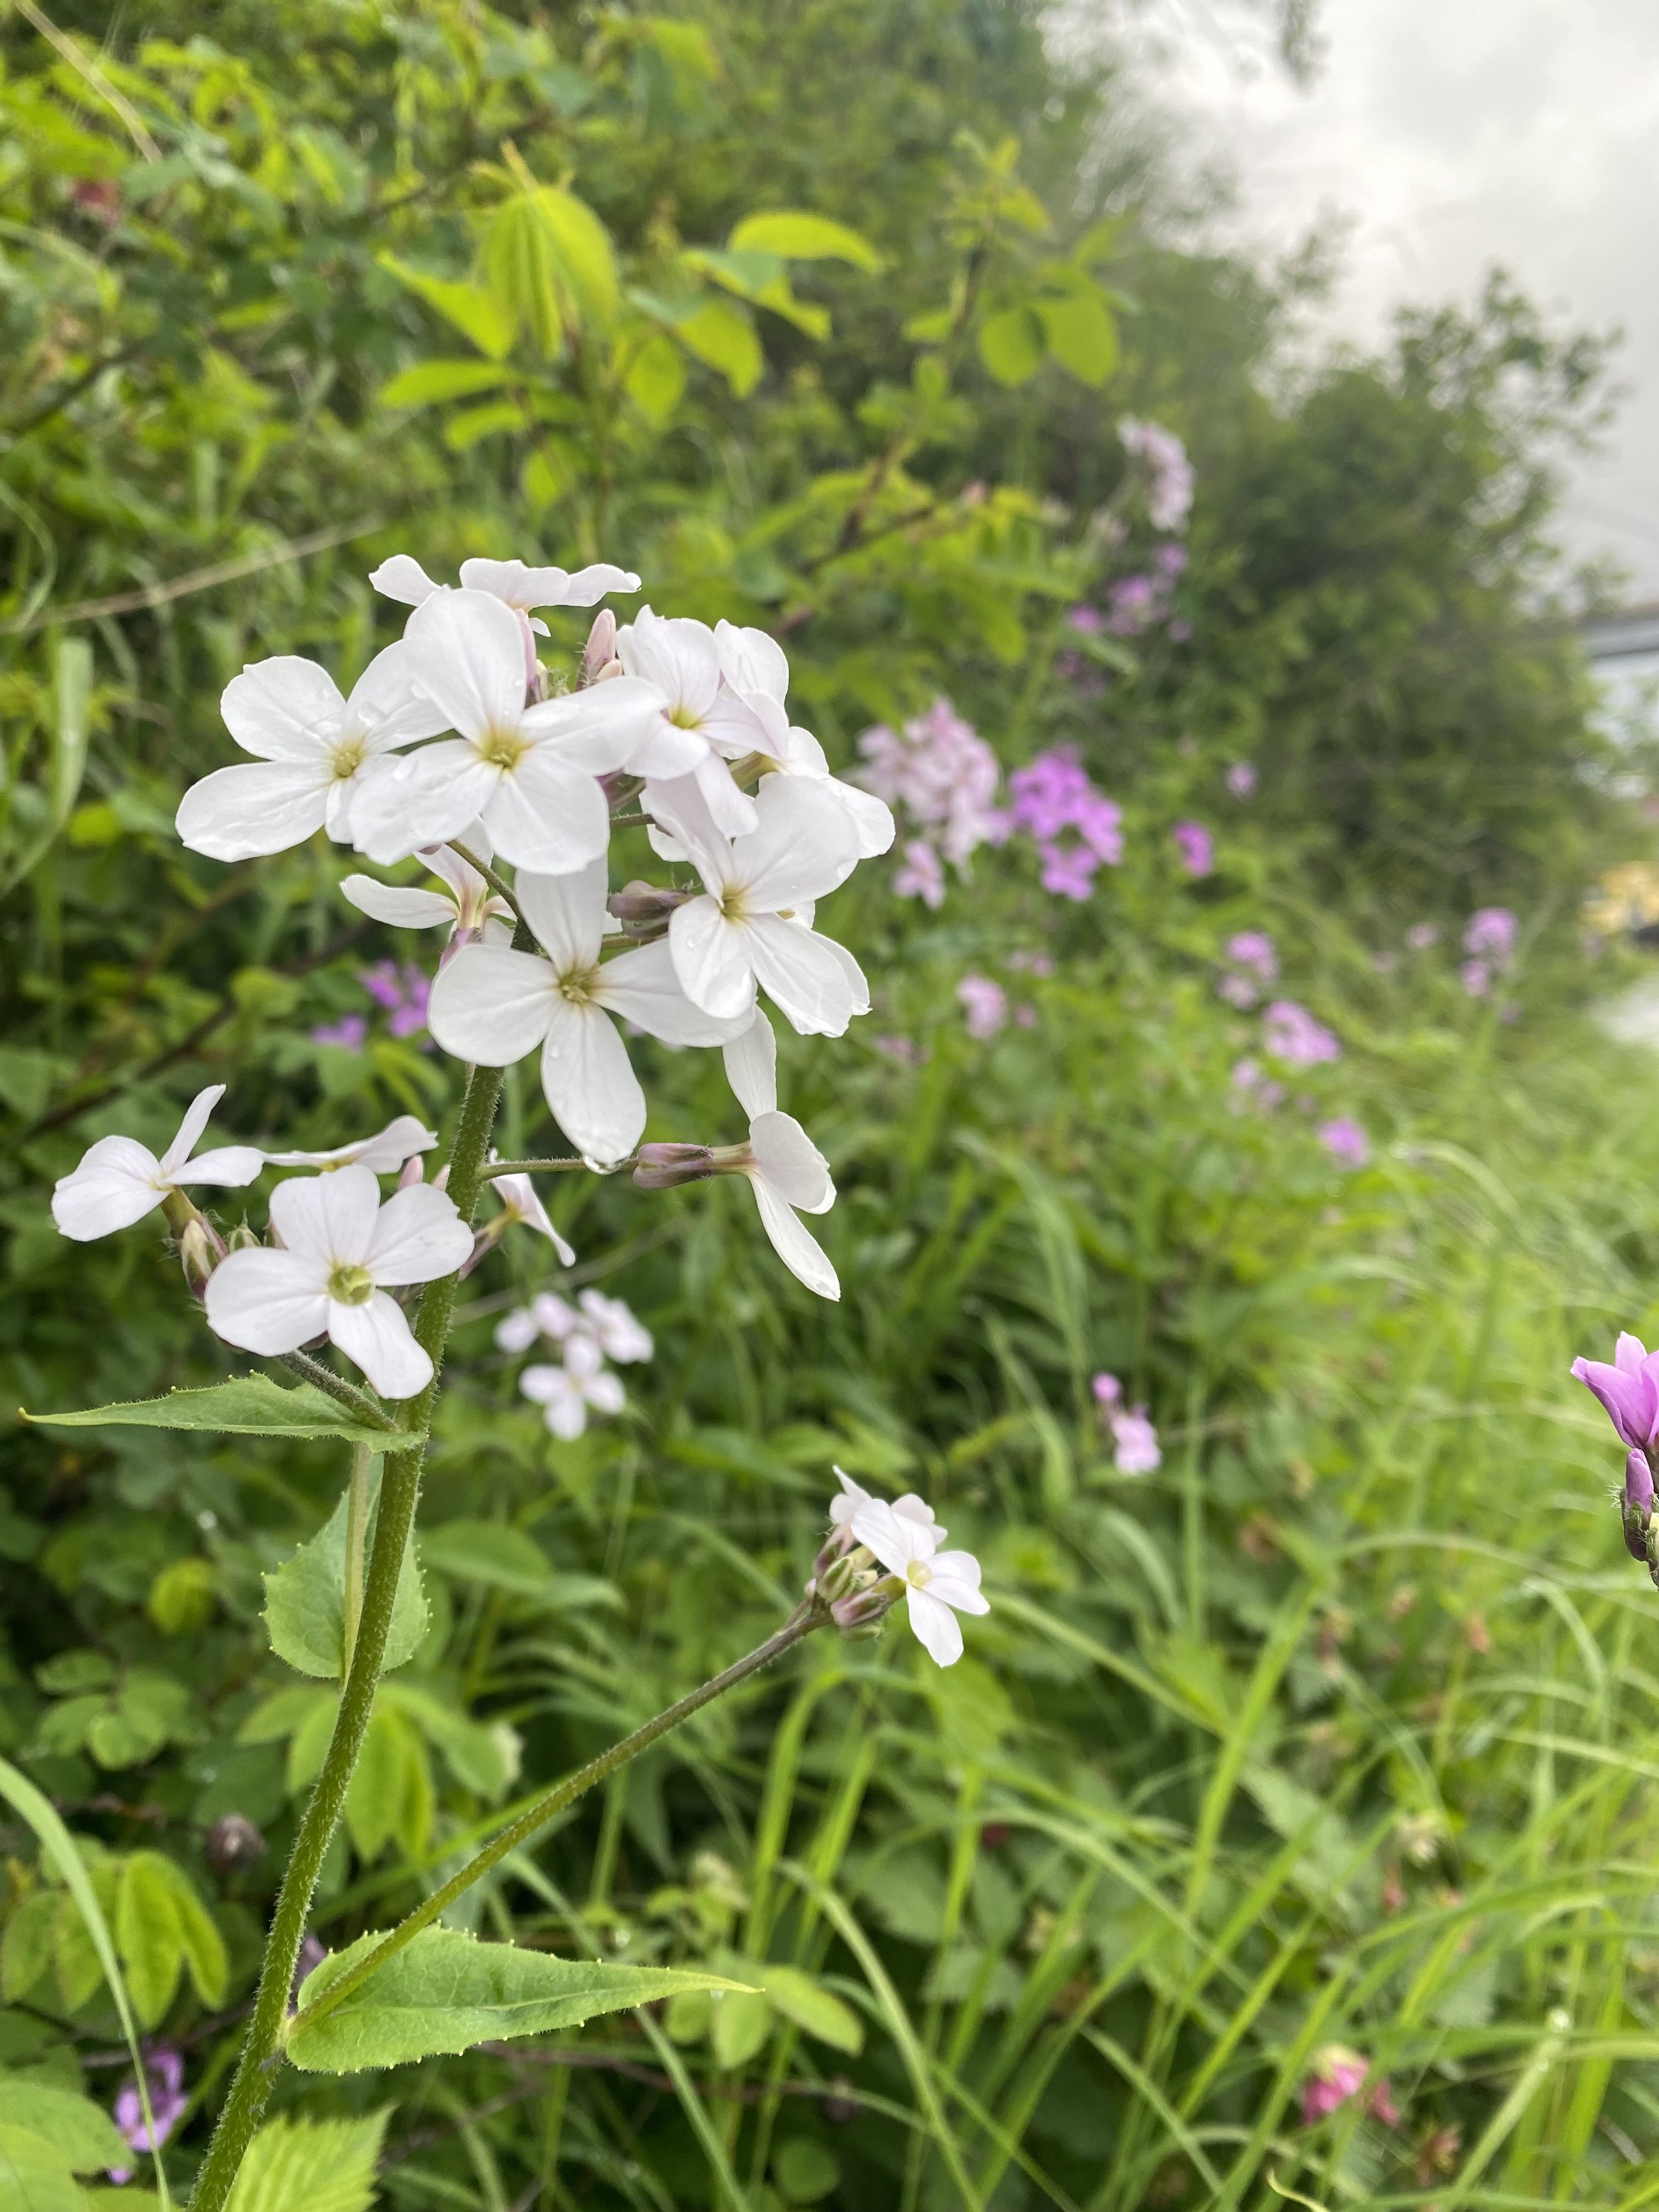
The blooming flowers and plants around us offer a spectrum of colors waiting to be translated into knitting projects. Trust me on this! I cast on the Alpine Bloom Tee with colors inspired by a neighbor’s not-quite-yet-blooming rhododendron. When I shared the start of my project I had hundreds of messages, some happily surprised at the use of pink, which is not my norm, and many others shared their color ideas. (One of the Reels I made showcasing the colorwork yoke had over 4500 views overnight, not because I invented an amazing color combination. Simply because I followed the example in nature, and the discussions in my DMs around colorwork choices resonated with knitting friends!)
Finding examples is easy. They are everywhere! Start by observing the colors found in your own garden or local parks—flowers, leaves, and landscapes hold endless possibilities for vibrant color combinations that will bring your knitting projects to life.
Seasons as Our Color Muse
Each season brings its own unique color palette.
Spring offers delicate pastels, while summer boasts vibrant and bold hues. Autumn showers us with warm oranges, yellows, and browns, and winter embraces cool blues and whites. Seasonal color inspiration offers us opportunities to try new things. It refreshes the example it shows. For me the tricky part was how to incorporate these palettes into knitting projects, creating pieces that weren’t a jumble of all the colors I saw. I wanted them instead to become snapshots of what spoke to me as I looked out the window, or paused on a walk.
I had to ask: “What was it that captures the essence of the seasons?”
Full disclosure here: I AM NOT SKILLED AT COLOR COMBOS.
I do, however, spend a lot of time outside— year-round, in the sun or showers. I am always looking around me, quite often to ensure there are no signs of bears, and also admiring the incredible landscape. When I look around there is always an overarching color I notice. The seasons definitely aid in showcasing one color! As I look in summer, our island is green. It is everywhere, and thick! Kodiak is called The Emerald Isle of the US for good reason. In Autumn things turn golden brown, not a sad withered brown, but a vibrant, energetic gold brown that gently eases into wintery white. The snow that gives us Termination Dust on the mountains can be blue-white or sparkling white, and other times a faded white that looks icy and black, a warning of bad weather advising all of us to hunker down and stay put.
Watching the world around me gave me my first step:
Start with a Dominant Color
Choose one color that will be the focal point or dominant hue in your colorwork. This color will appear more prominently in your knitting design and can set the tone for the rest of the color combination. For me, in the example of the Alpine Bloom Tee, that color is the rich green with brown undertones (Miss La Motte Burnished Stone Colorway).

After I established my primary color, I looked again at what I saw around me. In this case my neighbor’s rhododendron. Their established rhoddy started blooming already, and the faint pink with red burst had edges tinged in yellow-gold like rhododendrons do when they have gotten a little too wet. Since Kodiak Island is breaking records right now for the wettest seasons in recorded history, that isn’t surprising…) The green brown of the main color is what I see in the evening when the leaves and the branches are soaked. And the Burnt Sugar color (also from Miss La Motte) I am using for the second color reflects the pinky peach with brown undertones on the same bush. It is a perfect feature of their garden, and makes sense that replicating it in my sweater would work so well!
Neutral colors like grays, browns, olives, or creams can help balance and tone down vibrant or contrasting colors. They can act as grounding elements or provide a smooth transition between bolder color choices. So my “bold” color choice of the Burnt Sugar is mellowed by the brown-green of the Burnished Stone. I would have had a completely different feel if I had gone with my blooming fuschia and replaced the Burnished Stone with Watermelon Electrique in its vibrant red hues.
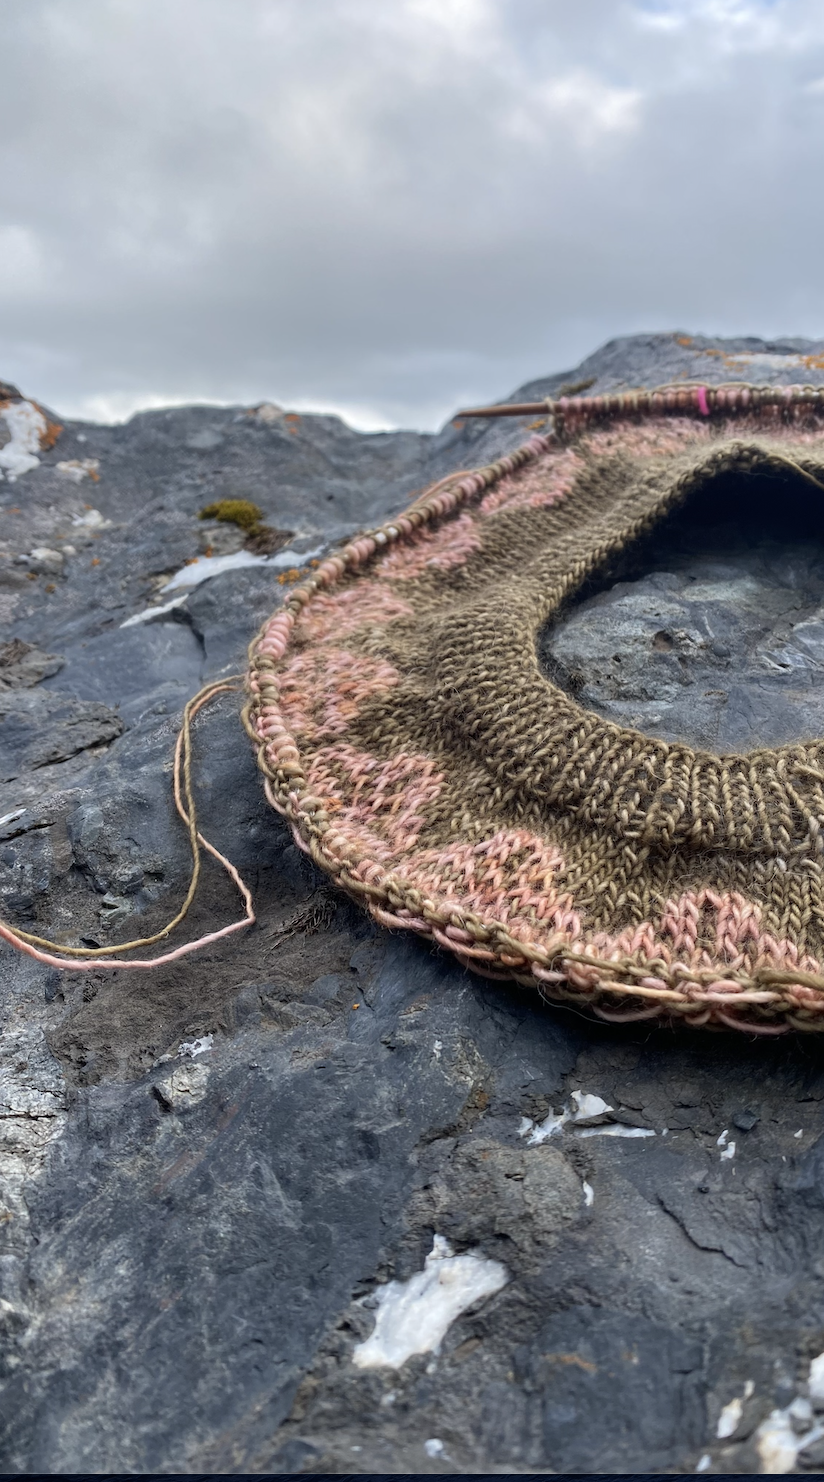
Before I began the adventure with this sweater with the yarn choices I currently have on my needles, I started with a vibrant solid teal and a fun barber-poled handspun I created that I have been eager to use. These two colors were put together from the most adorable poncho I saw on a model for a campsite in South America. It was a sunny picture and I was daydreaming of anywhere it wasn’t raining… which leads me to another point:
Draw inspiration from photographs, paintings, or color palettes found in magazines or online platforms like Pinterest (which was the source for the enticing camping photo I just mentioned…). This method could help you establish a starting point for your color choices. But after you get that inspiration there is a step I HIGHLY RECOMMEND…
You Should Test Color Combinations!
(ask me how I know…)
Hold on, before diving headfirst into your project, let's talk about the importance of doing a test swatch for colorwork. By taking this extra step, you can determine the color suitability of your chosen yarns, avoiding potential pitfalls later on. Before committing to your final color choices, creating color swatches or small samples to see how the colors interact is such a wise investment of time and energy. This simple step allows you to evaluate how the colors blend, contrast, or compete with one another.
A key benefit of doing a test swatch for colorwork is that it allows you to see how your chosen colors interact and work together before embarking on your full-scale project. Colors can behave differently when combined, and what looks harmonious on a yarn label or in a store display, or even on your lap in your living room a few days ago, may translate differently in your actual knitting. I wasn’t kidding when I said “Ask me how I know this helps…”
By creating a small swatch using the colors you've chosen, you can evaluate their compatibility, ensuring they blend seamlessly or create the desired contrast. This way, you can make any necessary adjustments or even reconsider your color choices if they don't produce the desired effect.
Neglecting to do a color swatch can lead to unwelcome surprises. Without a test swatch, you may find yourself well into your sweater project, only to discover that the colors you've chosen don't work as well together as you had hoped. Perhaps the contrast is too subtle, making the colorwork pattern difficult to discern, or maybe the colors clash, creating a chaotic or unappealing visual effect. This discovery can be disheartening and may require you to unravel hours of work or even start over with new colors. However, by taking the time to create a test swatch, you can address these potential issues early on and save yourself from frustration down the road.
Those 2 yarns I mention earlier?
I knew they were a perfect match, and so I was certain I could just cast on and go.
When I hit Round 27 I finally had to admit that no matter which way I held my knitting it just did not look good… And I’m the girl who always says to swatch. 9 times out of 10, I swatch. The one time I don’t…well, I wound up having to rip it all out!
Beyond color suitability and gauge considerations, a test swatch for colorwork provides an opportunity for exploration and creativity. It allows you to experiment with different color combinations and see firsthand how they interact. You can play with the dominance of colors, test various pattern motifs, or even try out alternative yarn options to achieve the desired effect. That is exactly how I came to realize what a great fit the single-ply Miss La Motte yarn would be! Through swatching, you can release your imagination and discover unexpected color harmonies or delightful contrasts, as well as dynamic changes yarn structure gives. This process of trial and error, done on a small scale, empowers you and me to make informed choices and infuses our colorwork projects with a touch of personal flair. Not just colorwork, but all knitting adventures!
Mskiknits Alpine Bloom Tee project by Boyland Knits shown on location in Kodiak, Alaska knit in Miss La Motte yarns
By investing the time and effort to create a color swatch, we open the door to endless possibilities and ensure our projects truly reflect our unique styles and artistic expression.
NOW BACK TO OUR COLOR PALETTE DISCUSSION
We discussed embracing the beauty of color palettes found in nature, using the changing seasons as our color muse, and I briefly mentioned earlier flowers. Let me dig in just a bit more into that concept. If I had taken the fuschia route I mentioned earlier, my Alpine Blooms Tee would have been reds and pinks with a completely different vibe than the one currently on my needles. What an example flowers can be! You can look to the blossoming flowers in your garden or local parks for a burst of inspiration. Plan ahead for times flowers aren’t blooming and take lots of photos now! Tuck them into a folder to keep your knitting inspiration organized. (You don’t do that? Well then, THAT is definitely a class I need to teach!) Be open to exploring the striking combinations found in nature: vibrant reds and purples contrasting with soft pinks and greens, electric blues with pops of yellows, and white flower petals with bold black centers. There are so many flower color combinations that you can translate into your knitting projects, infusing them with the beauty of nature.
Here are 3 quick examples from gardens I’ve grown:
ROSES: The classic combination of red roses with lush green leaves can inspire a project featuring deep reds and vibrant greens
SUNFLOWERS: The golden yellow petals of sunflowers paired with rich brown centers can spark ideas for a warm and sunny color palette.
IRISES: The delicate petals of irises, ranging from deep purple to soft blue, can guide you in creating a calming and cool-toned knitting project.

Up to this point, I have shared ways to observe colors in nature and replicate them. It is a practice that for years was all I understood. And because my kids are creative and clever, all interested in art as they grew up, they began to explore the color wheel and color theory. I should mention now that as a homeschooling family, I was their teacher, and when I didn’t know the answer to questions they asked, we dug in together and learned. At the age of “past 30,” I found the lessons incredible!
Unlocking the Magic of the Color Wheel
The color wheel is a powerful tool that seems at once simple, and somehow daunting. It has the power to guide you in selecting harmonious and visually appealing color combinations. It’s based on the three primary colors—red, yellow, and blue—and the relationships they share with each other, as well as with a variety of other colors. Understanding the basic principles of the color wheel can help you confidently mix colors. I have to tell you I have a series of color wheel prints, and art, that look at frequently. I understand it when I see it, and when I am not looking at it, I am flying blind!
Let's explore its key components together in a very basic way:
PRIMARY COLORS: Red, yellow, and blue are the building blocks of the color wheel. They cannot be created by mixing other colors.
SECONDARY COLORS: These are created by combining equal parts of two primary colors. The secondary colors are orange (red + yellow), green (yellow + blue), and violet (blue + red).
TERTIARY COLORS: These colors are formed by mixing a primary color with a neighboring secondary color. Examples include yellow-orange, blue-green, and red-violet.
Complementary colors are opposite each other on the color wheel, creating a vibrant and eye-catching contrast. In nature, we find examples of complementary color combinations, such as purple flowers paired with yellow-green foliage or orange blossoms set against blue skies. Nature is filled with examples!
Analogous colors are adjacent to each other on the color wheel, creating harmony— a cohesive effect. We can find plants with analogous color schemes, such as a variety of blues and greens in a coastal landscape, reminding me of evenings along the Outer Banks of North Carolina, or a variety of warm yellows, oranges, and reds in a sunset-inspired flower bed as I experienced for years living in Hawaii.
A monochromatic color scheme involves using different shades, tints, and tones of a single color. In nature, you might find a monochromatic color palette in a field of blooming lavender, showcasing various shades of purple. Or something I like to daydream about, a field of flax with beautiful blue flowers, some very bold and vibrant, just opened and blooming. Other flowers slowly bleached by the sun, and gently fading into a blue-white. (Speaking of flax, if you want a masterclass on linen and how learning about plant fibers makes us smarter wool knitters, have a listen to this episode: Unraveling the Mysteries of Linen: A Journey into Knitting and Creativity. There is even a FREE 20-page workbook for you to download to enrich the episode as you listen!)
Nature is an endless source of inspiration when it comes to color combinations for our knitting.
By understanding the principles of the color wheel and observing the harmonious blends found in plants and flowers, we can confidently mix colors and create stunning knitting projects. I am not saying we will always pick perfect palettes for projects (Whew! Say that 3 times fast!), I mean my color choices before the one I am currently using…well it was no bueno. But it was a fun lesson to learn the hard way. I needed to pay attention to contrast and prevent color muddling, AND I NEEDED TO SWATCH. But for the most part, these concepts, principles, and examples are solid and give me much-needed support. I have guide rails for this roller coaster of a ride that is my knitting. And now you do, too!
So, step outside, immerse yourself in the natural world, and let your knitting journey become a harmonious blend of colors inspired by our lovely planet. Happy knitting!
and now it is your turn…
In the comments below, share with me color combinations you have as your “go-to’s” as well as combinations you may dare to try!
Unraveling the Mysteries of Linen: A Journey into Knitting and Creativity
Unravel the mysteries of linen: A journey into knitting and creativity shares a Master knitting class experience for free! The Linen workbook includes a free pattern, journal templates to record your thoughts about projects and fibers you are using as you knit, crochet, or spin. Discover all the differences between linen and wool.

Grab this free guide + Listen to the Episode =
A free masterclass on linen, knitting, and developing your creative spirit
(you are welcome, My Friend!)
Let’s venture together into the captivating world of linen, unveiling its historical richness, strength, versatility, and how it lends itself to knitting.
We'll dissect its journey from the flax plant origins to your knitting needles, offering practical advice on care, winding, and usage. We'll also draw parallels to other fibers, particularly bamboo, and cotton, highlighting distinctive differences and similarities.
As we navigate the intricacies of knitting with linen, we'll delve into the importance of safeguarding your hands and maintaining their health. From mitigating the twisty nature of the stitches to understanding the energy they carry, this episode is full of useful and actionable insights. You'll learn about the necessity of swatching and the impact of stretching and washing on different yarns. It doesn't matter if you're a seasoned knitter or just starting, the tips and encouragement can help!
But it's not just about the knitting. We'll also explore how your words and thoughts shape your creative spirit, becoming personal rocks that can either hinder or enable your growth. Drawing on my experience and the shared frustrations of fellow knitters, we'll discuss how these challenges can be channeled into becoming our best creative selves. So, if you're a thoughtfully creative spirit or yearn to grow in that direction, this episode could just be the catalyst you need. Let’s knit and grow together!
Ever wondered what the secret to a beautifully knitted linen piece is?
I had the joy of hosting a series of workshops that were live, and they brought me such joy that I wanted to be thoughtful to the many people who sent me messages that said: Hey Mel, in my time zone I'd have to get up at two o'clock in the morning! or This day of the week I can't make it…, and so the great thing about having a podcast or a blog post to support knitters is you can listen to this episode or read this post when it suits you.
I also want to offer the workshop itself as a template for you to think about anything. Consider the word LINEN in the title, in brackets, for which you could substitute entrelac or lace or color work, or even different blends of fiber that you haven't tried before. Or maybe crochet or spinning… Anything that is going to be new to you that you may have a bit of resistance to trying, either because you don't understand it fully (I know how that feels) or because you've tried it before, unsuccessfully (I know how that feels, too!)
One of the reasons I want to share with you this journey, this opportunity, is so that you can be empowered.
One of the reasons I want to share with you this journey, this opportunity, is so that you can be empowered. If you're thinking: I hate linen and I don't want to use it, then I still encourage you to listen to this podcast and read this post so that you can prove yourself right.
If you're the person who says: Yes! I love linen, but I use it all the time and I have some frustrations, this is also for you. You can dig in and hear some solutions.
In fact, I want to stop for a second and share just some of the feedback that I got from people in the workshop so that you can hear their take, because where I am today and how I love linen and playing with linen and working with linen and even designing and linen, I am here at that experience now and that experience, that feeling, may actually be 180 degrees from where you are. Maybe you can hear yourself in some of these comments:
“That was helpful in so many ways. I didn’t realize the excitement I would feel about all my projects after finishing the workshop. I mean I want to cast on with linen and linen blends and pretty much everything in my stash. ”
“I really enjoyed your class. I learned so much about linen and appreciate you taking time to share your knowledge. I’m mentally going through my stash and hoping I have some linen to try your pattern. Thank you again for your time and sharing with us”
“The workshop was very informative. I especially appreciate the tips for winding linen. So many workshops are about the mechanics, but the personal experience tips are my favorite...The things I didn’t know to ask.”
“To be honest, I almost didn’t go. What a mistake that would have been! I have three kids under the age of 8 and I was super tired. But I did go! And it was so good! An hour of self-care, education, and inspiration. And I still can’t understand how it was free. Thank you for your time, the free patterns, and the new confidence I have with linen.”
“I can’t believe you’re giving me this shrug pattern on top of the free class. I feel like I should be paying you for a Master Class. I had fun, I learned so much and I almost FREAKED OUT when you shared HOW YOU CARE FOR YOUR LINEN! I loved this class, thank you.”
An anonymous review shared that by being part of the workshop, she was inspired not just to explore linen but to dig into all the different things she has in her stash that she hasn't used. She felt excited and empowered and encouraged to dig in with her own two hands to figure out what she could learn herself. (All that from a free class isn't that bad.)
And so now here is your opportunity! Listen to the podcast or read along here after you download the free workbook that goes along with this post.
And now, let’s explore linen & our creativity together!
Linen responds to us differently than what we experience with wool
And I'm going to give you a story that is going to make this stick with you:
I have a wonderful, wonderful friend who lives in Pennsylvania and when I stay with her I have a little log cabin that is my temporary home. I cherish the fact that she shares it with me. Now, when I walk out of it, a little ways off to the right is a barn and off to the left is a greenhouse
The barn. Let me tell you about the barn. The barn is a wonderful construction. It's got beautiful thick stone masonry along the bottom of the structure. And above that gorgeous stonework is wood that creates this massive door that goes up three stories. It's just got this huge roof and it's red and it's vibrant. It has this cute little side entrance that I tuck in through every day that I'm there. The door is split so the top can be opened to let air come in and the bottom can open, too. It's just so good to go through that door into the barn. I go in several times a day when I'm staying there.
When I walk into the barn there are horses inside of it, and chickens and very vocal sheep! They call out to me in these loving, endearing ways. They're like BAA! BAA! I walk in there and I feel like Rocky Balboa on the tops of the steps raising his arms. They're cheering for me. Yay!
I get this wonderful sensation walking into the barn. The response from the animals is so inviting and so sweet and it serves my heart well.
Now, like I mentioned, when I go out of the log cabin to the left is a greenhouse. It's very, very robust, and it's beautiful. The bottom of it is brick. It goes up maybe a third of the way for the walls, and then it has this glass and metal construction that the light is bouncing off of. The door in the front is this beautiful glass and metal and as I open it up and it has that soft metal creak to it.
Inside the greenhouse there is, oh my goodness, this beautiful haven for rosemary and basil and oregano plants, just going crazy in there. There are also hydrangea shoots and fuchsia and a host of colorful plants in there as well. There's a koi pond with the water trickling and the koi just happy to swim through. There's crunchy rocky gravel under my feet as I walk in
And when I walk in, there's silence.
It's quiet in there, it's warm, there's no sound, it's still, and if I breathe or if I talk, it's like the sound gets pulled in by the plants. But there's no clapping, there's no BAAA!, there's no feedback, there's no neighing, there's no clucking, There's no whinnying, there's no baa, there's nothing.
And the plants are still beautiful and enjoyable.
And what does that mean here? If I walk into the barn and I think of that response that I get from those animals, that's perfect, it's the perfect moment.
If I walk into the greenhouse with these beautiful plants that light up my soul because of their beauty, and I walk into there and expect the same response from those plants as I do the animals, I'm going to be disappointed. When I walk into that greenhouse there will be no plants calling to me. There will be no plants flapping their wings or whinnying or tossing their heads or nuzzling up to me because they want those little treats that I can give the sheep.
That response is not there.
Is it because the plants are jerks? No, it's not. They're not giving me feedback. They are giving me different experiences from what I get in the barn.
And I want to submit to you for consideration: the woolly, happy, beautiful fibers give us the barn experiences. And when we work with linen, we're going to get linen experiences, ie greenhouse experiences.
For us to think that linen has to behave and act and our approach to it needs to be like the approach we have with the animals in the barn is unrealistic.
We don't approach the plants in the greenhouse in that way. I'm not going to go into the greenhouse with a handful of animal treats and a curry comb and treat the plants to those things.
And in the same way, I'm not going to take compost and put it around the sheep in the barn. Two separate experiences, two separate approaches, and I think considering those things will serve us well as we move forward and talk about linen.
All right, my friend, I hope that you are excited as I am because when we realize that our approach to wool and linen can be the same way as that earlier illustration of the barn and the greenhouse, it opens up so many moments of discovery. And that same idea is applicable to all parts of knitting and creativity. It isn't that wool is better than linen. They are different. Their results and behaviors are different.
If you are interested in learning more about working with linen, or developing thoughtful approaches to your knitting, definitely download the workbook and have a listen to the podcast workshop!

Knitting Get Together
The Value In Knitting Together
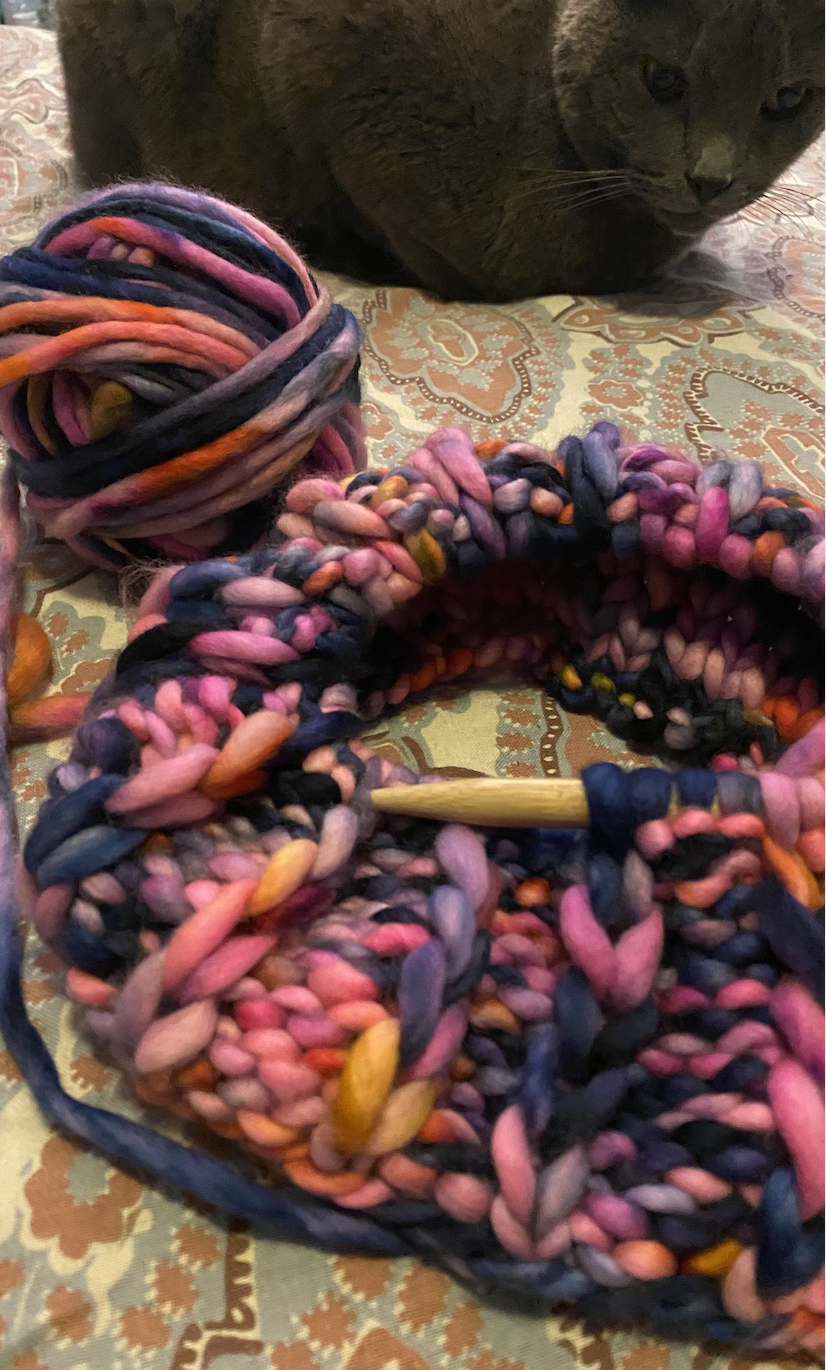
As humans, we are wired to crave social connections, even those of us who enjoy knitting solo on the sofa watching a good British murder mystery. At some point, we imagine sharing our stitches with a human might give us better feedback than our soft grey cat (I am looking at you Oleander!)

Oleander often sits on top of my knitting to evaluate it, and offer a critique. I am often more confused after he shares his insight, however…
That's why we engage in activities like knitting in groups, to have those moments of creative engagement. While knitting has its own benefits, knitting together with other people can unlock the hidden potential of your creativity. Here's why:
1. Collective Creativity
When we knit in a group, we can collaborate and share ideas. This collaboration leads to collective creativity which has the potential to create something far better than what we could achieve alone. By bouncing ideas off each other, you get to see things from a fresh perspective, learn new techniques, and improve your existing skills.
2. Inspiration
Knitting together exposes you to various styles, colors, and techniques, giving you a more comprehensive range of inspiration to draw from. This new exposure can challenge your creativity and push you to try something new. You'll often find yourself excitedly asking, "How did you do that?" to the person next to you, sparking new ideas for your own work.
3. Problem-Solving
Knitting in a group opens your mind to new solutions to old problems. During group knitting sessions, you can often find knitters discussing and brainstorming how to correct mistakes, what ways are best to adjust the size and fit of a pattern, and even pitching in to fix a yarn barf.
Other Options
What if there are no groups meeting at the library, or local coffee shop to knit the most recent shawl or sock pattern release? Who do you connect with if your “local” LYS is via the World Wide Web? Suppose on your enormous rock of an island in the middle of the frigid Alaskan waters doesn’t have a group of happy knitters welcoming you into the fold?
Maybe you create your own community!
Start your own podcast
Develop your own Knit Together on Instagram or Facebook
Sign yourself up for any group class or course that teaches new techniques
Look for snail mail groups or fiber swaps
Put yourself out there to help others, commenting on blogs, in social posts, volunteering for charitable knits
It might take more effort than knitting 2aat socks, but my friend, connecting with other creative people is not only something YOU need for yourself, but something others need from YOU.
I hope today’s episode helped you consider the ways you benefit from a get together with others, as well as how important your unique perspective and experiences add to strengthening the community of fiber arts. Did you knit the Triangulate Pattern along with the episode? I hope to see what you have made! I wound up making another one while waiting for the podcast episode to format, and then process. I made a few tweaks… I held 3 strands of assorted scrap yarns together and used a US 7 needle. Also I skipped the little opening created by binding off the stitches, preferring instead to tie this one in a small knot. (Full disclosure, I was knitting so quickly and mesmerized by the variety of yarn pieces I kept adding through out to use up, and I completely forgot to add that opening. From start to finish this version to less than 2 hours. It was on and off my needles before I even realized.)
Tiny, assorted scraps all worked together to create this Triangulate. It worked up so quickly. Any knitter can create this!
How To Keep Knitting Exciting

Questions pop into my inbox from knitters. They sometimes ask me to suggest patterns that won’t bore or confuse them. They ask for yarn and needle recommendations. But the ones most often in my inbox, or in DMs sound more like:
How do I keep from getting burned out?
How do I find the perfect cast on?
What do I do to keep knitting exciting?"
Today we dig in to those questions on the podcast. Simply click the link below to hear more.
Already given the episode a listen? Then let’s dive in a bit deeper together!
EXPLORE, EXPERIMENT, ENGAGE, AND CELEBRATE YOUR KNITTING
(I want to invite you to dig deep into your rich vocabulary and find a 4th E that could be substituted for Celebrate. Add it to the comments below when inspiration strikes and I will be so much the wiser for it! Now that you’ve taught me a new word, let’s dig into the first E)
EXPLORE YOUR KNITTING
I remember a wonderful professor from uni telling us “Explore, explore, and then explore even more.” It was funny to me at the time, as we were rehearsing a very specific ballet, with very specific steps and timing, connected to very specific feelings we were to share through our performance. How and where was there room for exploration?
And still, the quote stuck in my head.
As I learned to knit, over 20-something years ago, I began with making squares, later these would be called swatches, but for me, they were interesting squares where I was supposed to practice my tension and develop my stitches to become more even. Instead of making me feel constrained, operating within a certain number of stitches creating a 6-inch square, I felt as if I was a great explorer heading out to learn all I could about this unknown yarn, this new place of “Garrrrrterrrr stitch” and this objective to end each row with the same number I began it with…which was a monumental task.
In this situation, applying the idea of exploration was to see the work I was doing, and evaluate what I was creating. Knitting was new, and so my response to it was to gather all the insight possible, to learn, and improve, all the while striving to become a “Capital K” Knitter.
Once the second skein of Red Heart acrylic yarn in sky blue had been exhausted, my adventuresome heart would have surely digested all the ways to explore the knit stitch. Not the case at all. As I had somehow invented dropped stitches, random holes, and interesting edges (which appeared when I forgot to knit the first stitch, and simply slid it from one needle to the next). My inventions, as they were to me, for I hadn’t figured out I was messing up, rather I thought I had been imbued with creative prowess and was really inventing new things…these inventions gave me permission to explore a ton of “what ifs” and “if this then that..”
It was a glorious time to be a knitter.
I was 7 years old again and waking to T-ball practice alone. It was empowerment. (I remember that day, walking to T-ball practice, even more vividly than I remember walking across the stage to receive my diploma. It remains one of my memories of pride and being trusted. It is a magical memory moment. Do you have one?)
When I apply the idea to explore in my knitting today it takes the shape of yarn substitution. And by “substitution” I mean off the map, off the paved road, dig out your mosquito repellent and machete because I am headed into the thick overgrown spaces I haven’t yet romped around. My explore can look like the lovely sweater in worsted weight merino wool being replaced with a fingering weight linen. What incredible possibilities will I find in this?
It can also look like knitting the same sweater with the prettiest colorwork yoke that I just finished AGAIN but this time substituting a series of seed stitches, or some other texture, rather than another color. It can be the craziest mess you have ever seen, but what if it goes terribly RIGHT?
My explore can also be grabbing a massive pile of scrap yarns of various colors, fibers, and lengths, and combining them into a “single ply” creating a mega ball, to knit the easiest garter stitch triangle. I can explore how the colors work together politely, or scream at each other in confusion, and in the end, they come together and get the project done, teaching me all their secrets along the way.
The joy I find in exploration is allowing an idea to have a moment in my hands, and with my needles and yarn. I try to give it space to do its thing, even if that means a sweater with the most ridiculous gauge created from needles so big, and yarn so small. It is thrilling to give myself, and my knitting permission, to make a mess, a crazy, unwearable, even unrecognizable, beautiful mess. Within that permitted space of exploration, I find excitement and freshness. I discover successes tucked within failures. I find my knitting inspires me to knit. It teaches me a new way to get it wrong and to get it right. It makes me 7 years old again walking 4 blocks in the city, feeling like I am the first human on the surface of the moon.
Exploration is empowerment, and my friend, it feeds the soul.
“Always curious, looking into everything that came before our eyes..”
If you want to really dig into EXPLORATION in knitting, be sure you are on my email list. Email subscribers are the first knitters invited to creative activities I host. There are some good ones on the calendar coming your way soon, so click the link below and be included!
Stitching Towards Success: Setting Achievable Knitting Goals
Use leftover yarns from various knitting projects to create unique yarns made by you! Get excited about busting through stash yarn bits and create custom yarns for whatever you want to knit!
Today’s podcast episode was the 2nd “G” in the series 3 Gs of Knitting and is GOAL Knitting. And I share about the goal I had to knit down my stash. Spoiler alert: I have a long way to go.
BUT I AM MOVING FORWARD!
👉 Before you read any further, there is a reader who needs your knitting wisdom. YOU have the answer they need! Hop into the comments here and share 1 pattern idea that can be used to eat up leftover yarn. Bonus points if you share 2 🏅
(Welcome back! Thanks for helping out by sharing your wisdom.)
Having the goal to knit down the leftover bits of my stash has given me a variety of opportunities to get creative with my knitting as well as explore yarn storage ideas. I use a variety of tools to organize and store my yarn stash, but there is room to do that more effectively. I want to blend artistic display aesthetics, as well as maximize the space I have dedicated to stash. But that my friend is a separate goal. And one for another blog post…
Right now I want to share a bit about knitting using yarn leftover from completed projects. My goal of using these utilized a few different means. A really creative one I will leave to the podcast to explain, and in the future I will delve more into what that looked like creating it. I don’t want to spoil the episode by giving it away here! Want to listen now?
As a knitter with a heart for good stewardship, the importance of using leftover yarns cannot be overstated. Not only does it help eliminate waste, but it also provides a unique opportunity for creativity… as well as a ton of mental gymnastics to figure out what to do with the assortment! With a little imagination, those leftover bits and pieces of yarn can be transformed into beautiful and intricate works of art. Whether it's through piecing together a colorful blanket or adding colorful accents to an otherwise plain project ( I am looking at you stockinette stitch pullover!), using leftover yarns can be a fun and eco-friendly way to add character and depth to your knitting (or crochet) work. Not to mention, it can save money on purchasing new yarns and allow for a truly one-of-a-kind creation.
And “one-of-a kind” is the cue for MEGA BALL to enter the conversation!
An assortment of scrap yarns leftover from various knitting projects created these one-of-a kind Mega Ball yarns.
Mega Ball reminded me of the episode of The Office where Dwight crafts his perfect workspace, pulling in Jim’s desk, and other things, to effectively make a huge desk. He stands proudly with his arms overhead declaring his adoration for Mega-desk.
That was me with my series of HUMONGOUS yarn balls, created entirely of yarn leftover from other projects.
How to Make the Perfect Yarn Ball for Your Next Project!
Once you listen to the podcast this will make more sense. I started making these balls from yarn remnants, and then I created pattern ideas to knit for them. Since I was creating the balls of yarn first, my goals were:
Use A LOT of yarn
Make myself uncomfortable
I bet the first point is simple for you to wrap your head around.
The second one I most likely need to explain. I have an overarching long-term goal for myself. I want to take opportunities to intentionally make myself uncomfortable. Mind you this is not to be confused with unsafe. I want to provide myself with challenging opportunities to stop operating from my natural default. I most often love natural colors, browns, greens, greys. I shy away from red, pink, anything neon or bold, and especially purple. Not because they don’t flatter my skin tone. No, it isn’t anything as pragmatic as that.
I have always been reserved in my color choices because understanding color, and the way colors work together, is an area I have never been skilled.
And, Dear Knitter, do you want to know a secret?
I am not skilled because I haven’t practiced.
Nobody to blame here but me. And nobody more capable of rectifying this problem but me. I simply needed a strategy to allow myself to PRACTICE!
And what a better place to practice than with leftover yarn? I could be completely liberated from fear of messing up because the majority of the yardage of the yarns had already been intentionally used on other (hopefully successful) projects.
And the Mega Ball was skeined!

I gathered together a huge basket of fingering weight yarns tucked here and there, little bits remaining after the project was bound off. The basket was quickly filled. So much yarn! So much potential.
The challenge was to pull out 3 strands of yarn with colors “that looked like they wanted to play together.” That prompt was to inspire me to concentrate on play and playful, something that grabbing 3 shades of similar grey strands would not do. I must admit there were times grabbing high contrast yarns from socks I had knit as gifts— and therefore reflected that recipients color wheel— those yarns were often bright moments of smiles.
And honestly, the vivid colors I chose, were confusing and left me a bit unsure.
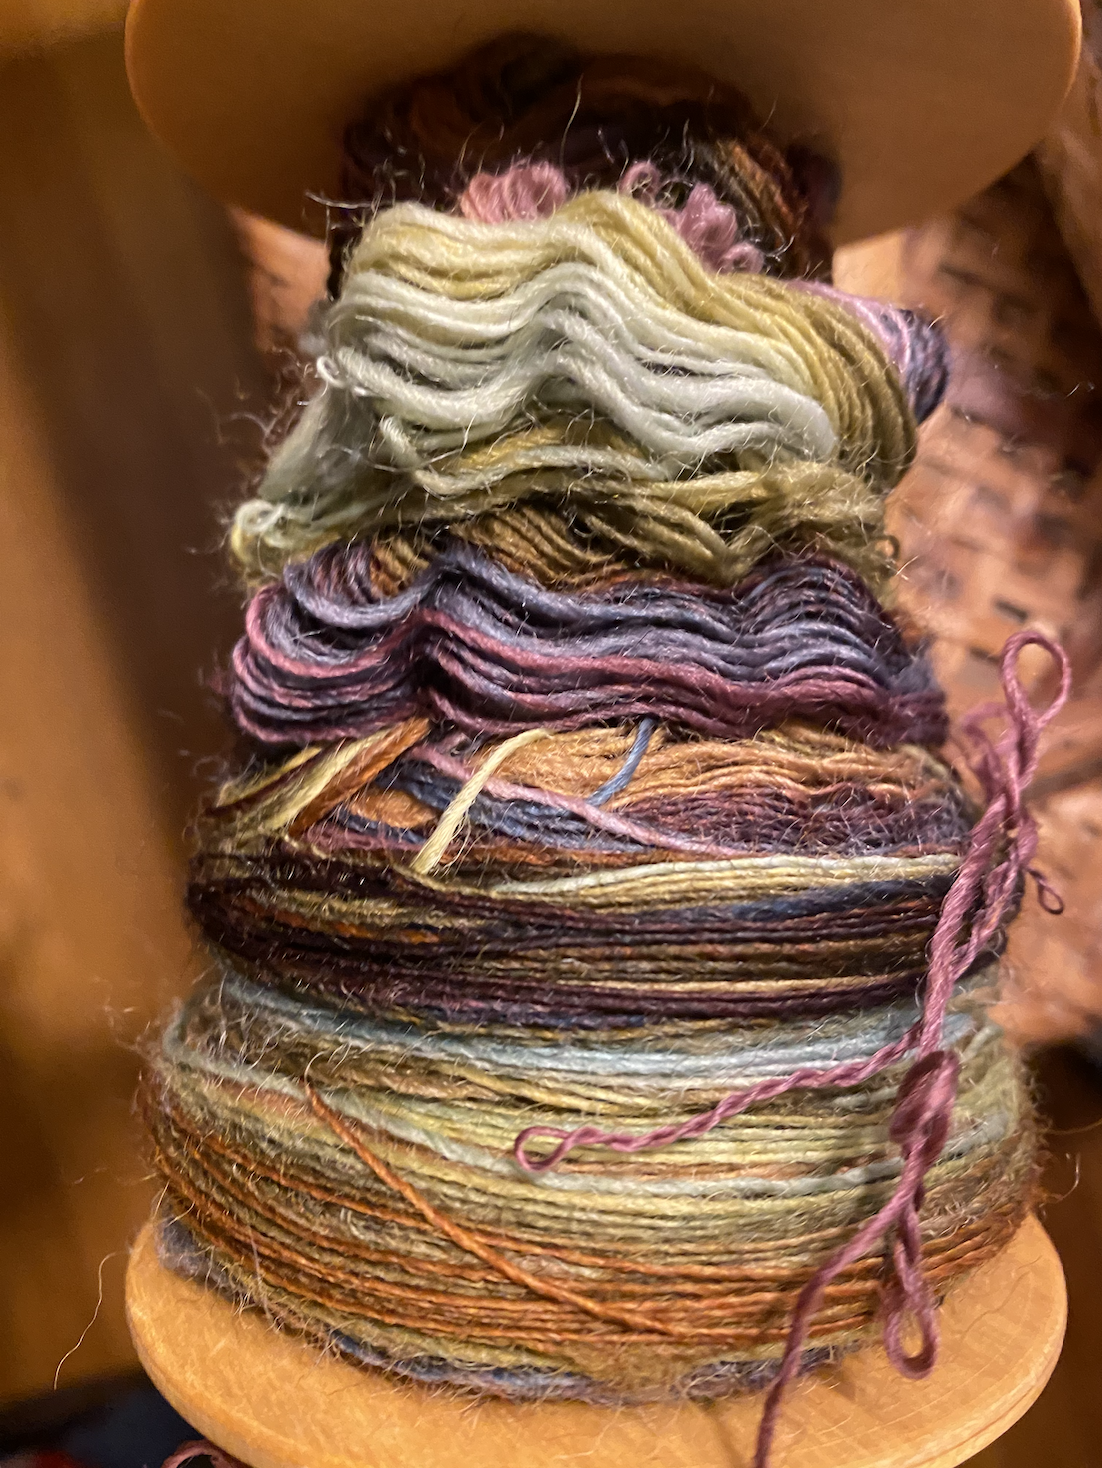
For instance, I am holding the remains of one Mega Ball, leftover from a sweater I knit last summer. It is comprised of 6 strands, and this one segment includes a soft grey strand with a light twist, a high twist yarn in a deep spruce, beside that one is a very powerful orange rust in BFL, a heavily variegated teal-purple-pink (totally from a Natalya project), there is also a sea foam green strand, and a single ply silk in a shimmering silver.
Independently, they are all interesting. Reaching for each in the basket, and drawing them together to create one strand slowed me down. I grabbed one and was all “I like you!” When reaching for the second I considered, “Will you be playful?” Joining the third and fourth gave me pause as it was a juncture: “Is the playground ready for a motley mix?” When searching out strands 5 and 6, I picked one to go bolder and one to soften. And then I started ballling.
It was fun then.
Until one of the strands ended and I needed to pull in another!
Later, I plan to share the entire tutorial on how to make your own Mega Ball. For me it was an exercise in self discovery, as well as yarn discoveries!, and I produced more than a dozen of these.
And what about the name? After all, these balls pictured here don’t look that large. Certainly not “Mega” in size.
My friend, before I used theses for a sweater and a cardigan the smaller one here weighed over 20 ounces. And there were a couple I used up completely weighing a considerable bit over that!
All in all, I can measure achieving my goal (of incorporating leftover bits of yarn into knitting actual pieces) in POUNDS of yarn used. And that heavy tally is proof of moving towards my goal!
Tucked beside beautiful tulips are two examples of easy to make, waste-reducing Mega Balls of yarn created from various knitting project leftovers.
Next time you find yourself with some leftover yarn, get creative and see what amazing things you can come up with!
Stuck on ways to use them:
First, listen to the podcast (some other great ideas are ticked into this episode!)
Take a few minutes to look into the comments (if you are the first one here, come back once others have commented! The community here ALWAYS has incredible ideas)
Make a few Mega Balls of various combinations and look for patterns to match that yarn weight.
Curious as to how you make these fun balls? I will be sharing an opportunity soon to learn, so be sure you are on the VIP mailing list to get notification of where and when.
Until next time Friend, remember your worth. You are a valuable part of the knitting world, and I am glad you are in this community!
- Aloha for now, M
Gratitude Knitting
It would be remiss for me to start a post entitled “Gratitude” anything, and not immediately say how thankful I am for YOU.
I am!
Knitting in online spaces can feel at once both inspiring from so many sources pouring into you, and also lonely for real connections. I am always impressed with the way you show up here and share your creative enthusiasm, and contribute to this online community.
Today’s episode kicks off a 3 part series: 3 Gs of Knitting, Gratitude being the first up. I will be digging in a bit deeper into the things shared in the podcast, but first I want to give everyone the opportunity to listen without spoilers.
I hope you enjoy the episode. You can listen in all the different places. Apple Podcasts is where I find myself binging on podcasts. I just discovered Encourage Better is also on Audible Podcast. Both of these places allow you to listen and leave a review! Would you take a quick moment and share with me where you listen to the podcast? It will help me as I work on a special treat I have planned.
Below you will see a little video snippet of a bandana I forgot to mention in the episode. It was the second one I knit for her…but the “her” in this case you will have to discover by listening.
The video above shares a simple bandana pattern I knit up on a whim for a friend of mine. I used cotton in the version above and Quince and Co. Sparrow linen in the one before this version. And currently, as I prepare for a free virtual knitting retreat, I have on my needles this same pattern in linen in a beautiful color, not my usual, but it is now a favorite! It is a quick knit that makes an excellent teaching tool and I know the knitters will enjoy creating it, amongst other things.
I also share about the Time After Time Cowl by Elizabeth Smith Knits. It is a free pattern and worked up quite perfectly in HedgeHog Fibers Chubby Yarn, color way Potluck.
Time After TIme Cowl Pattern by Elizabeth Smith Knits, Free on Ravelry and knit in Hedgehog Fibers
The Gratitude Knitting episode shares my experiences when knitting for others, and I would love to hear from you in the comments about your experiences. Remember to peek back at previous comments, as I try to reply to them. And if you left a comment on the Swaddle Pals post, do hurry and peek so you can claim your free pattern if you won.
I hope today’s episode encourages you to think about your knitting in new ways. If you like what you hear, consider sharing the episode with others via the easy-share links provided in almost all the places you listen. I am on a mission to remind as many knitters as possible that there is more to our knitting than the stitches we create. You sharing the podcast helps that mission become successful. And I appreciate it.
I will be back later with more details about each of the projects!
Twists and Turns
Welcome Knitter! I hope you enjoy today’s podcast. Would you take a sec and in the comments let me know where you subscribe to the podcast: Apple, Spotify, Buzzsprout? Sharing that will help me with producing and sharing even better content, so thank you!
I mentioned a few things on the podcast that I want to provide links for:
The FREE Virtual Knitting Retreat: Information and invitations for this will be shared only with email subscribers. Not on the list? CLICK HERE and sign up!
The Alutiiq Museum: An adventure in local history is free to you there!
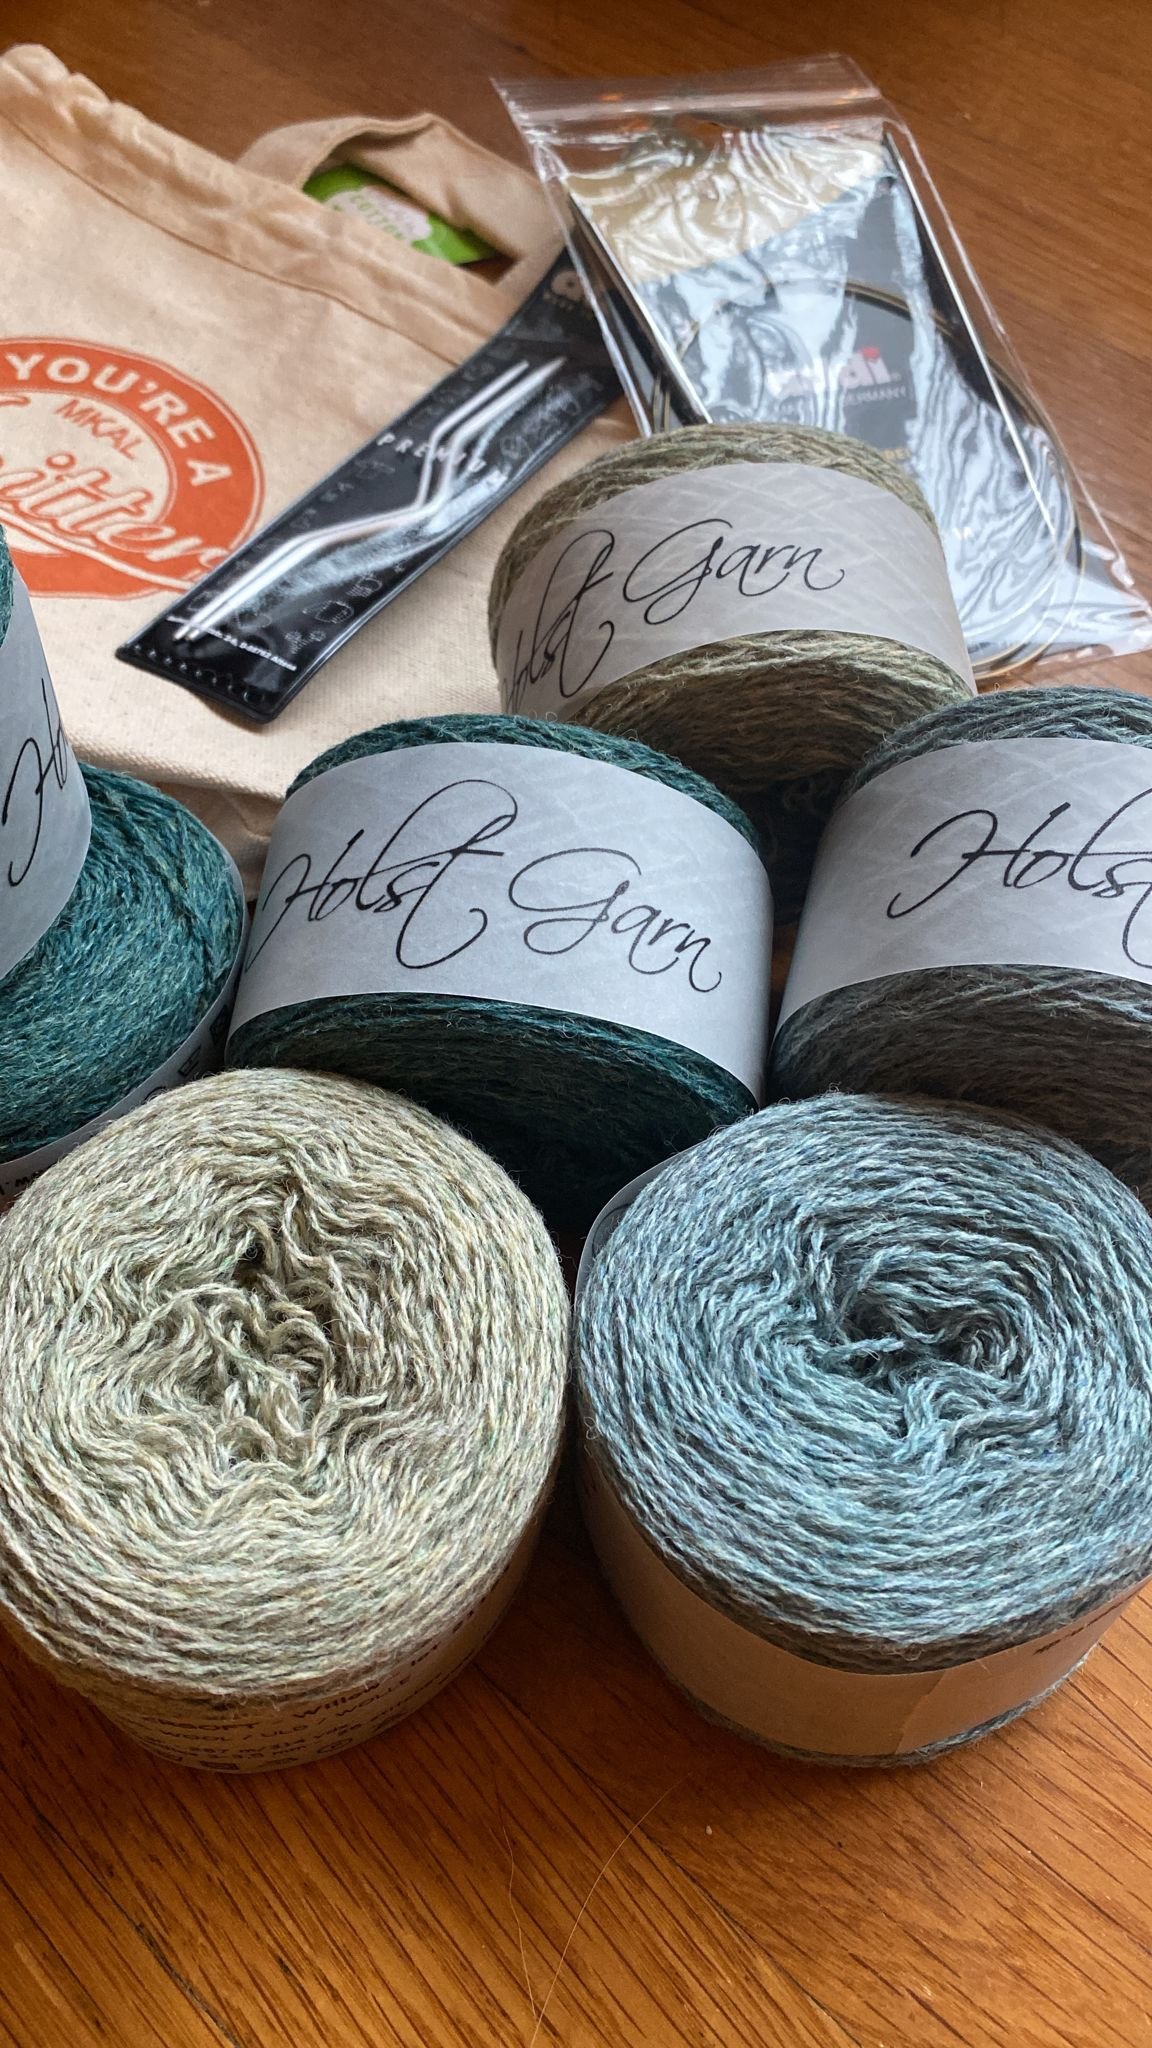
Now to get you to the yarn! Here is a snapshot of the yarn for the project you hear about in the podcast. Have you ever used this yarn before? It was new to me and I enjoyed it.
Well friends, I hope you enjoy today’s episode. If you do, consider sharing it with a friend by tapping the “Share” button on the episode. Look for the 3 dots to the right of the episode title or the arrow popping out of the box icon. A the bottom of this post are screenshots and quick video show an example. Thank you for your part in helping me reach this important goal. I couldn’t do it without you!
Remember to add your name to the list of people who will be invited to attend the Free Knitting Retreat held virtually in May. Space will be limited, but the fun we will have won’t be! That my friend is definitely unlimited! I look forward to spending time laughing, learning, and loving every aspect of knitting together with you!

Birthday Bonus!
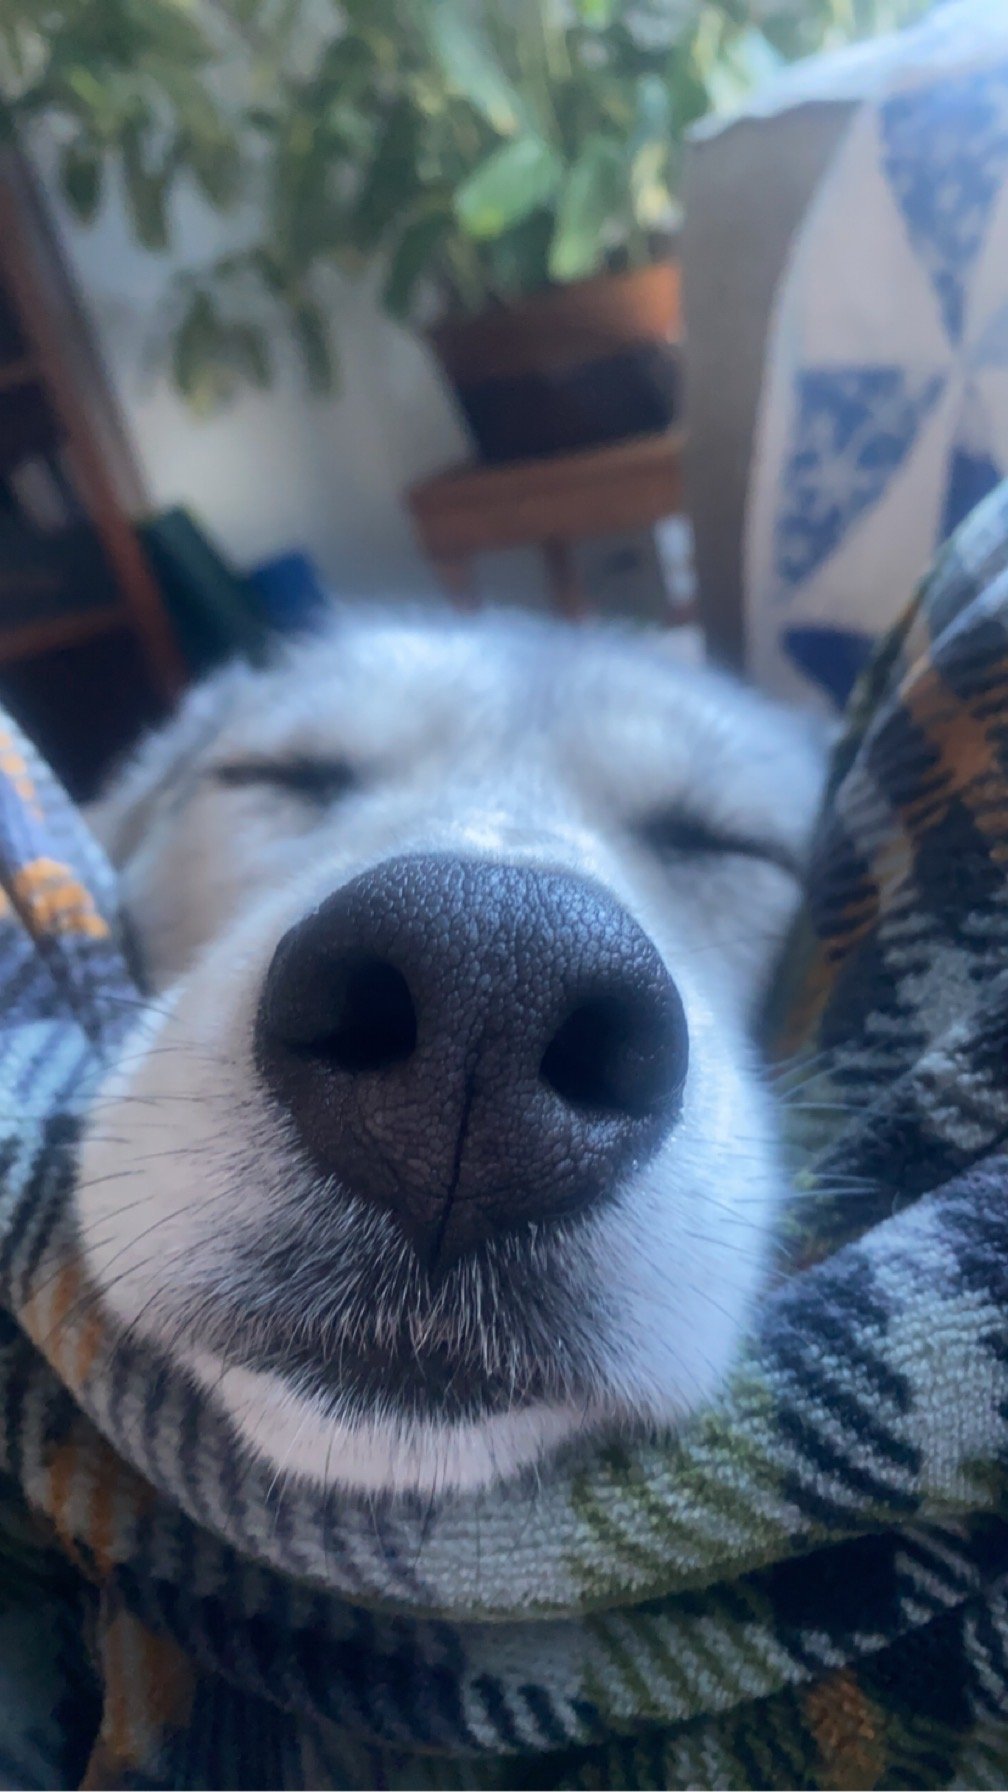
A nose for knitting…
Aloha and Happy Tuesday! Or whatever the day is that has you landing here. I am including a Happy Otter Moment from yesterday’s walk because everyone deserves 10 seconds of happy-floating-otter time…
There are a few things to celebrate today:
3 pattern winners for starts!
These 3 folks receive the Swaddle Pals Vol.1 pattern, a giveaway I held for that blog post. I love seeing you, Dear Reader, sharing insight and questions in the comments here. Rewarding that lovely engagement brings me joy.
Soooooooo… here are the winners:
Mrs. B
Janice Butler
Lisa
You have all been messaged as a comment, in addition to here, and in the email that went out today.
Thank you to everyone who shares themselves, and their stories in the comments.
I have a few extra treats for EVERYONE!
There is a bonus episode that released today. The reason for the extra episode will become clear when you listen. I hope you enjoy it!
And lastly, if you are an email subscriber, check your inbox! There are 2 free pattern PDFs delivered to you, and I hope you enjoy them.
***Not on the email list? I can help! Click HERE and sign up. You may get the resend for these 2 special patterns if you sign up quickly. If you miss these, fear not, as email subscribers have an incredible treat in store for them in May. (shhhhh! It is a FREE virtual retreat for us. Only email subscribers will receive the invite. It is going to be the most wonderful time together, with free patterns to enjoy at the retreat, and lots of laughter, learning, and community! And my friend it will not cost a penny to attend this retreat. More details to come, but definitely take the time now to make sure you are on the VIP list asap!)
Alright friend, I appreciate YOU!
Have the most wonderful day!
Nightshift Shawl
The NightShift Shawl by Andrea Mowry provided more than a cozy knit, it was a knitting adventure!
In 2018, Andrea Mowry released the Nightshift pattern. EVERYBODY and their favorite yarn knew about it and knit it.
Well…everyone but me.
Actually that isn’t entirely true. I found 3 friends that hadn’t knit it either, and no, we weren’t all living under the same rock. ;)
In my defense, in 2018, I was relocating from St. Thomas, USVI to Kodiak, Alaska and so my knitting radar was not turned on to pick up incredible new patterns. But in the summer of ‘22, it became the perfect time to cast on my Nightshift Shawl (Be advised, I call mine the Shifty Shawl, but I am referring to the Nightshift pattern).
If you haven’t yet listened to the podcast, there is a fun story with suggestions on starting your own Knit Together group, so head here https://www.buzzsprout.com/1319800/12683952 and have a listen.

I wanted a few things from the experience of knitting this shawl:
I wanted community, just a few friends to keep me company
I wanted to use hand spun yarn for the majority of yarn in the project
I wanted to create a soft, enveloping fabric that I could wrap myself in and ward off cold winds and sad feelings
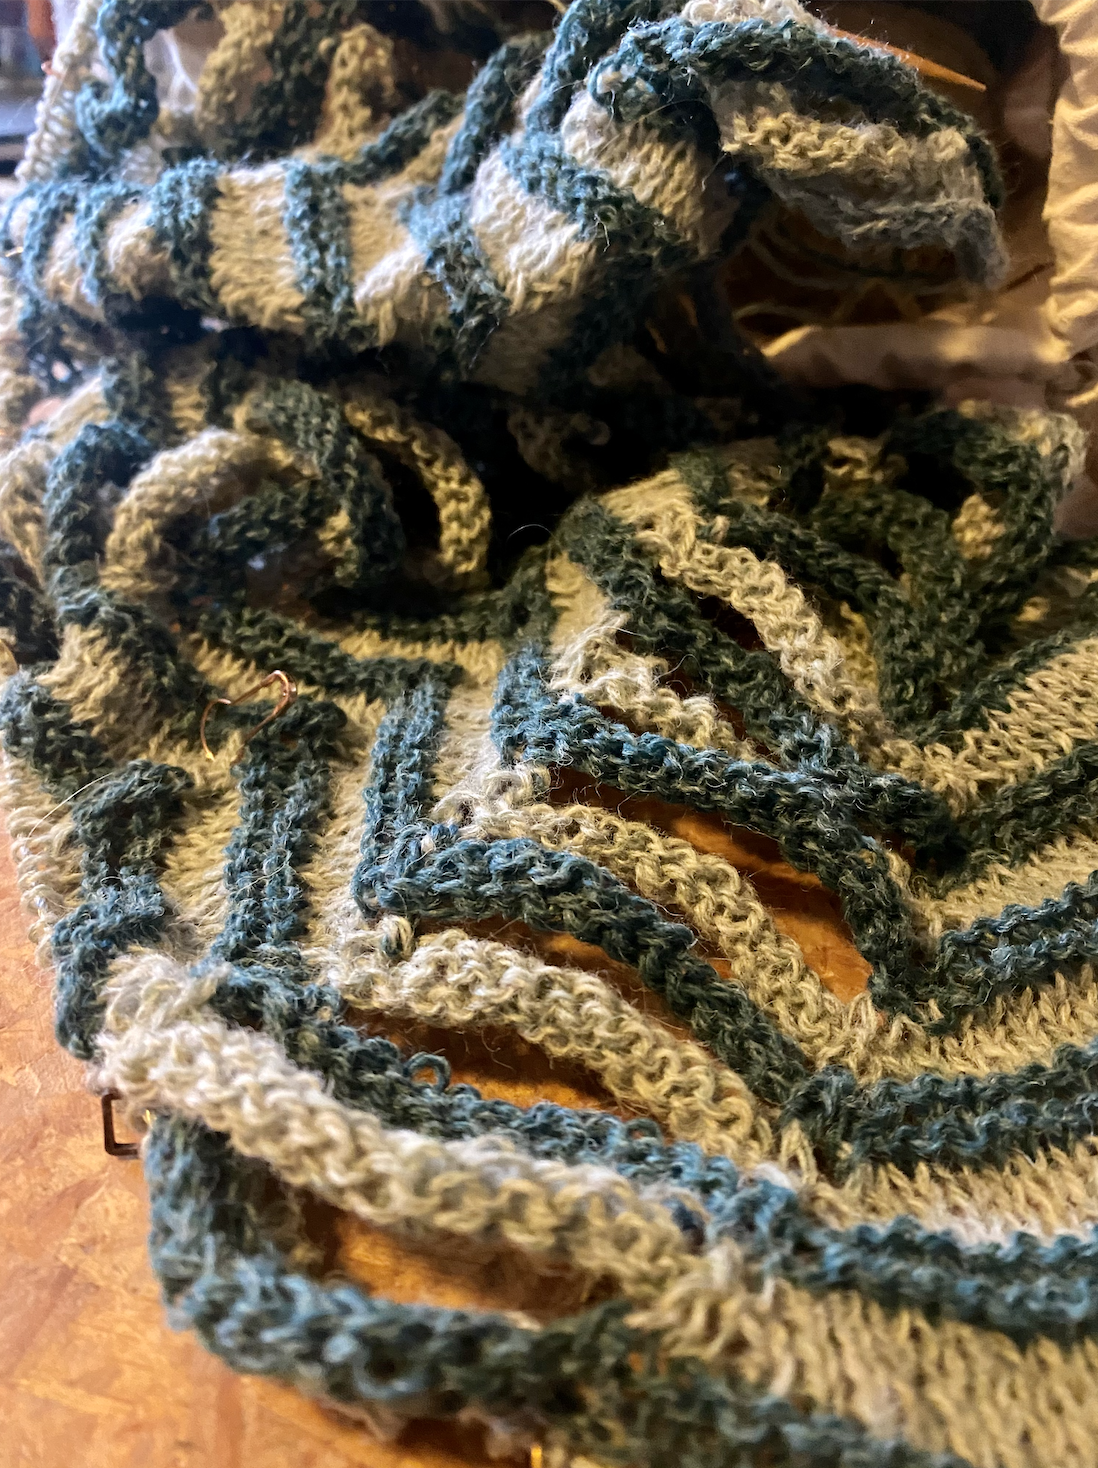
So I dug into my yarns and found the first color combination that I wouldn’t use, followed by two other combinations. Anyone else dig out all the yarn, make a mess, and still not use anything you took out? Show of hands? Fourth time was the charmed combo. I chatted long and hard with the Nightshift-Cover-Photo-Andrea-Mowry, as the real life one was unavailable, and through out chat I felt compelled to play around with the yarns I chose, by that I mean, she invited me to swatch a bit. The yarn I wanted to use was hand-spun fingering weight and a sport weight. Using the recommended needle size US 8/5mm was airy, and I thought perfect, until I soaked and blocked it. It became apparent I needed a smaller needle. I settled on the US 7/4.5 mm and happily began my shift.

We all cast on May 21st, 2022. I had the loveliest bouquet of tulips delivered and I sat at our dining room table and knit. I remember being thankful for sunshine pouring in the window, even though it was too chilly to sit outside and knit. I sat and enjoyed the flowers to the point of distraction…and found myself completely messing up the i-cord edges. I had to rip out my work and begin again.
It was a lovely adventure, made all the better with friends sharing everything from pet pics, to angst with color choices. We spent the summer encouraged by one another. Included in my knitting was also “unknitting” to keep it real…
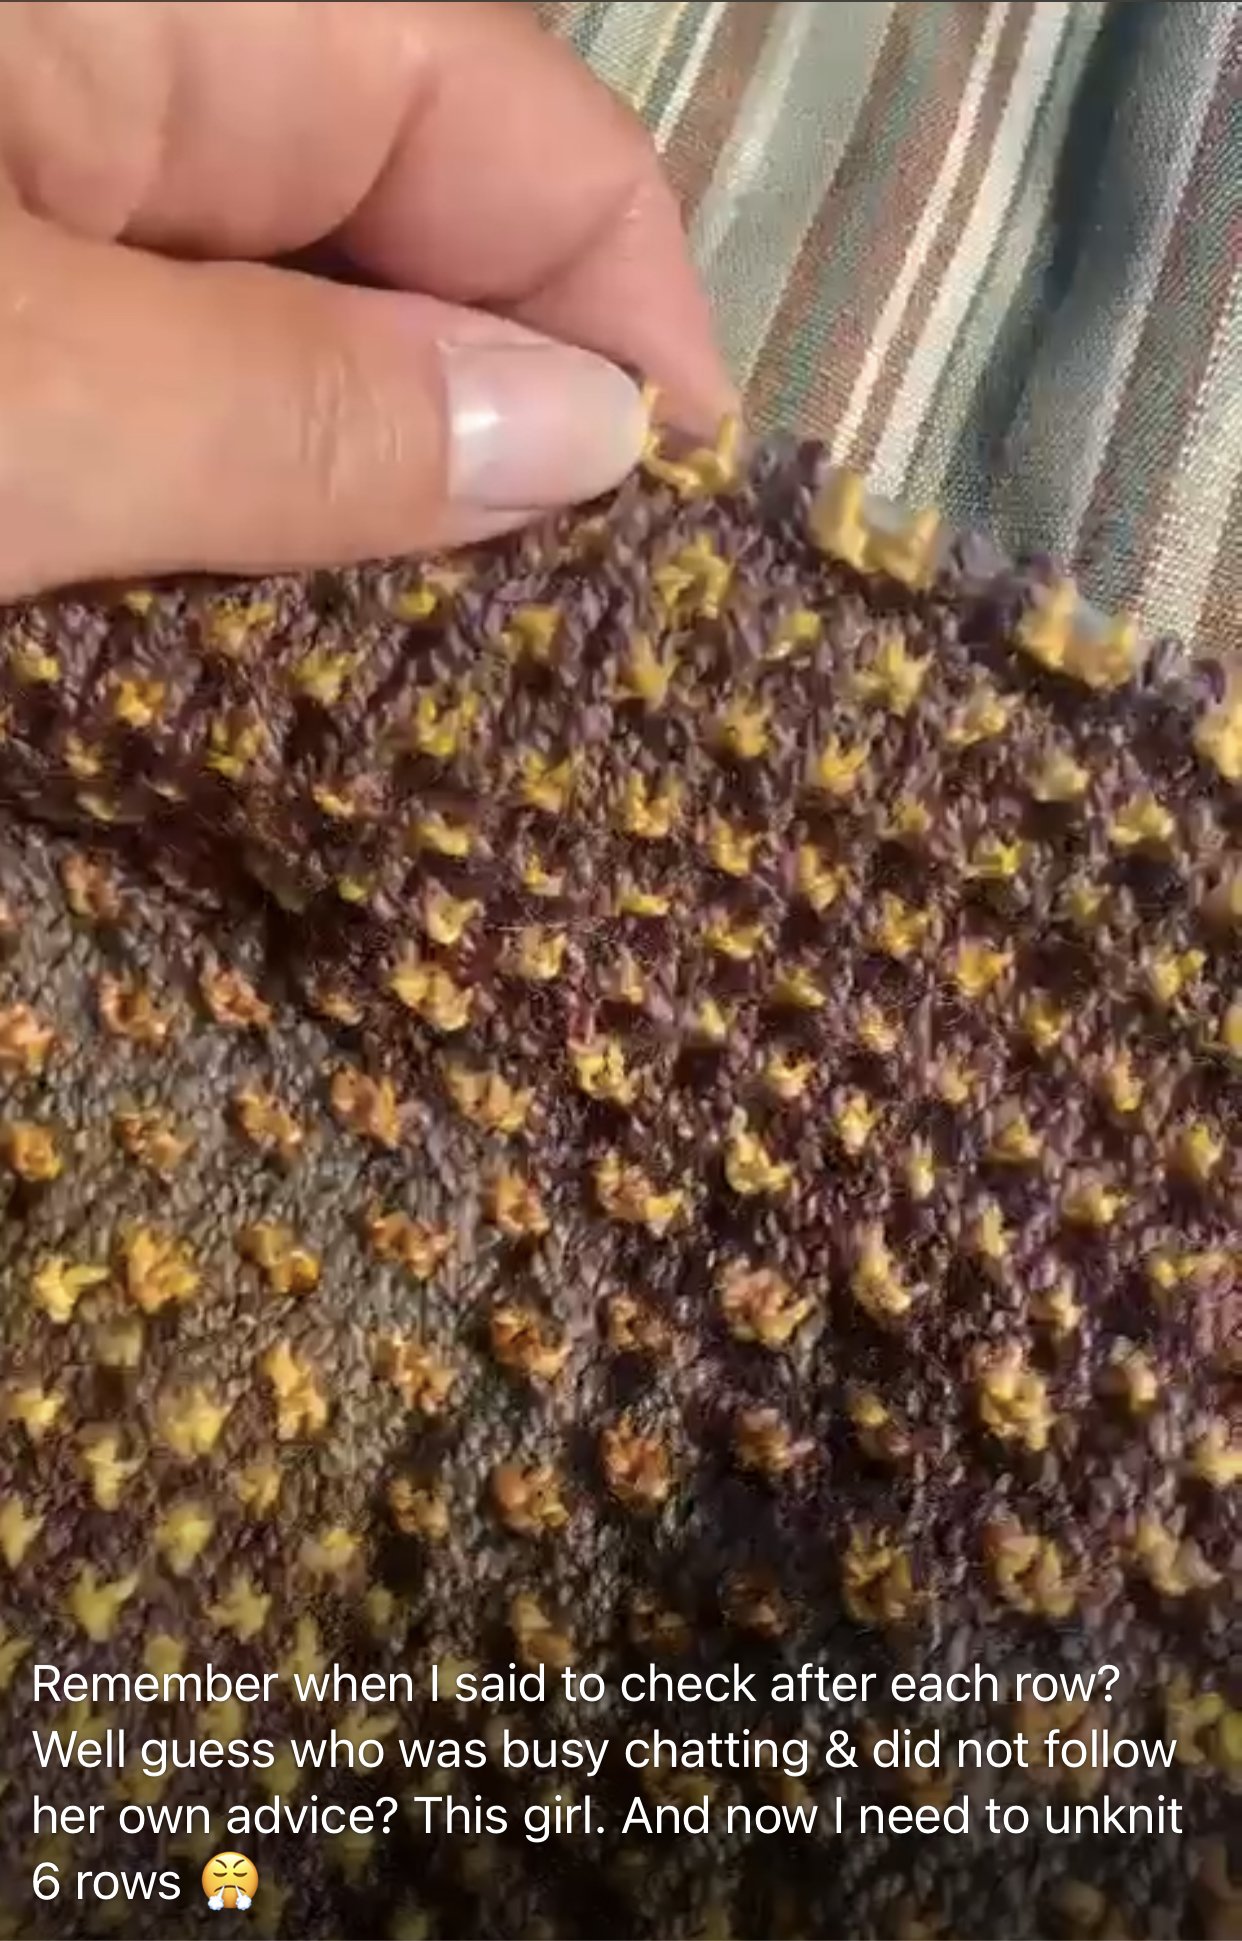
I cast off my gorgeous creation on July 24th. The pattern directs you to have 191 stitches when beginning the i-cord bind off, but I continued on past that number, to 233.
The shawl was a straightforward knit that I only used the pattern to begin, and continuing on was intuitive after starting. This may also be in part to having knit 2 Shifty sweaters with the same stitch pattern rhythm. I love the way the hand spun developed, flowing from one color mood to another. I used it throughout, and held the second color steady, only changing it with a very similar yarn and back to blend the two for yardage needs.
Video of MSkiKnits version of Andrea Mowry’s NightShift shawl knitting pattern
I wear this shawl a few times a week, most recently today as I walked down to the harbor and back in the sleety rain. I was tucked in with my shifty shawl wrapped around my neck and tied. It is warm and beautiful and filled with pleasant memories amongst friends.
Is there a time when you knit together with knitters and enjoyed the pattern all the more for it? I would love to hear about it! Have you ever knit the Nightshift Shawl? What did you think? Am I missing another great shawl pattern? Let me know in the comments below!
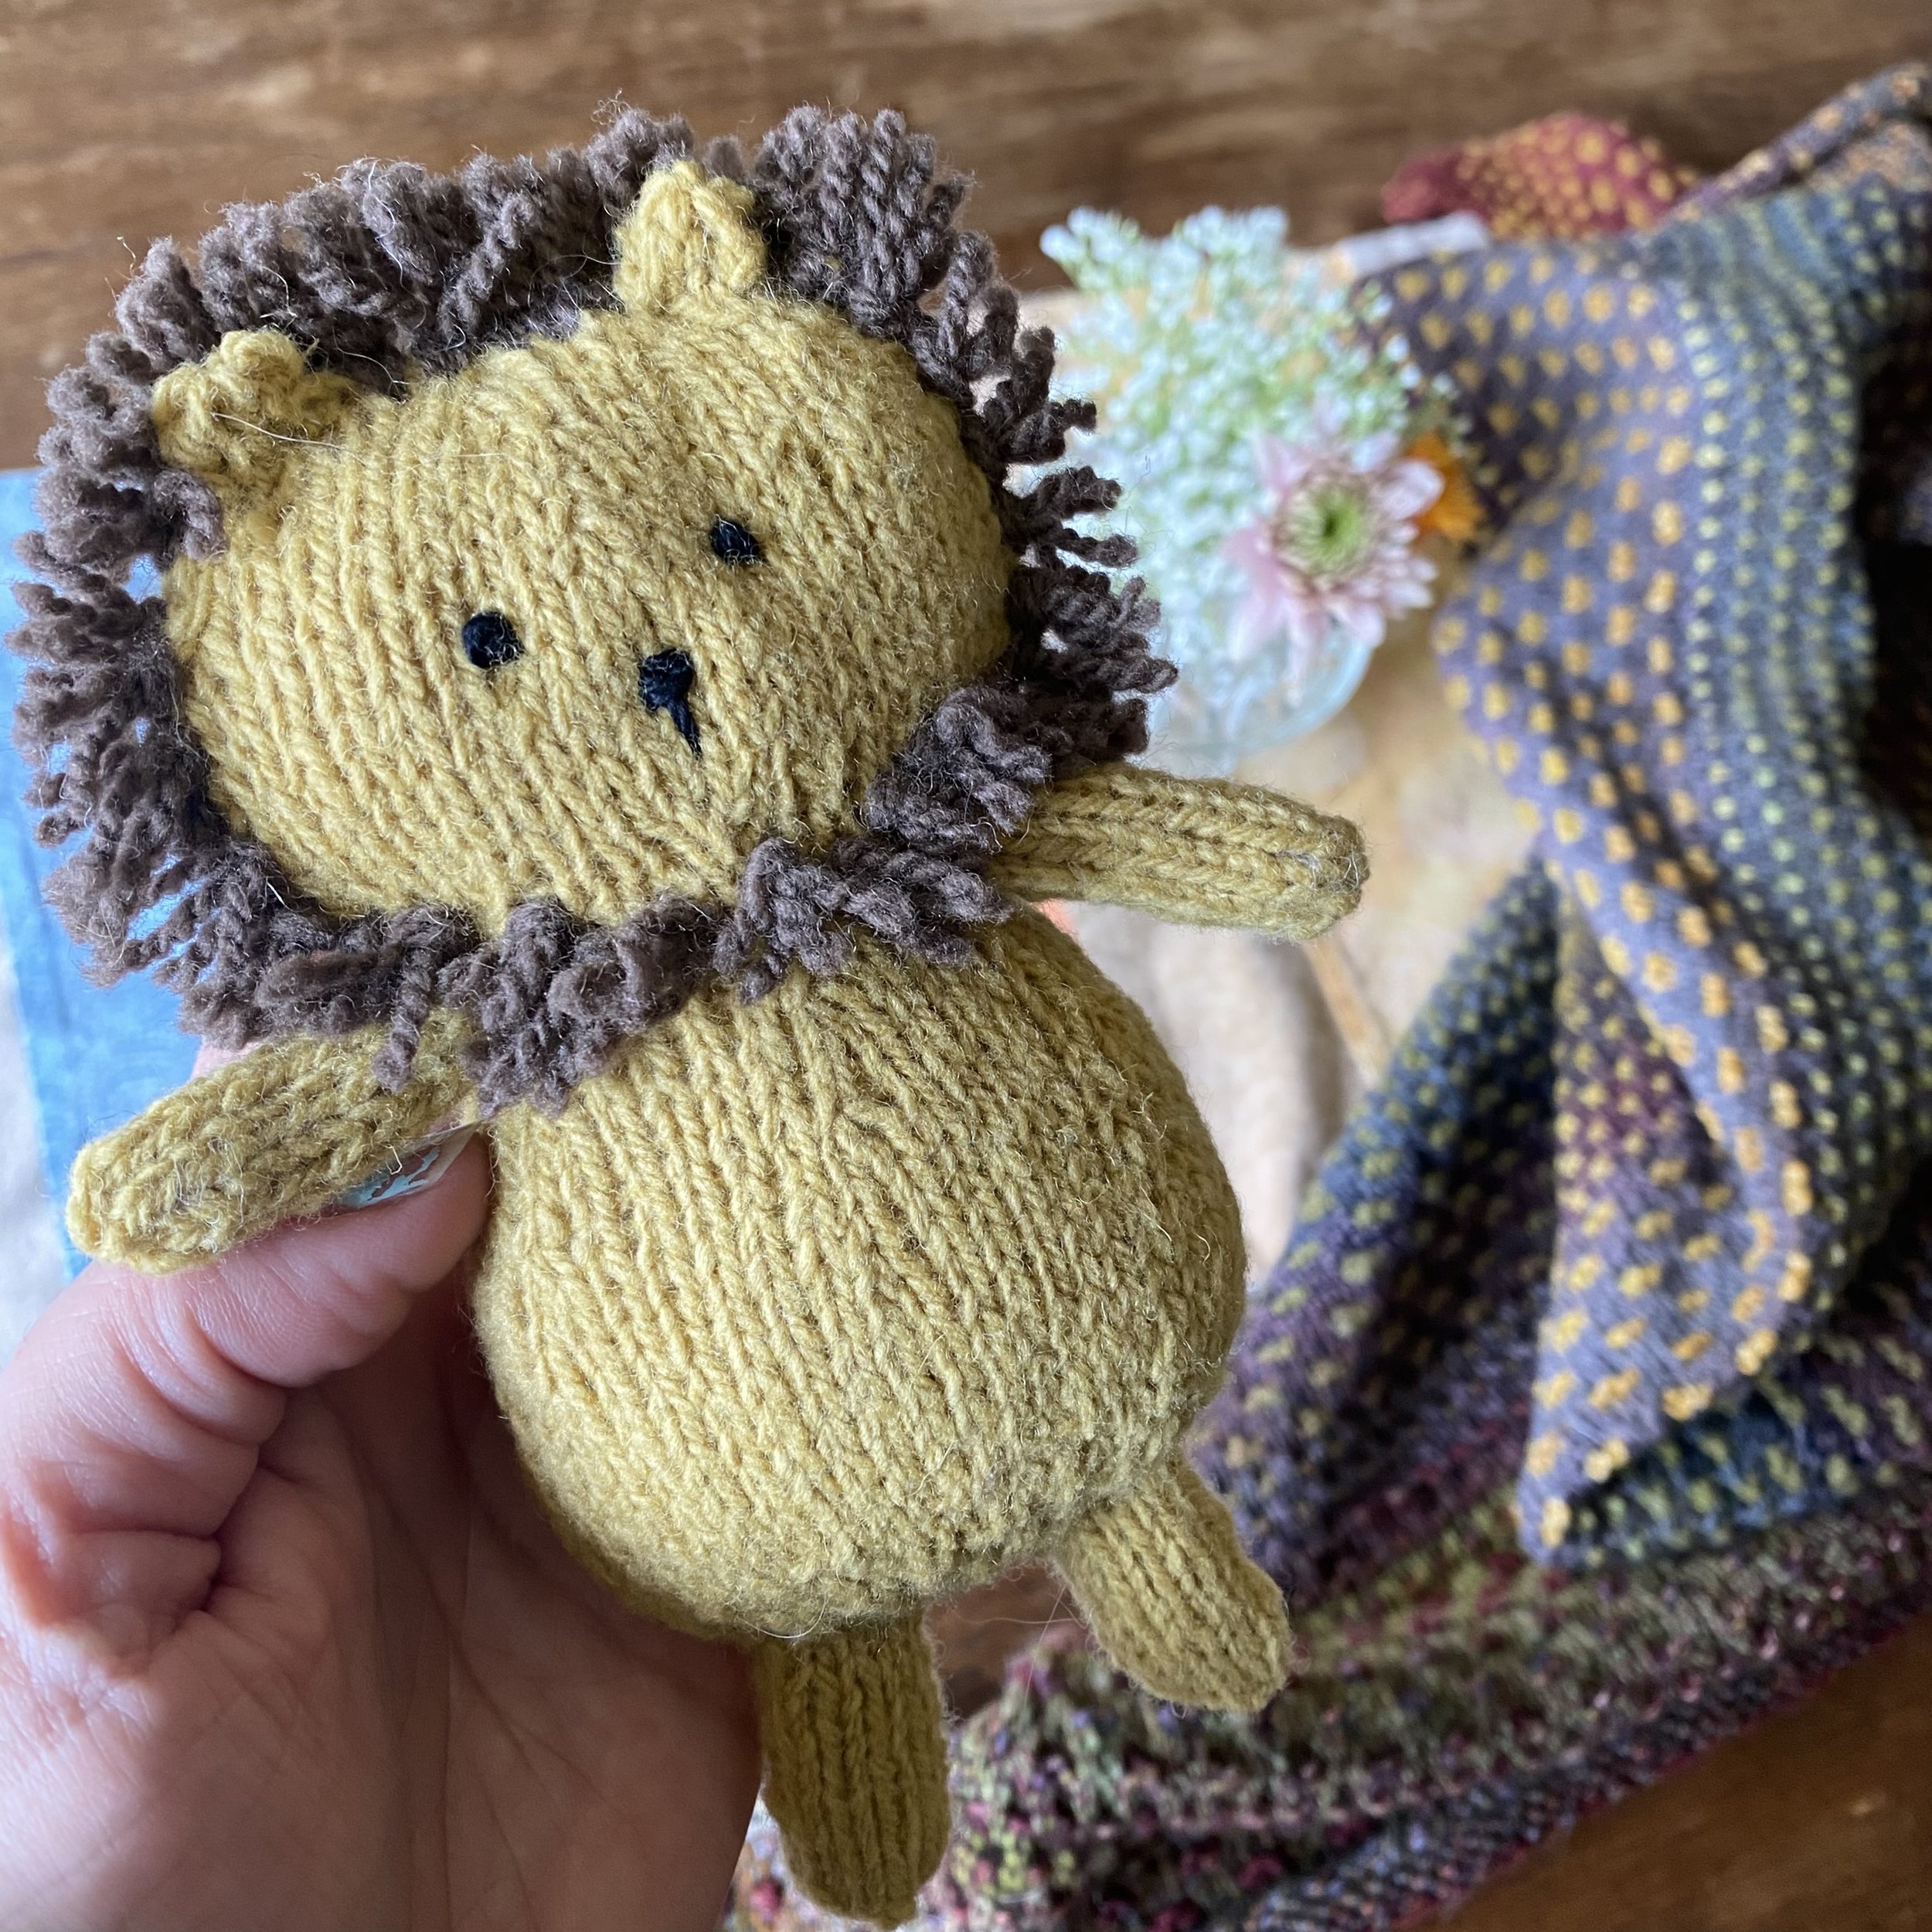
Swaddle Pals
Leo the Lion, created from Swaddle Pals pattern by Susan B. Anderson helped lift my spirits. It was such a pleasure to knit from this pattern!
In my Encourage Better Podcast Season 3 Episode 1, I shared a bit about this little project. If you haven’t listened to it yet, I would love to invite you to hear more by heading here: https://www.buzzsprout.com/1319800/12639719
I began the episode by acknowledging the lapse in connecting with you, Dear Knitter. The last years have been challenging, and I am finding my way forward. I hope you will continue to extend grace to me as I find my rhythm.
A fun project that helped me rediscover some enthusiasm is one I just completed at the start of April. You may be familiar with Susan B. Anderson, a delightful designer, teacher, and entrepreneur. Her company Barrett Wool Co sends out emails that are my kryptonite. And I am not mad. I ordered her Swaddle Pals kit, and once it arrived, I got to work creating Leo.
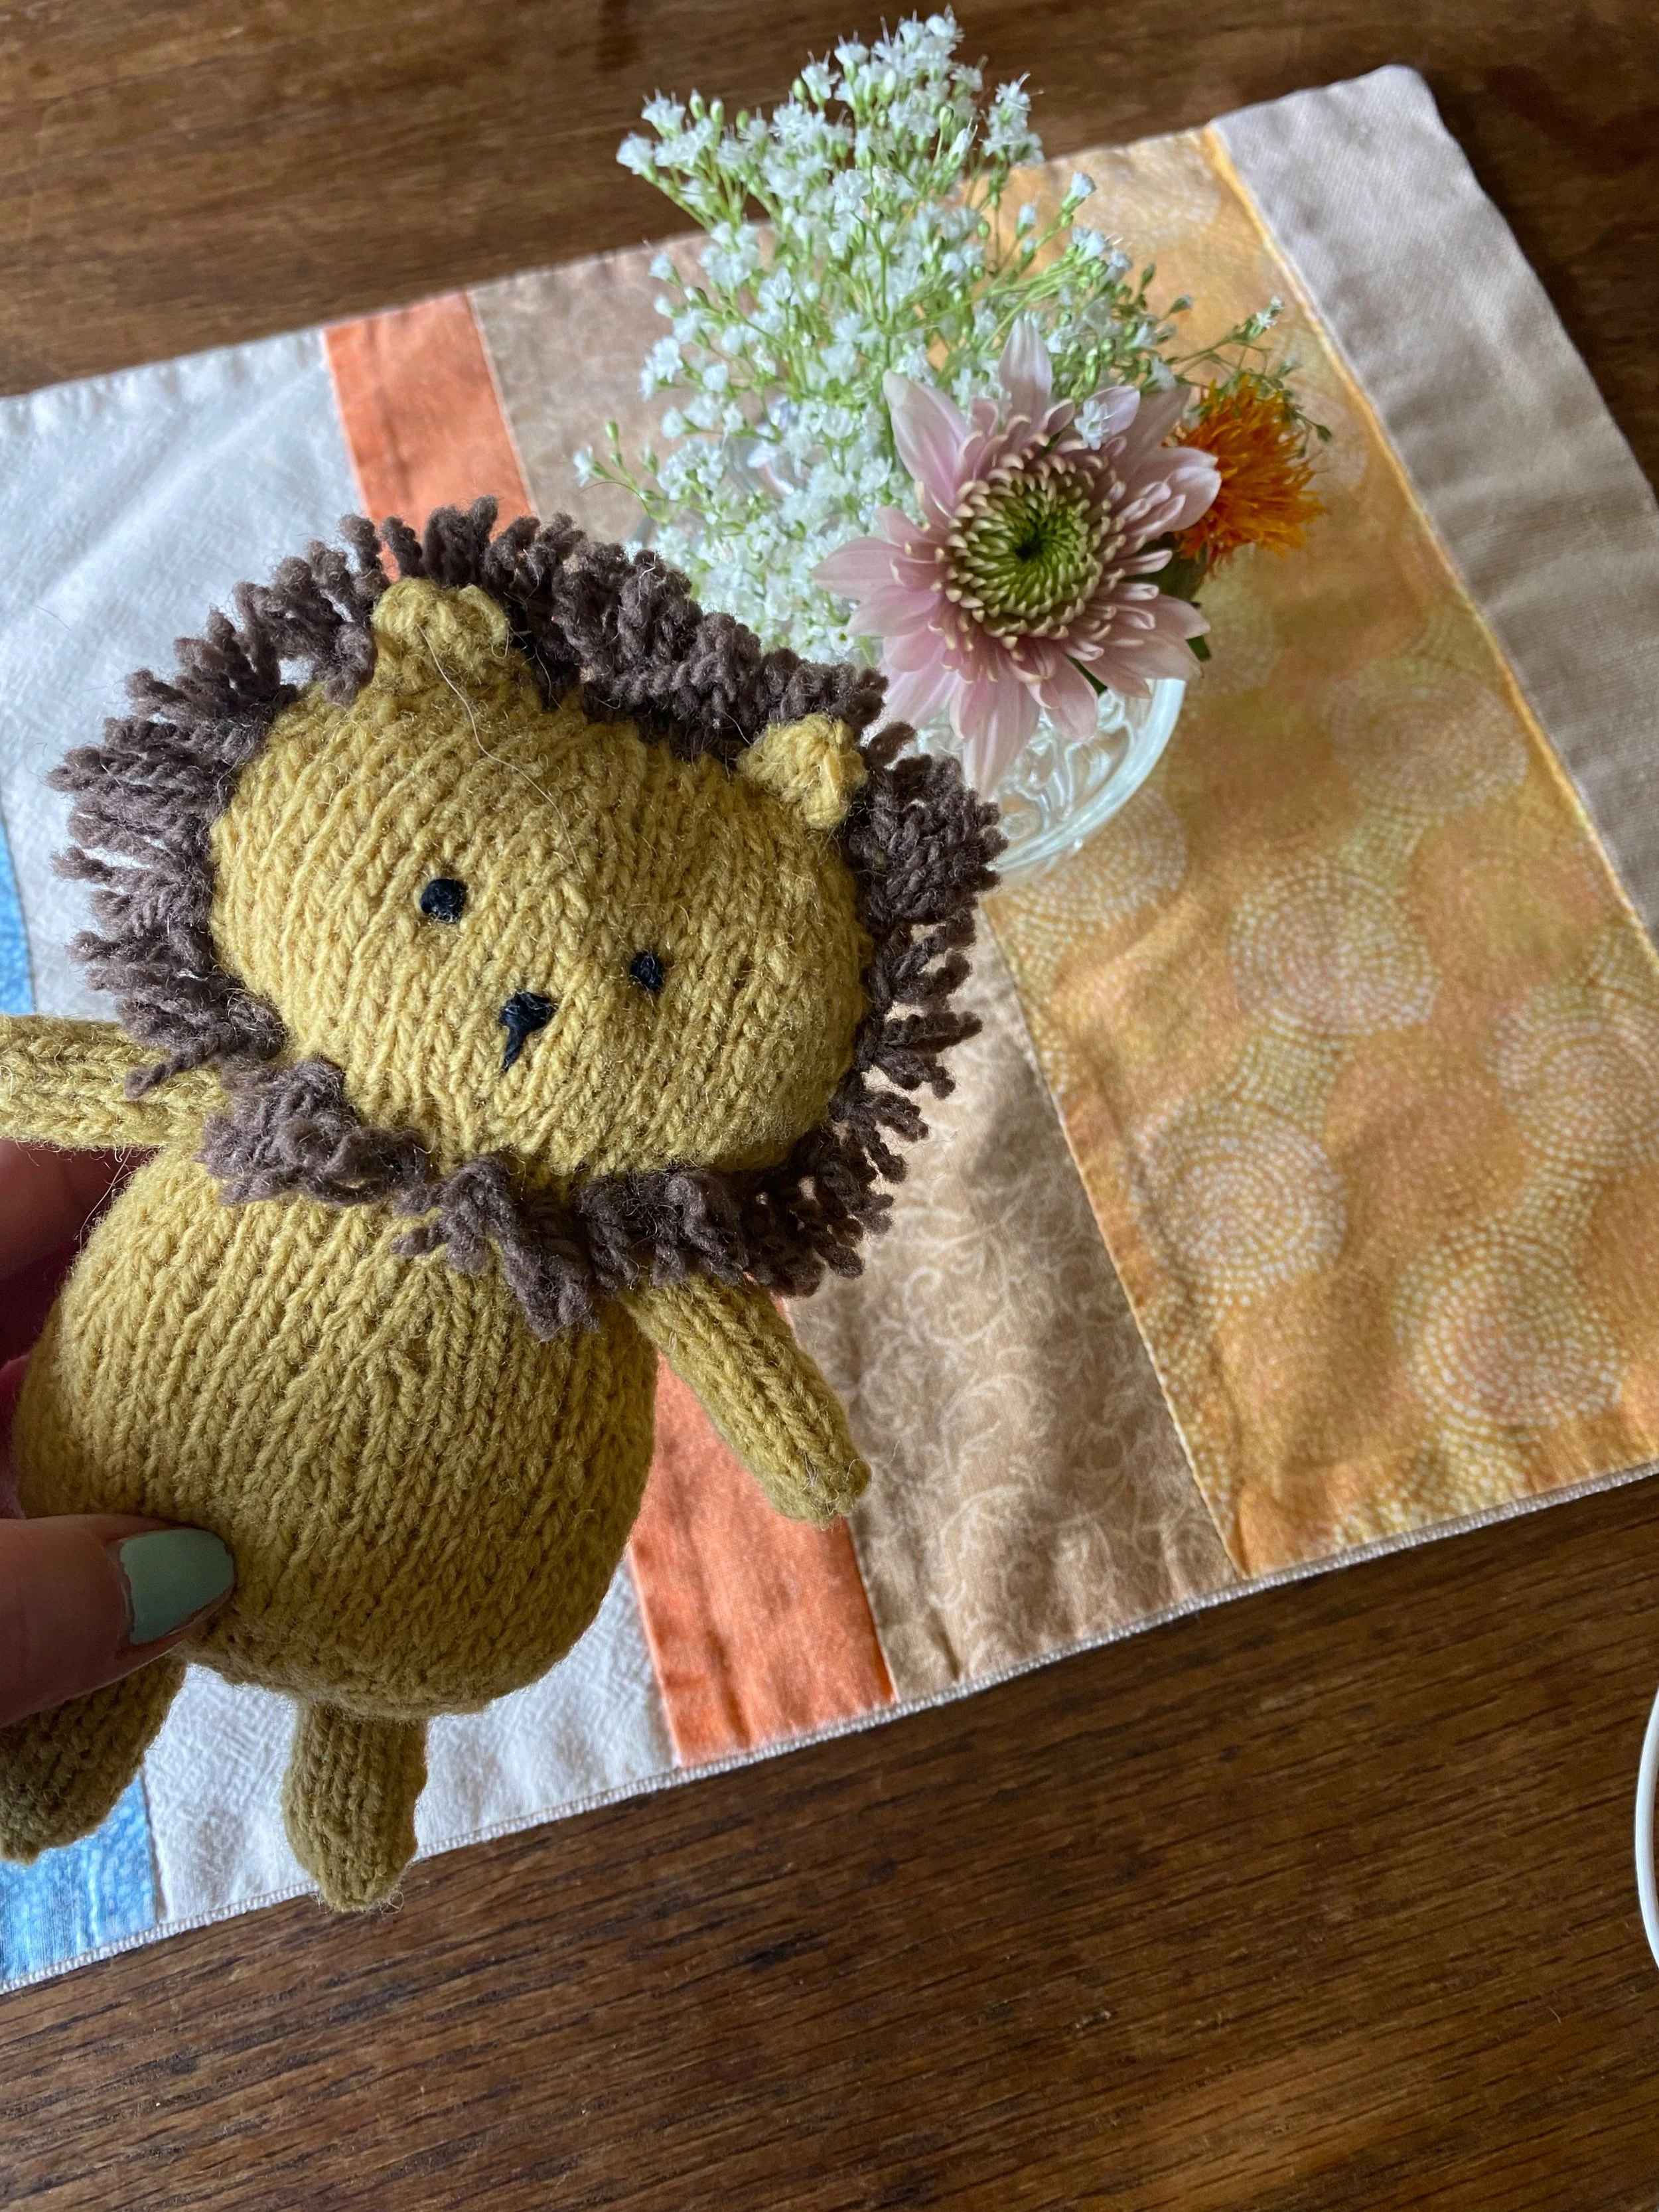
Leo will be adventuring off to meet a small human in Hawaii and I hope they become fast friends, like Calvin and Hobbes. I fully enjoyed each stitch of this pattern. Susan B. is clever in the way she creates little critters, and she invites knitters to follow her through clearly written patterns to recreate the same adorable stuffed friends. Images support knitters through this process, and if you need more help, video tutorials are linked within the pattern. I especially enjoyed watching the video on creating the lion’s face. I watched it three times, not because I couldn’t understand the process, but because what she was doing was enjoyable!
Leo had a clever construction, as many of her patterns share. He was knit from his bottom to his head, with arms, legs, tail and ears knit onto him by way of picking up stitches from the body. Once complete there is little finishing work, zero applying appendages, just a meditative application of his mane that I smiled my way through.
I have had the pleasure of taking a few of Susan’s classes before, and in each one relating to making toys, she says the magic happens when we stitch the face. The little knit we have made comes to life as eyes, nose and mouth are fashioned. She is right. Suddenly there is a personality within the yarn and poly-fil by way of a few French knots and stacked stitches.
The pattern includes directions for a lion, a bear, a kitten and bunny, as well as a swaddling cloth to knit for them (hence the pattern name). I haven’t yet created the swaddle. I am too busy knitting up the bear.
Leo was created using sport weight yarn from the kit, Poundcake for the body, arms, legs, ears and tail, and Earthen for the main, plus I added a tiny tip of it on the tail. He has the gentlest sounding rattle insert that was included in the kit. At the present time writing this the kits are not available, however the rattles are sold 4 for $2 in her mercantile shop. There is also the option to be contacted when the kits are back in stock.
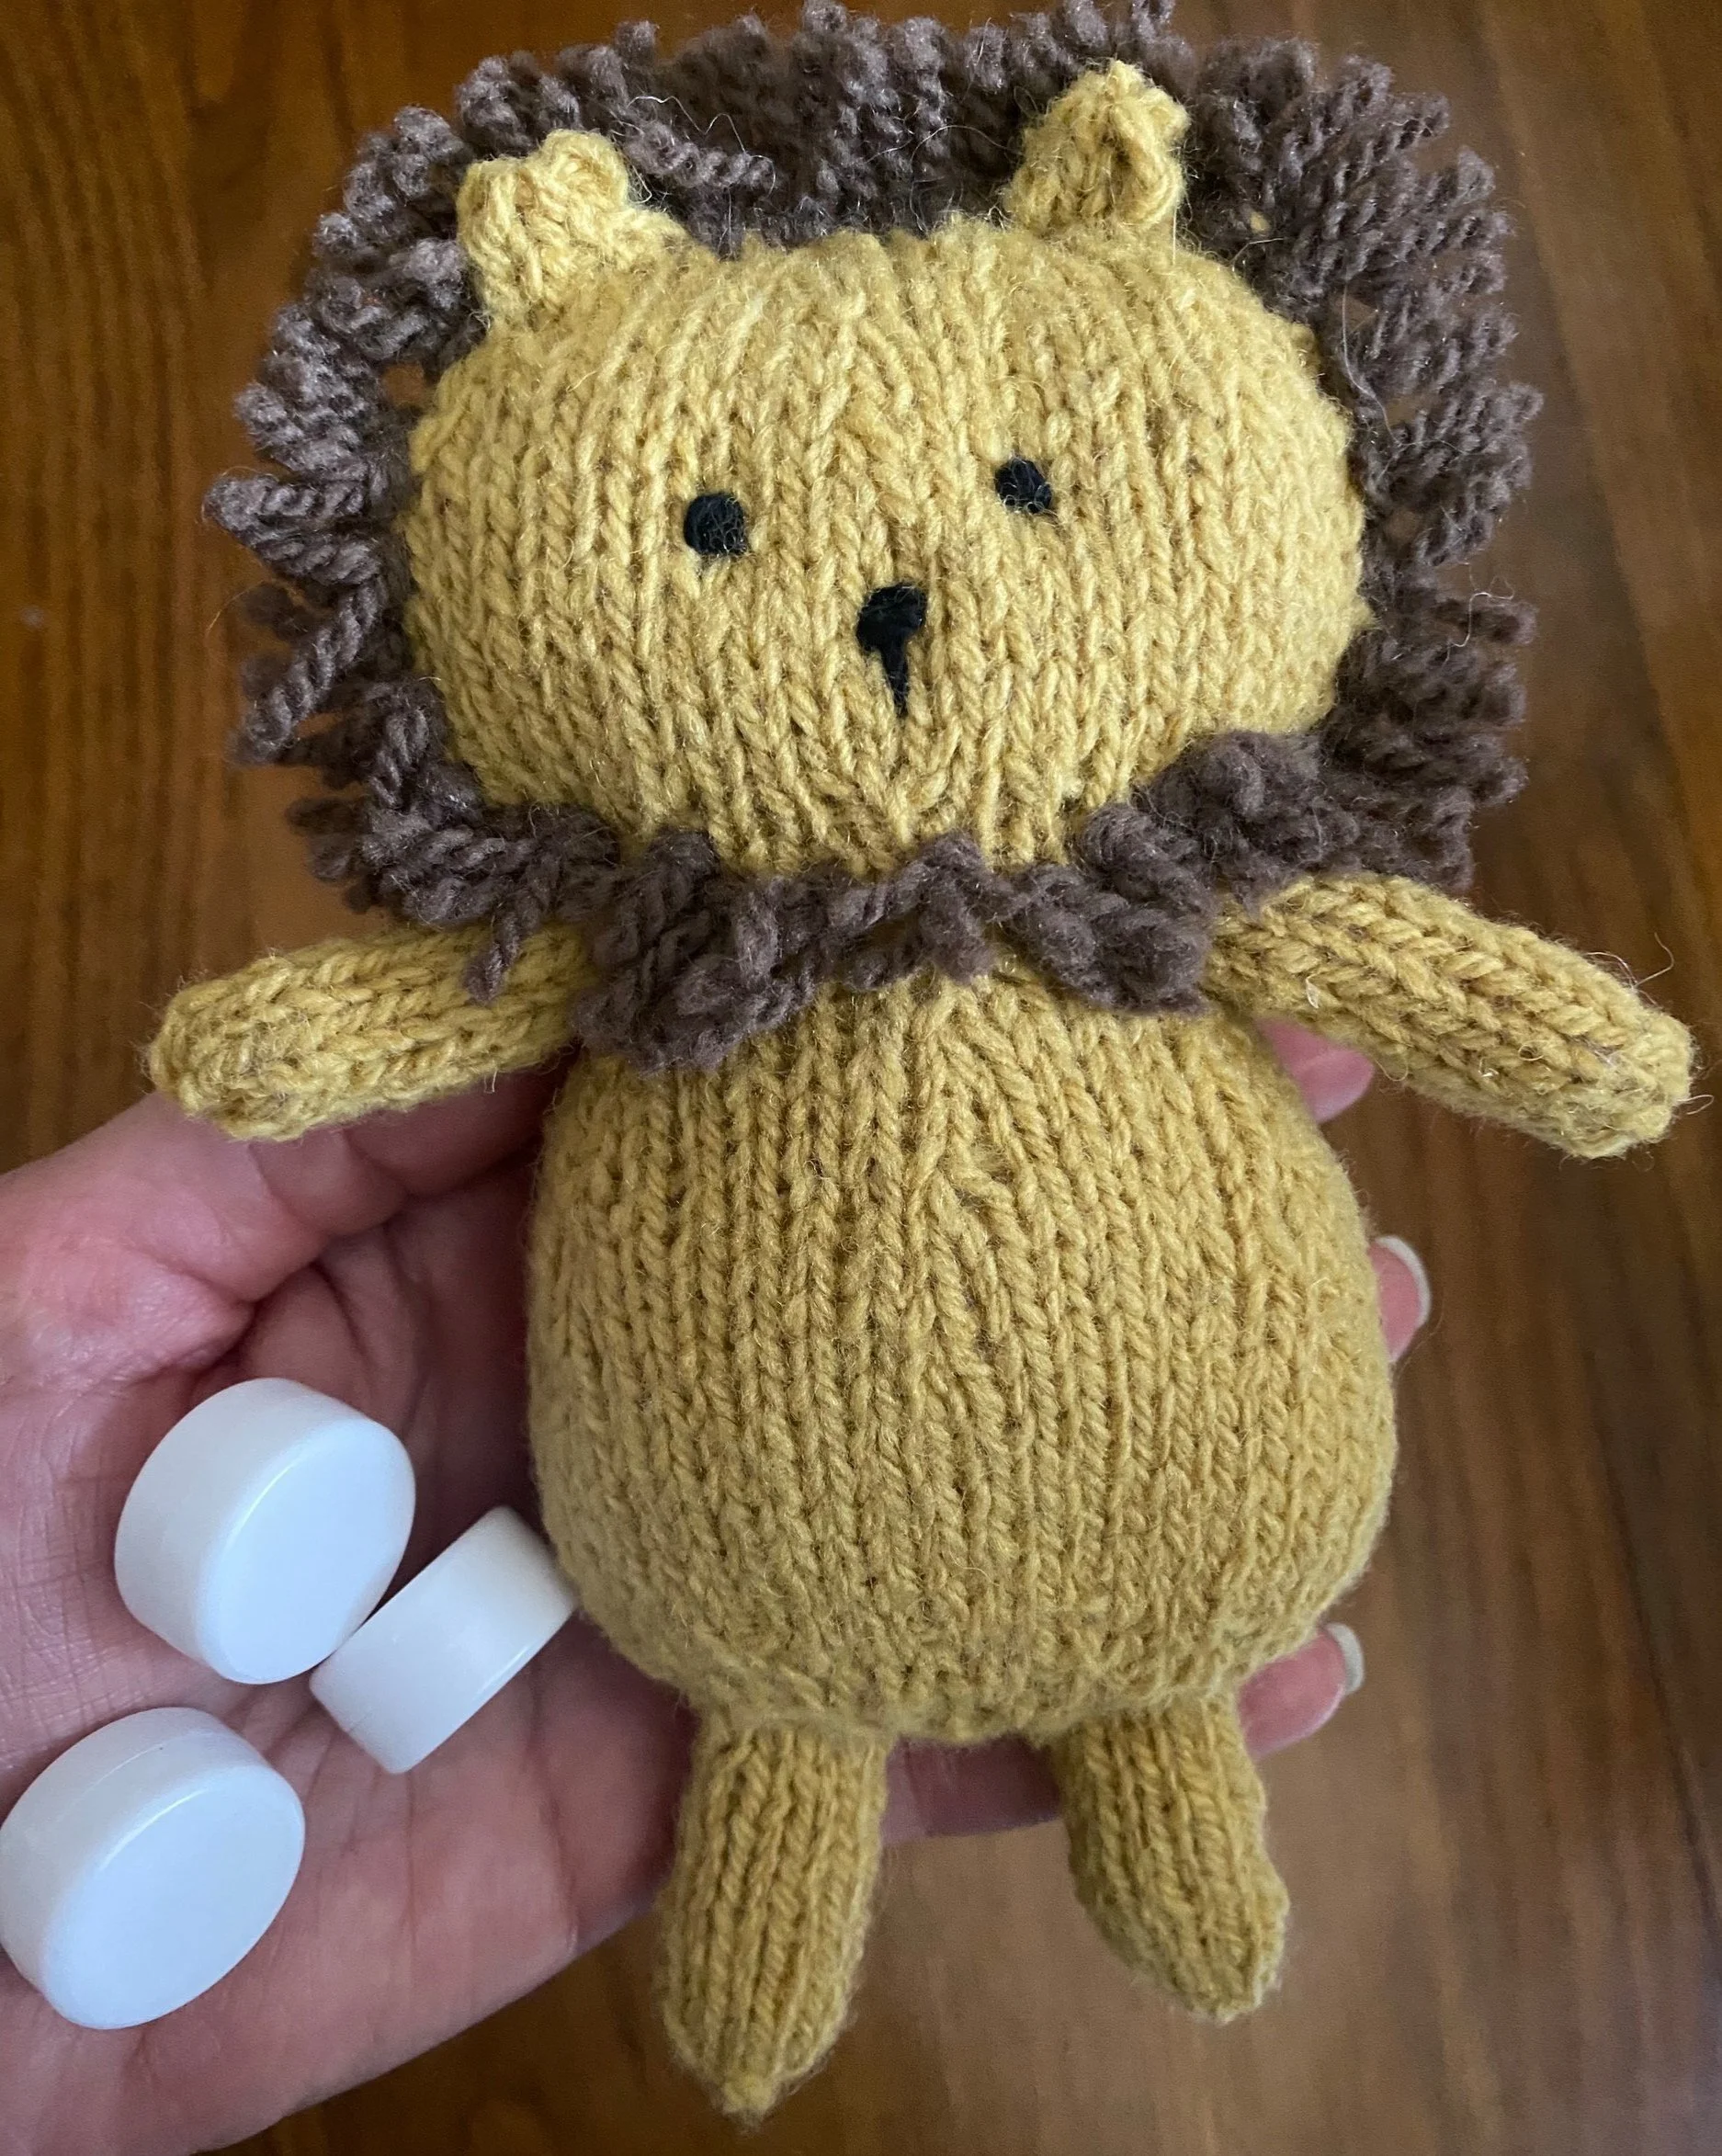
Rattle inserts shown beside Lion from Swaddle Pals pattern by Susan B. Anderson
The knit was thoroughly enjoyable, and I would love to extend that opportunity to you. Simply share below your thoughts on the podcast that went along with this post (click here to listen if you haven’t). I will choose 3 comments on April 22nd, 2023 to send a copy of the Swaddle Pals pattern. I firmly believe knitting one of these little pals will brighten your day!
Thanks for keeping me company as I share my making adventures!
Leo enjoyed a bit of fresh air down the hill from my house. Maybe he and I will film a video chat. What do you think?

PS. If you look carefully in this picture, you will see another project I will be sharing in the next episode!
![Knit a [Happy] Hat](https://images.squarespace-cdn.com/content/v1/5e50d1c18b8fc46157eb6898/1615188179932-DCENWMBJ414CU5J4B8PW/tempImagefs1YVT.gif)
Knit a [Happy] Hat

The first time I knit the "Happy [Mini-Skein Stash-Busting] Hat," it was just the "Happy Hat" and worked in a bulky yarn.
It flew off my needles and made me very happy, hence its name.
My stash does not include much in the way of bulky yarn but has plenty of other choices. I set to work (or rather play!) to create a comparable material. It was great fun, and I want to share that same opportunity with you now.
If you have been knitting for a while or have a few finished projects under your knitting belt, chances are you have a bit of leftover yarn from those projects. That is how I made 2 versions of the Happy Hat.
Maybe you have accumulated an array of adorable mini-skeins. These worked perfectly for 5 versions of the hat.
Both iterations are fun to knit, and both are A DELIGHT to gather yarn to begin.
Spoiler alert: In case you have trouble deciding on combinations, you can knit a bunch of these faster than the time it takes to choose the yarn! Trust me, inside of 7 days, I knit 11 of these!
So let's begin!
If you have a bit of bulky yarn to look over, grab it, and we will investigate. If you can grab even a scrap of it,
you will enjoy this activity all the more as it is designed to get YOUR creative juices flowing rather than just reading what I have to share.

My bulky yarn (shown in the first photo and above) is a voluptuous yarn to squeeze, and the color is dynamic. The assorted color is equally responsible for the mini-skein yarn assortment I created. I wanted the fabric I created from multiple strands to move and play in much the same way as the original yarn (see image below).

Pinch the bulky strand between your fingers. Notice the give or lack of? Is it pillowy and filled with lots of space for air? A bit more robust? Composed more of fiber than air?
When I knit this hat in the bulky yarn, the fabric created was sturdy; it can hold its upright shape from cast-on edge to pompom tip. In comparison, the "Happy [Mini-Skein Stash-Busting] Hat" works up at the same stitch and row count, but the hat has a bit more freedom of movement.
If you are interested in a deeper analysis of switching out yarn, with specific references to what we are talking about here now, head over to the Encourage Better podcast and have a listen.
So let's think about recreating this bulky yarn from our stash.
Suppose you use a bit of your bulky yarn and size 10.5 needles and cast on 12 stitches. For this exercise, I recommend using the long-tail cast-on method. Watch the yarn as you hold it in your left hand. As you pull the needle away with your right, does the yarn shrink much? Does it stretch and give? How about as you work the needle through the yarn and create a stitch and then another, do the stitched snug up tightly? Do they compress?

Now that we understand this thick yarn a bit better let's see if we can recreate it with some thinner stuff!
I used 5 strands of Kate Selene yarn for the hat (shown with the basket of yarn) 4 were her fingering weight, and 1 was her slubby yarn. The fingering weight yarns used were identical base, just assorted colors.
In this hat (below), I used 5 strands of Space Cadet Yarn mini-skeins. With the SCY minis, I drew from various sock bases in the mini-skein bundles I have: some sparkly, others with a touch of cashmere, and assorted levels of merino/nylon.

Holding the yarns together and using the same needle with the bulky stitches already on it, cast on 12 using the long-tail method. How does it compare? First impressions matter, so look at the two cast on segments with your detective hat on!
Before we can wrap up this little experiment, turn your work and work 3 or 4 rows in stockinette stitch (or more---which is what I did!). Then play Hercule Poirot one more time and look over these stitches to compare and contrast.
Take time to play around with yarn and make more discoveries.
Do you want to tap into your creativity? Desire to connect with the Intuitive Knitter inside you? The Swatch Me Series offers thoughtful, inspirational ways to see your knitting. These classes also provide clarity and insight into swatching, so you are best prepared for knitting projects.
Interested in learning more? Click below!
Knitter's Project Bag Collective Members receive all monthly live workshops I teach at no charge! Every live event is included as a membership perk, and the recorded replay is always available, along with a special class guide. Space in these classes for non-KPBC members is limited.
Swatch Class 1 Registration Link Here
Swatch Class 2 Registration Link Here
As always, I hope you are happily knitting today!
Have fun with this yarn adventure, and share your thoughts and observations below!

How To Make Time
As knitters we make a lot of interesting items from our projects.
We just wish we had more time create!
There is a lot to unpack with the correlation of time to make = better making,
but for now I want to start helping you
MAKE TIME
I know you may be a bit skeptical, but I am going to help you add 30+ minutes a week durning the month of March so that at the end of the month you’ve made 2 hours of knitting time for yourself.
“Mel, I take my knitting everywhere with me, so I don’t really need more time.”
You may be the knitter that sends me emails and instagram DMs telling me how bored they are with their knitting.
And FOR YOU this added 2 hours for March will hold something even more dear:
INTENTIONALITY

It always brings a new sense of joy to spend time outside knitting on hikes, even if it is just 5 minutes, And even if it is COLD!
So, if you want to make some time be sure to connect with me. I will be emailing weekly to you with ideas and actionable steps to get yourself prepped. I will also share special “how-to’s” for a hat pattern and creating your own yarn ensemble for it.
So be sure to get on that special notification list by signing up below.
If you want to watch, at your own pace, any time that you determine there are a few ways you can connect:
Here on the blog
This is meant to be an easy practice to claim minutes for yourself, and I will try to make connecting as seamless as possible.
So if you are eager to join in and be a part of things, reclaim minutes that do add up, and have me encourage you for a few moments every day then:
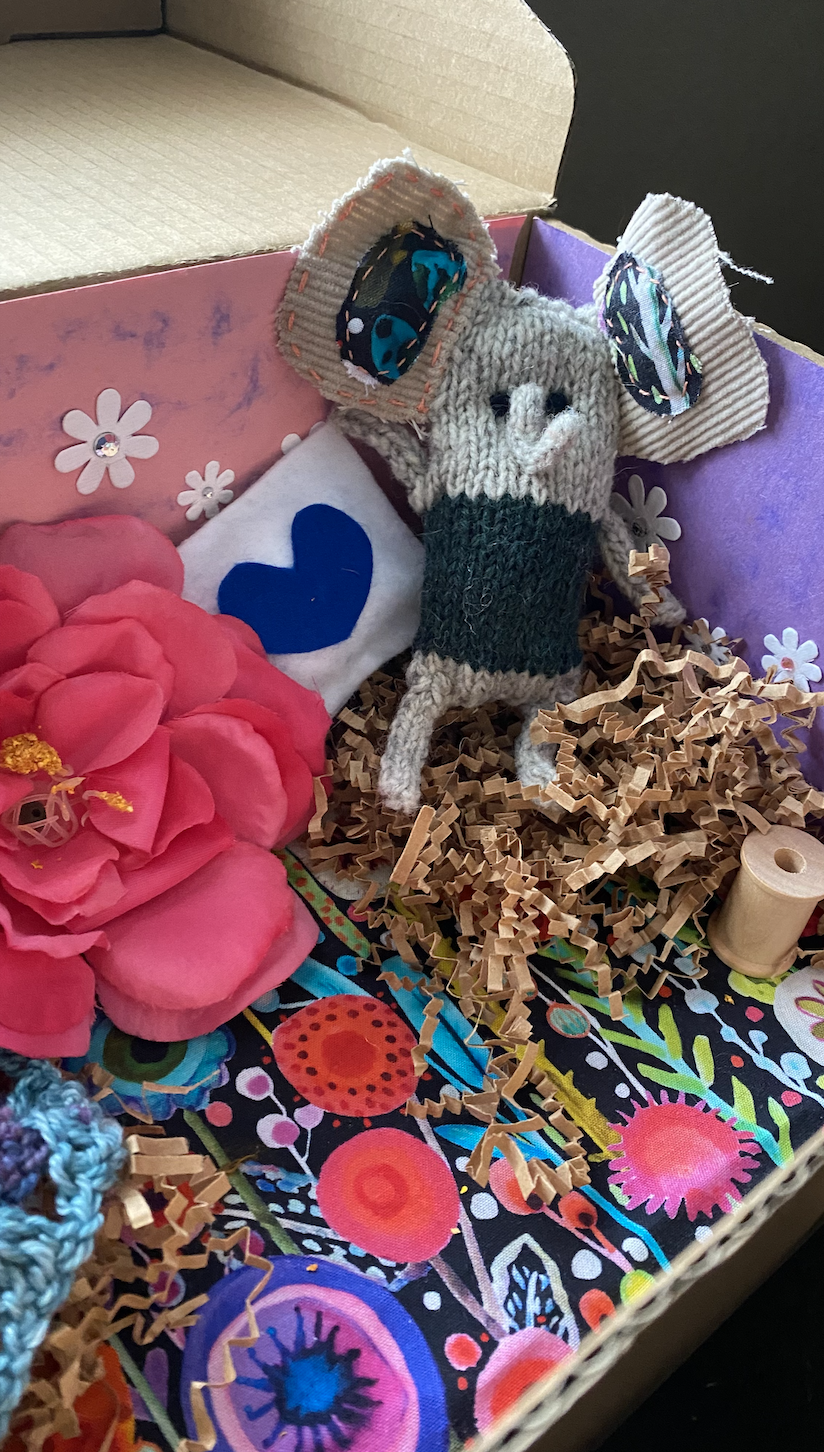
Keeping Merry and Bright
I knit a whole elephant from scrap yarns…and still had enough left over to knit a bear. I share how to knit them both, and some tips on how to make a merry and bright home for them to live, which provides a terrific gift for any child on your “must knit for” list.
After Christmas ended and the New Year celebrated, there used to be a time that lagged a bit. As I packed up decorations and lights, my kids, who were then the tiniest of people, would look at me with faces expressing what I felt: BUMMED.
We were experiencing the post-holiday let-down, which was a sad contrast to the joy and wonder of the beautiful season we had been celebrating just days earlier.
So I began the extended version of Christmas.
I continued to make little Advent gifts for my kids, which became a treasured practice on my part. I found myself seeking out moments to make tiny treats. My goal became trying to repurpose holiday trinkets and leftover decorations without spending any more money.
The gifts brightened the kid's moods—the opportunity to continue creativity lifted mine!
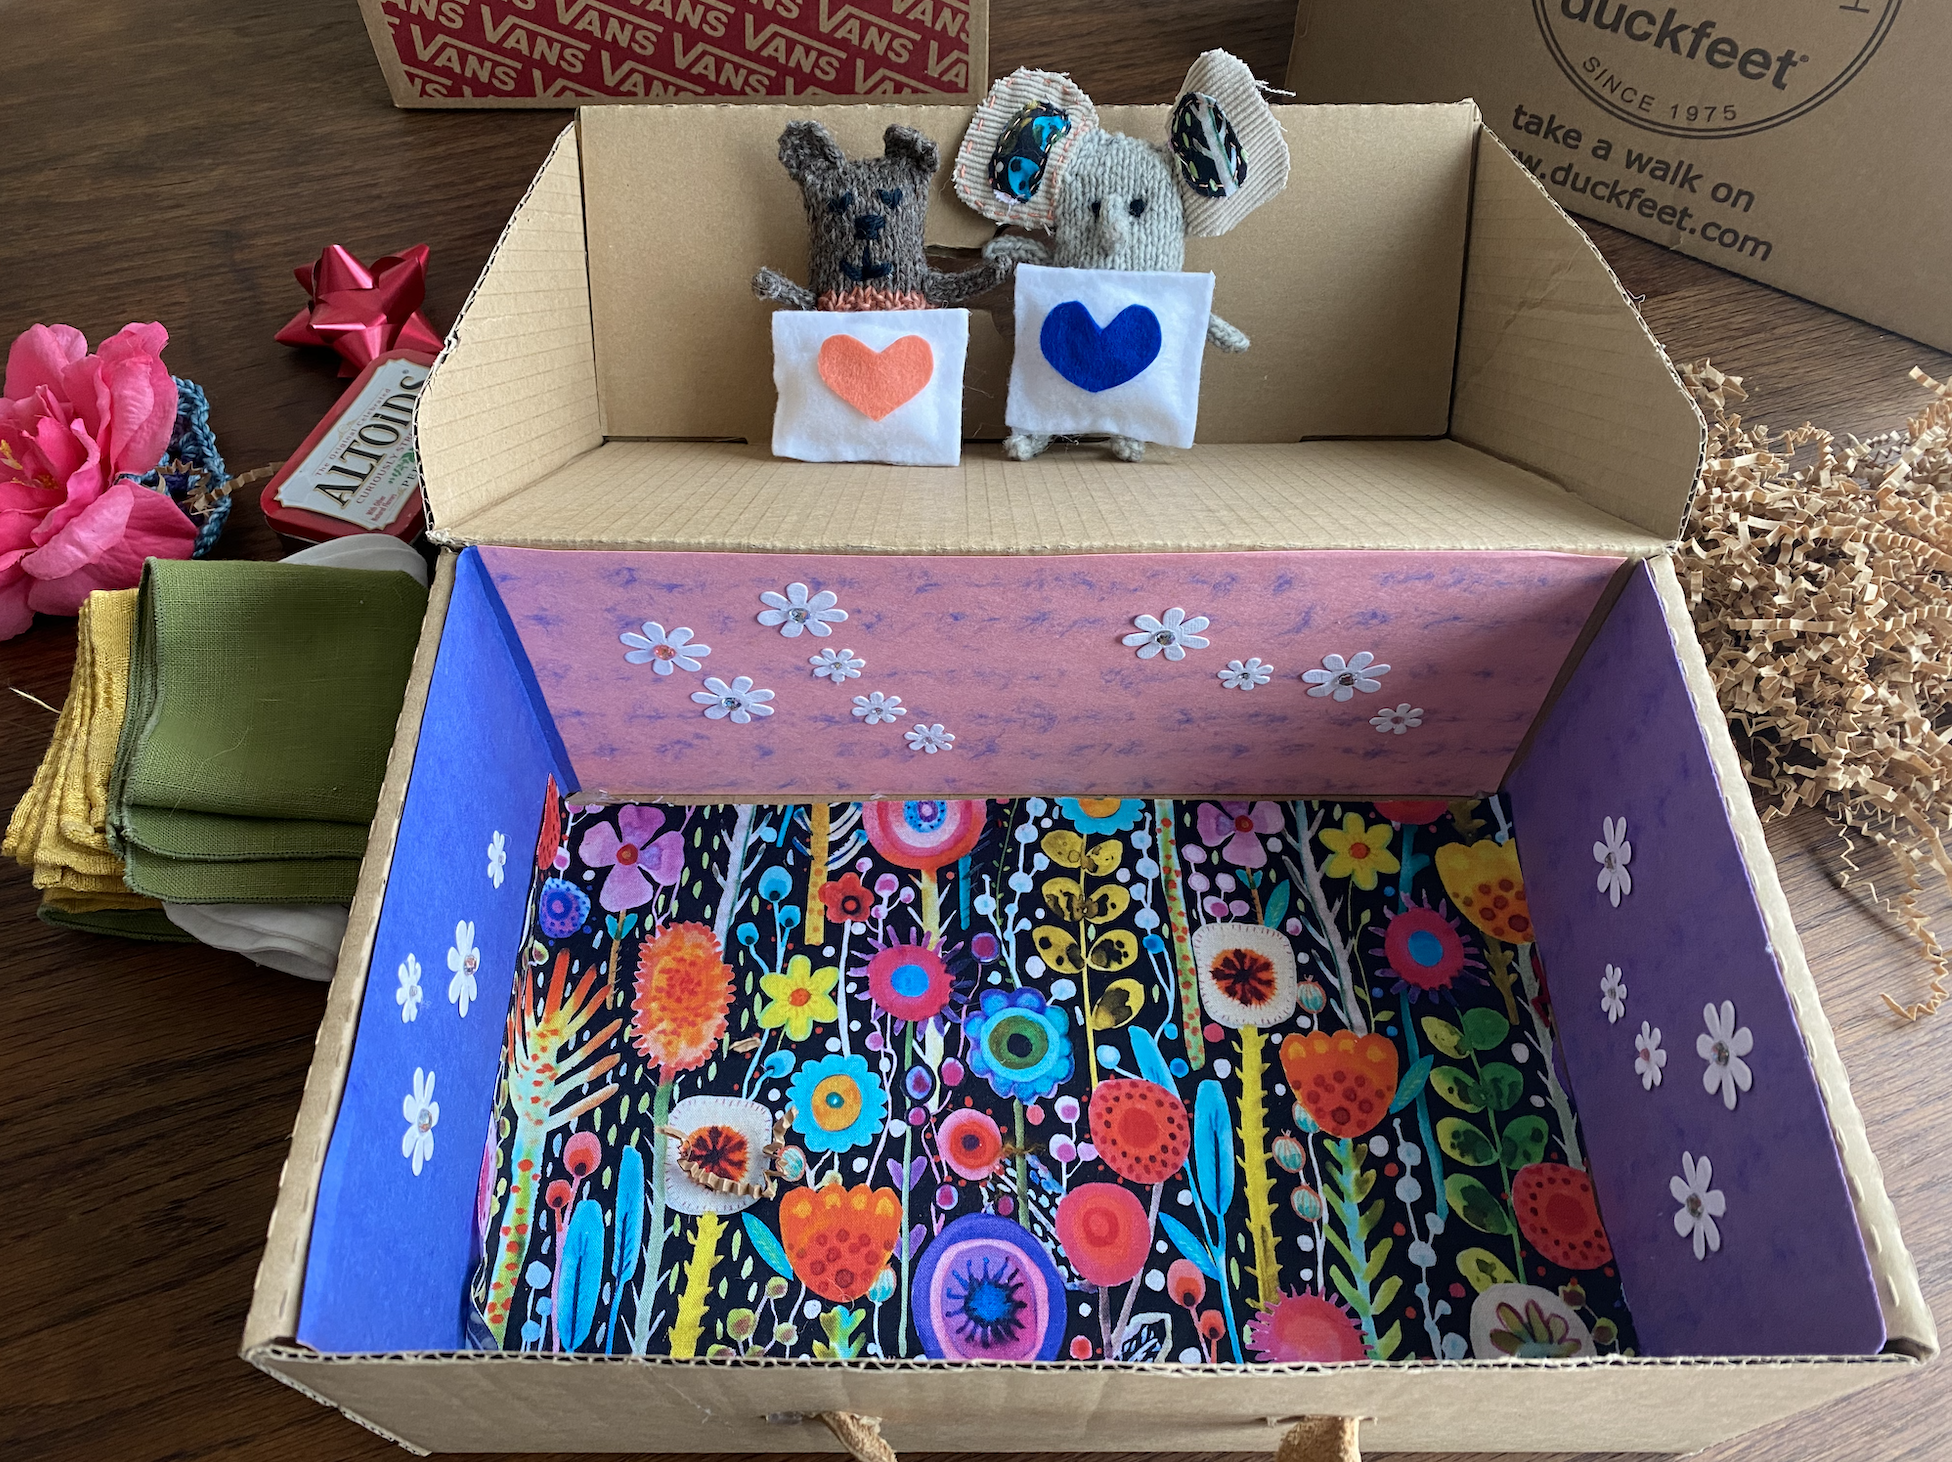
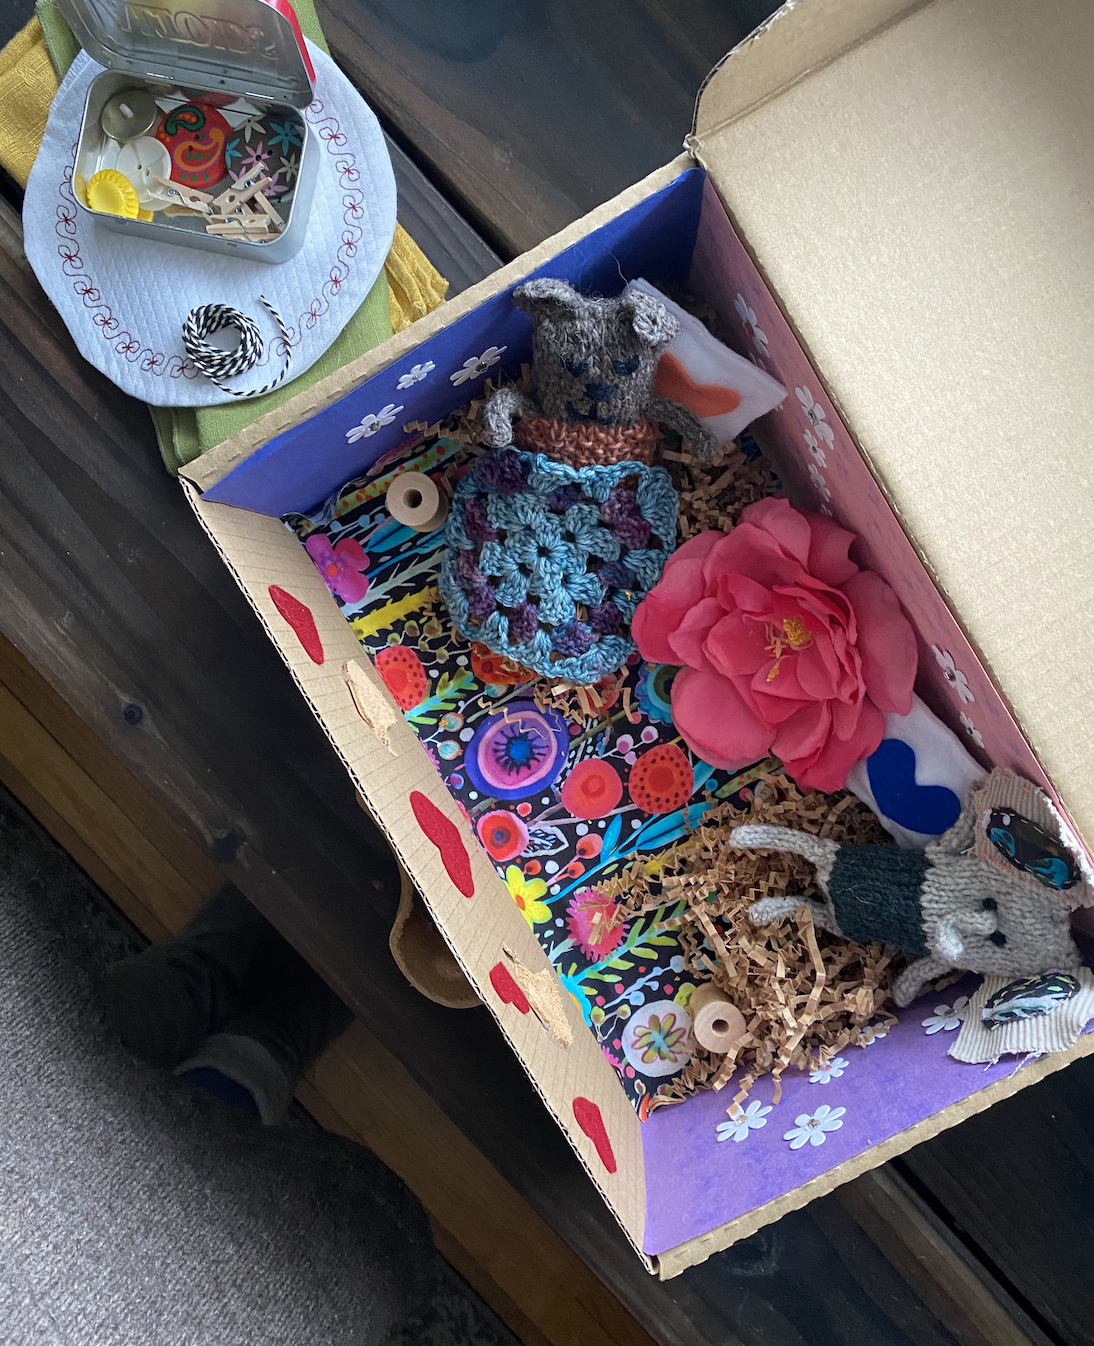
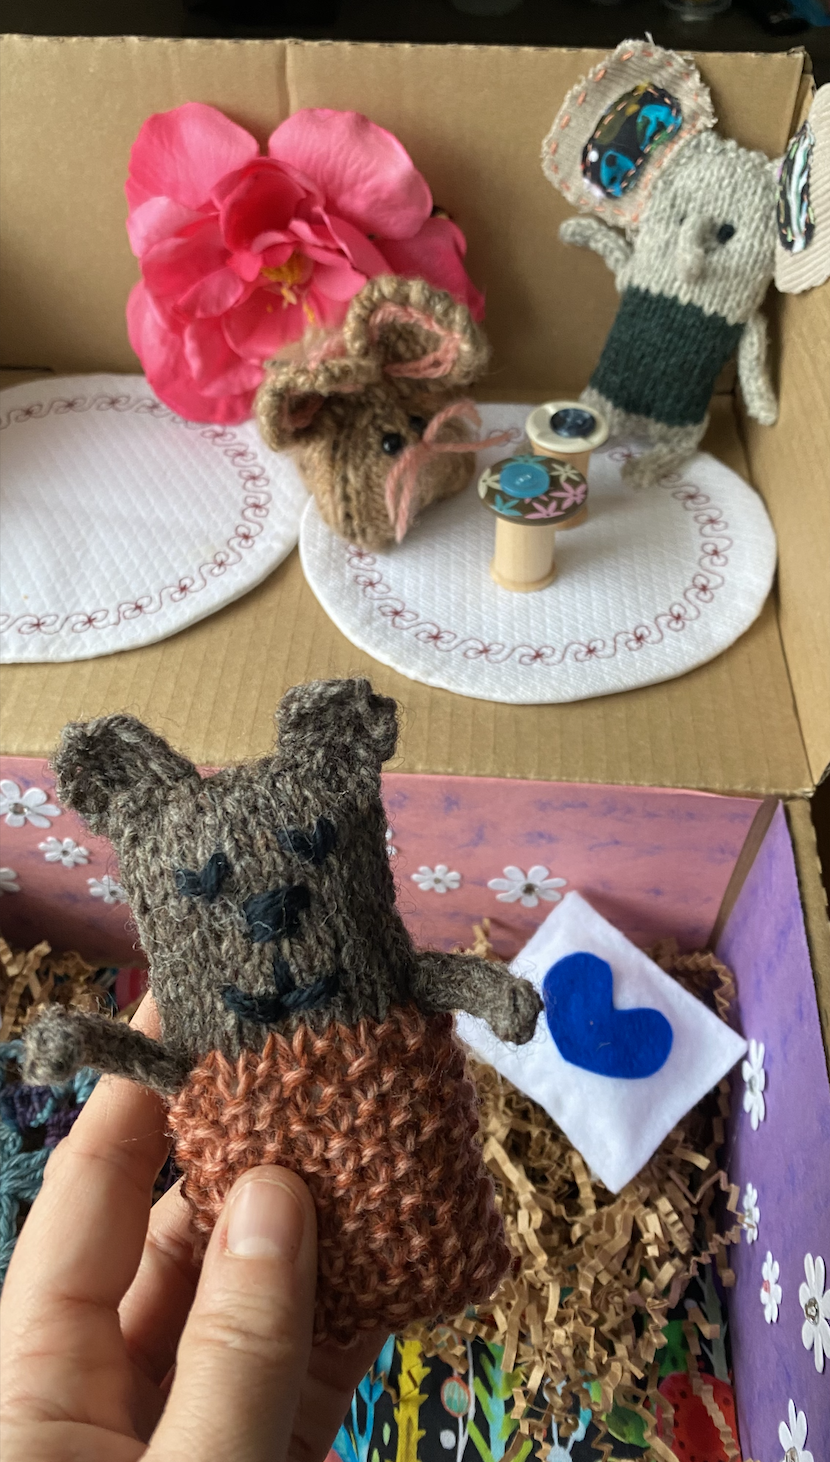
This year I am continuing that practice as I make a sweet shoebox home for Elephant and Bear. It couldn't be more straightforward or more gratifying.


I grabbed some things and set to work, turning the shoebox into a fun studio apartment for these two furry friends. They each have their own sleeping area and pillow to make themselves cozy.
They have a terrace by way of an attached lid, which serves nicely as an entertaining space when visitors come to dinner.

There isn't a pattern or specific way to make these. I learned from my kids: I start the process and then move out of the way to let them add their own touches!
In case you want a bit of inspiration, I am sharing below a very brief list of what I used and the purpose it served. Get creative and do your own thing, but MAKE ONE! We all have leftover boxes from presents that could be put to good use. Chances are you know a small person that would enjoy a new home for their little stuffed animals!
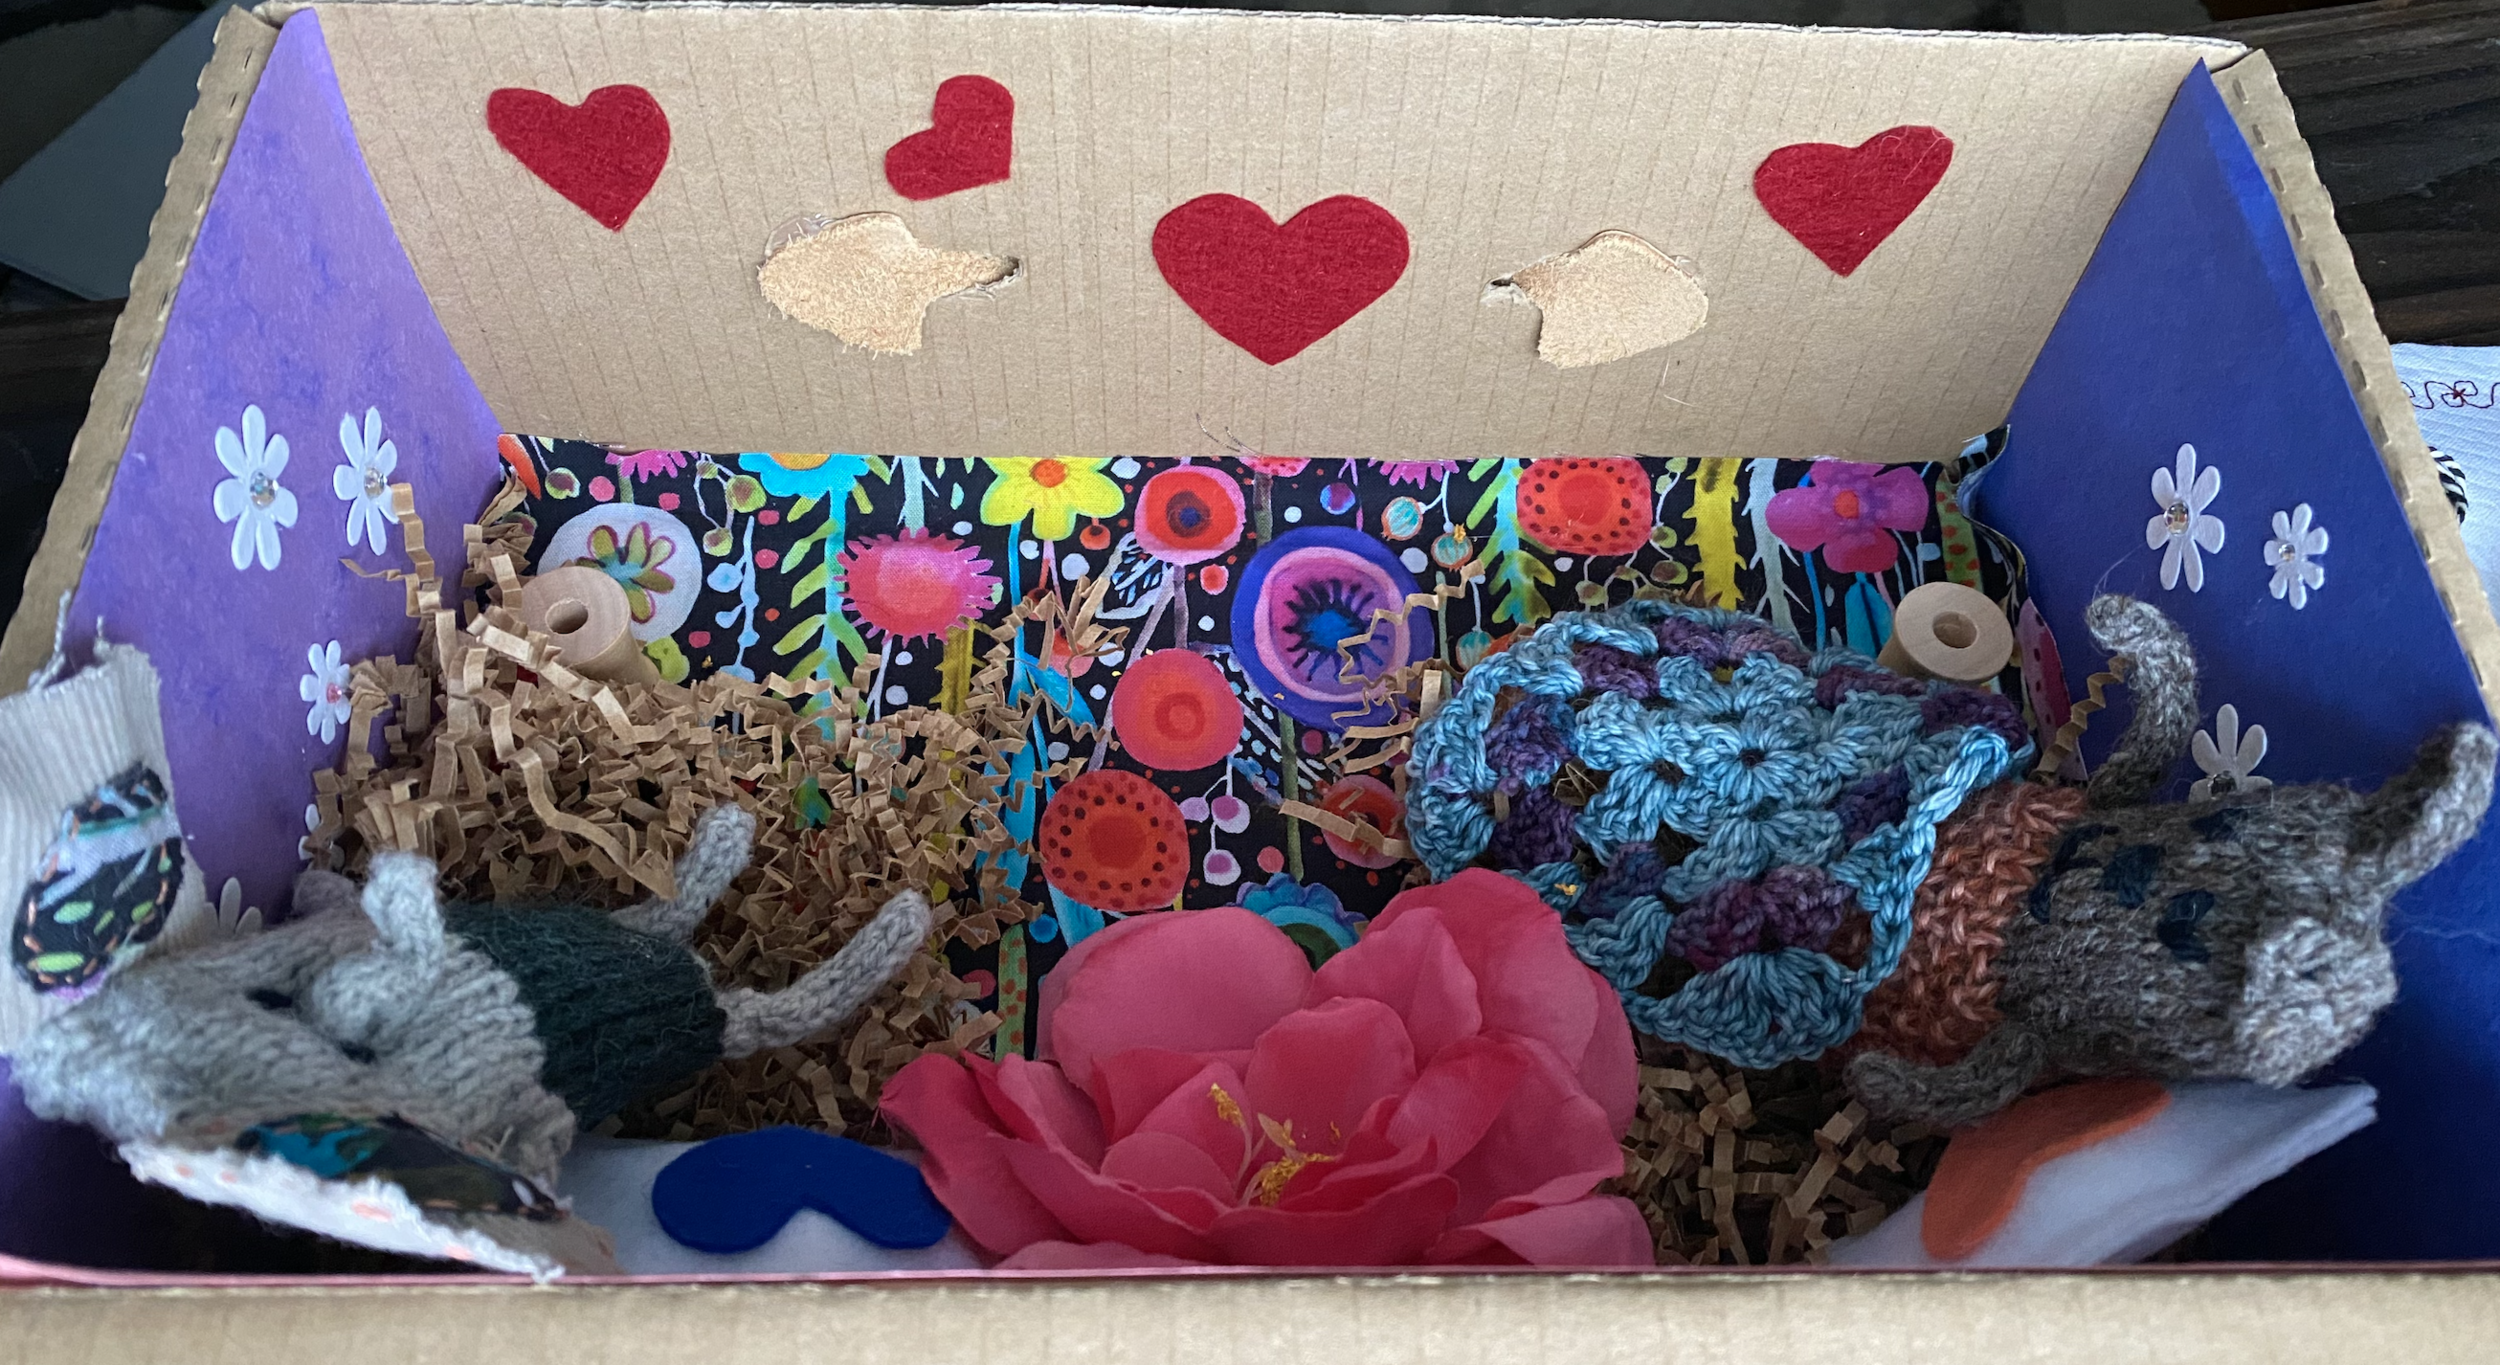
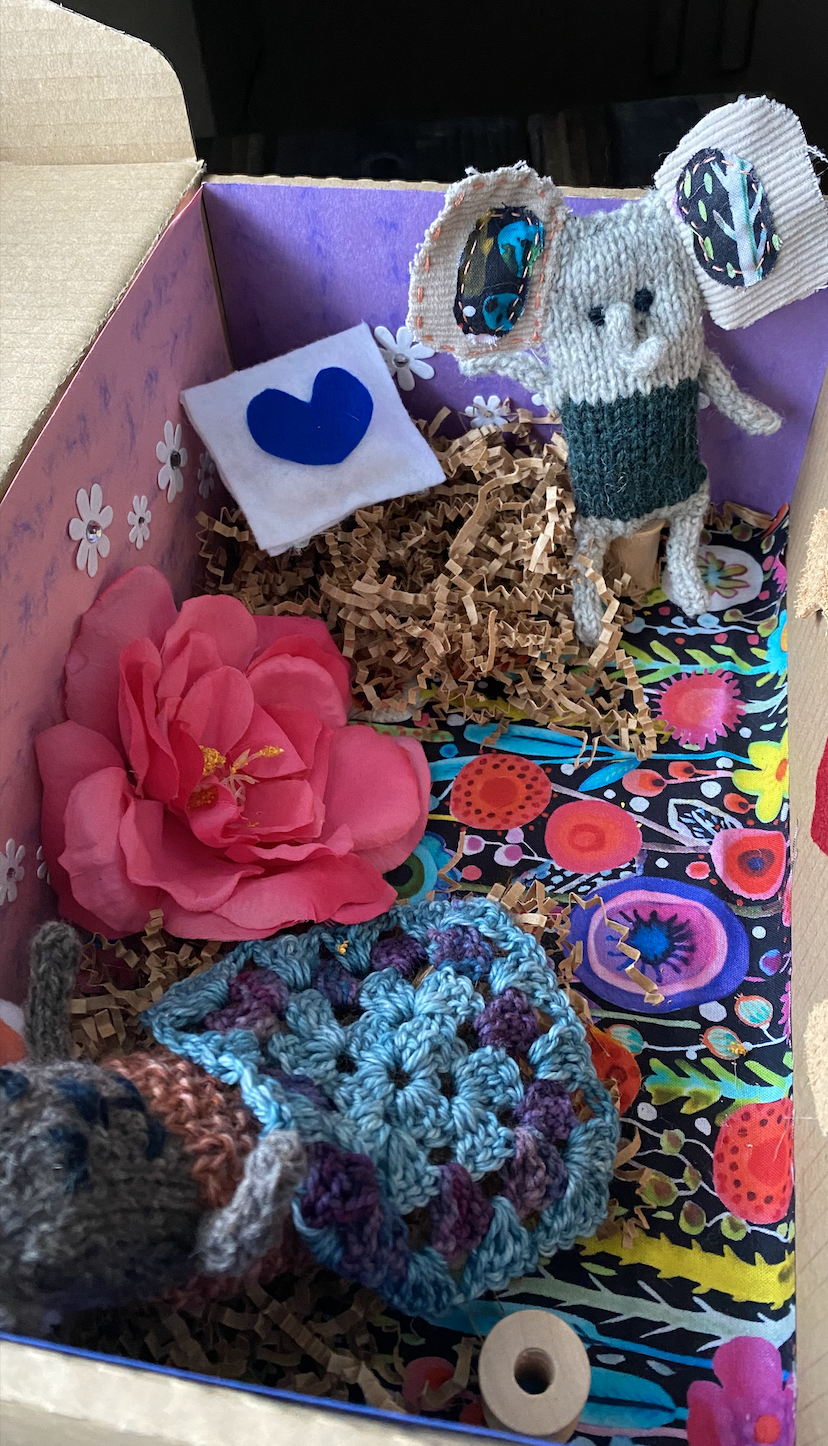

Supplies:
Shoebox (I love my Duckfeet Shoes and their boxes are SO GOOD! There is a handle that makes the shoebox have a luggage vibe!)
Construction paper, assorted, for wallpaper
Scrap fabric for carpet
Felt, assorted, to make mini pillows and pillow appliques
Small amount of stuffing for pillows
Glue gun & glue stick
Assorted stickers or card decorating supplies; I used little daisy cut-outs.
Small items for creative play: buttons for plates, empty thread spools, crunchy packing paper, crochet granny square, silk flower, mix-matched fabric napkins
Using glue stick and construction paper, I hung "wallpaper" and then added a bit of wall decor.
For the carpet, I used the hot glue gun to secure it.
For the pillows, cut two squares or rectangles from the felt. Using the hot glue gun, apply a contrast color felt heart to one—seal three sides of the square pressing firmly to close. Lightly stuff and seal up forth side.
If you are interested in making the bear or the elephant, you can find all the steps, plus How-To Tutorials HERE.
With kindness and aloha,
Mel
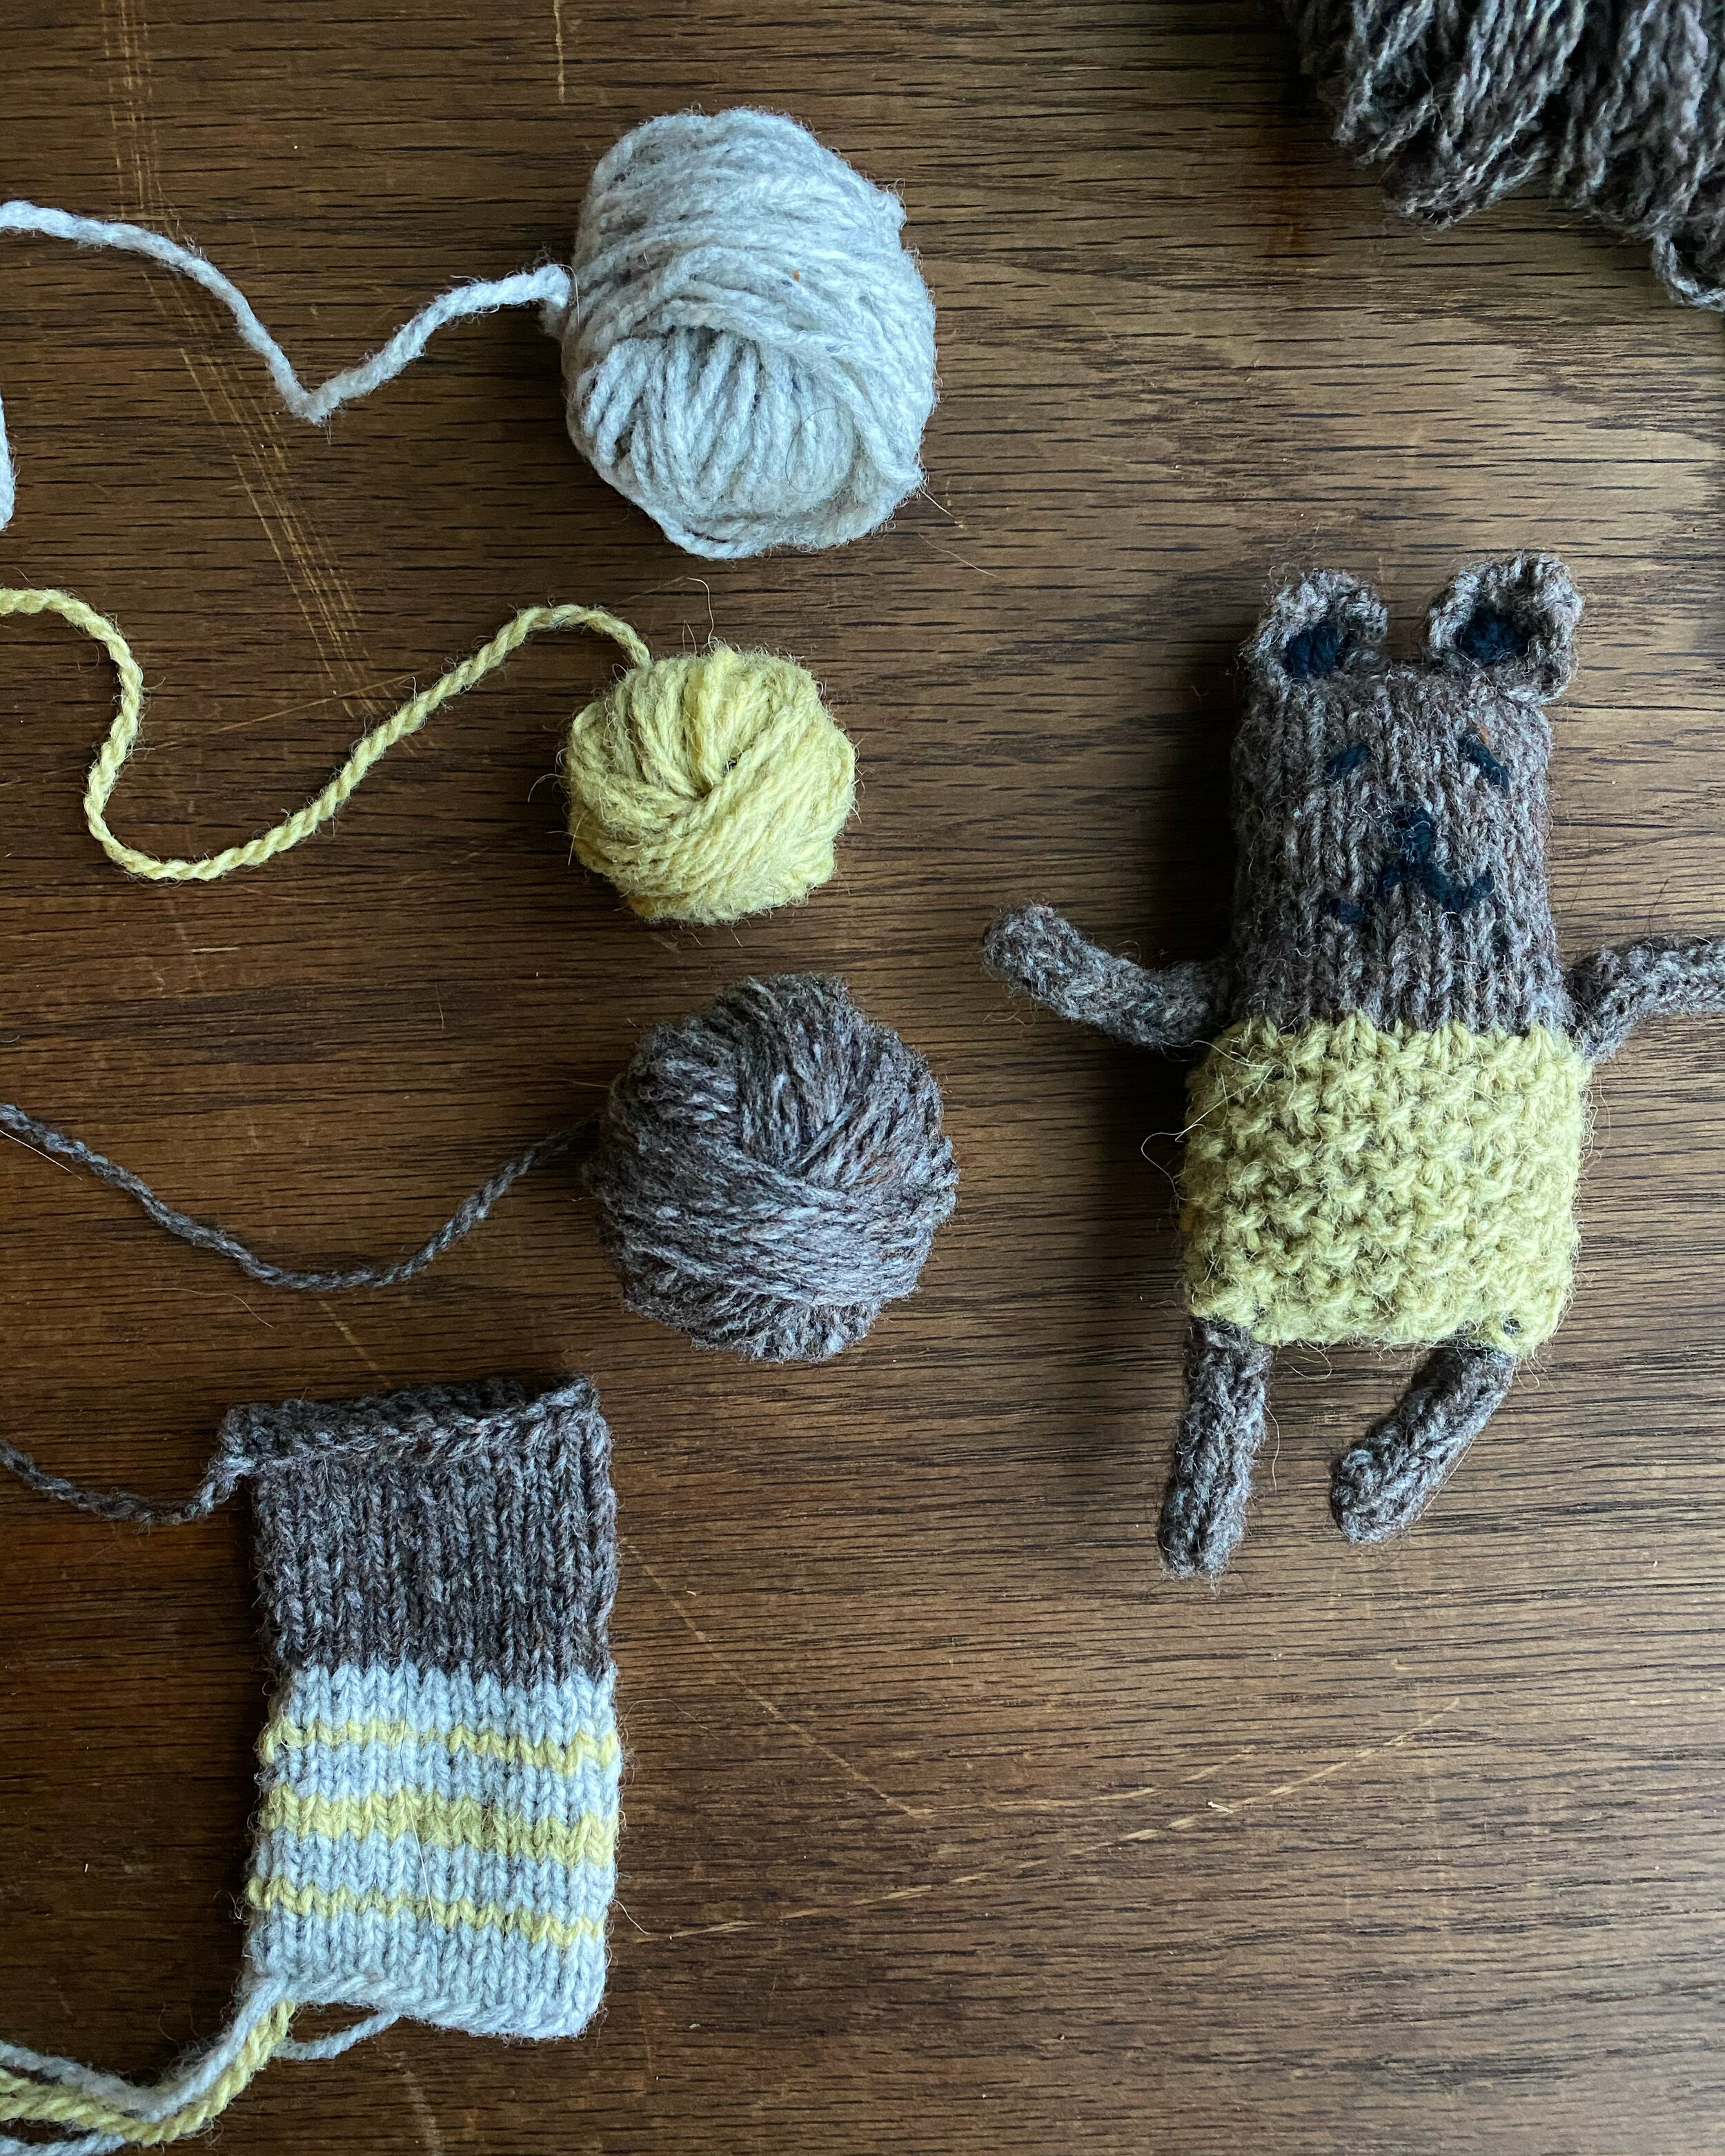
Knit Bears
If you have tiny bits of scrap yarn left over from projects, with a little time you can make a wee little bear (and friends) that have a HUGE happy factor!

This little brown bear is made from assorted scrap yarn leftover from sweaters like The Weekender by Andrea Mowry, and a lovely cardigan from years ago. It takes very little yarn to make, and minimal time, yet yields MASSIVE happiness.
I have been playing with yarn and revisiting my journals from several years ago. And the two things blended together in a fun tutorial of sorts over on my Instagram feed.
Here are some little highlights…
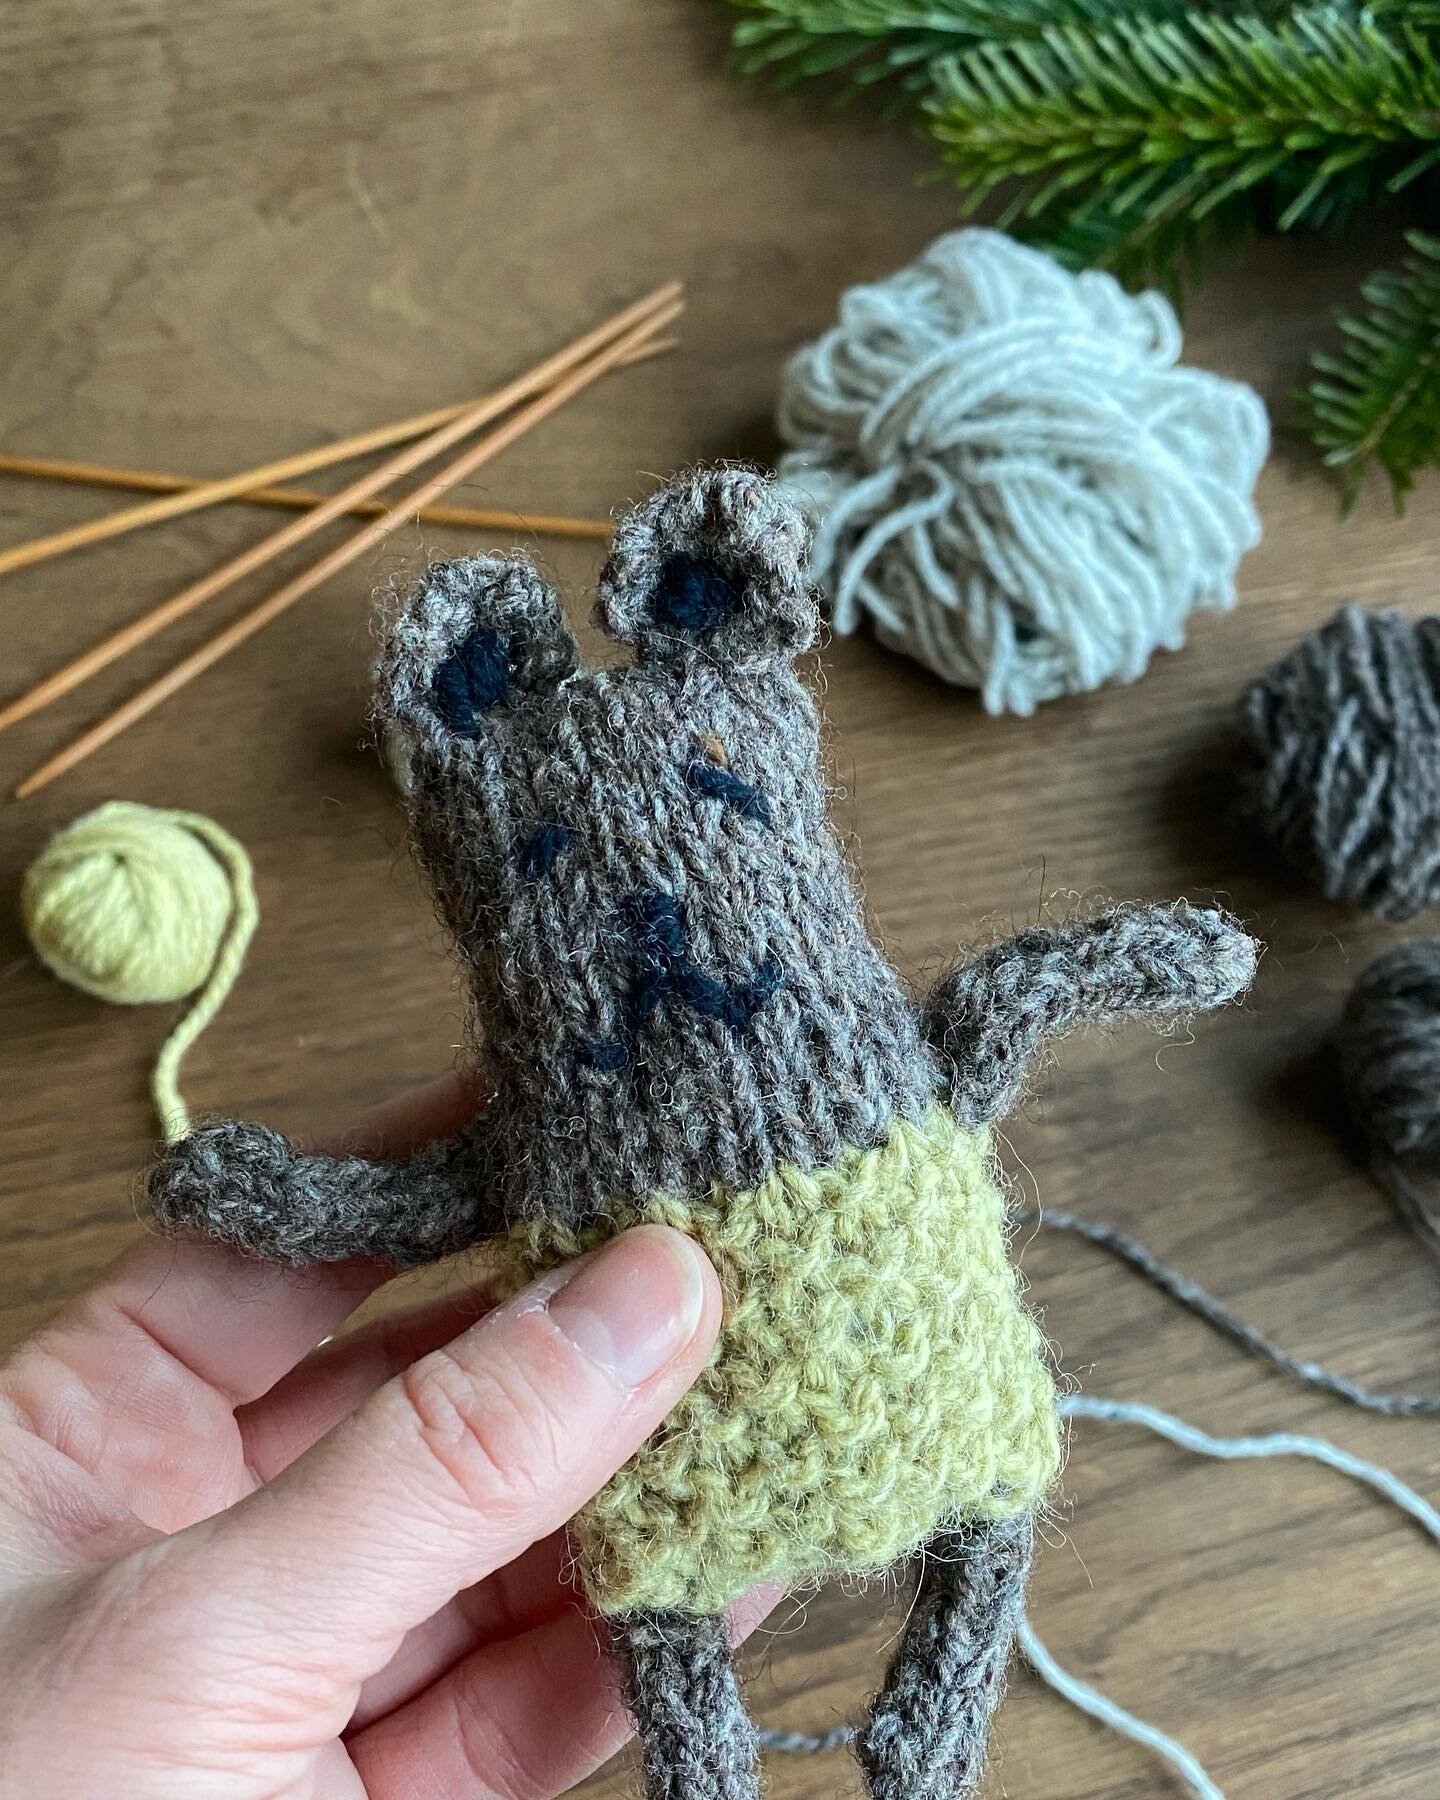
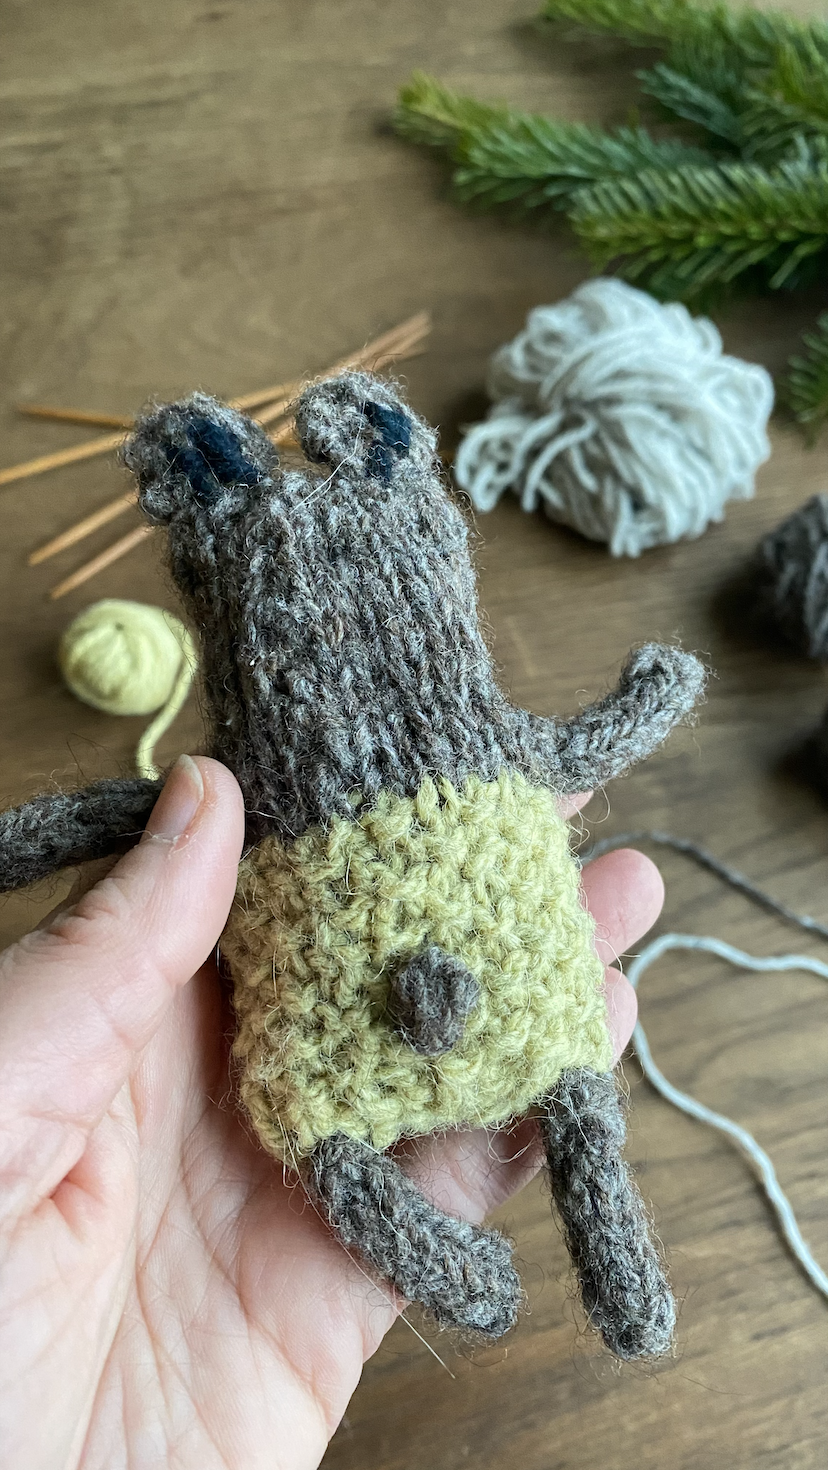
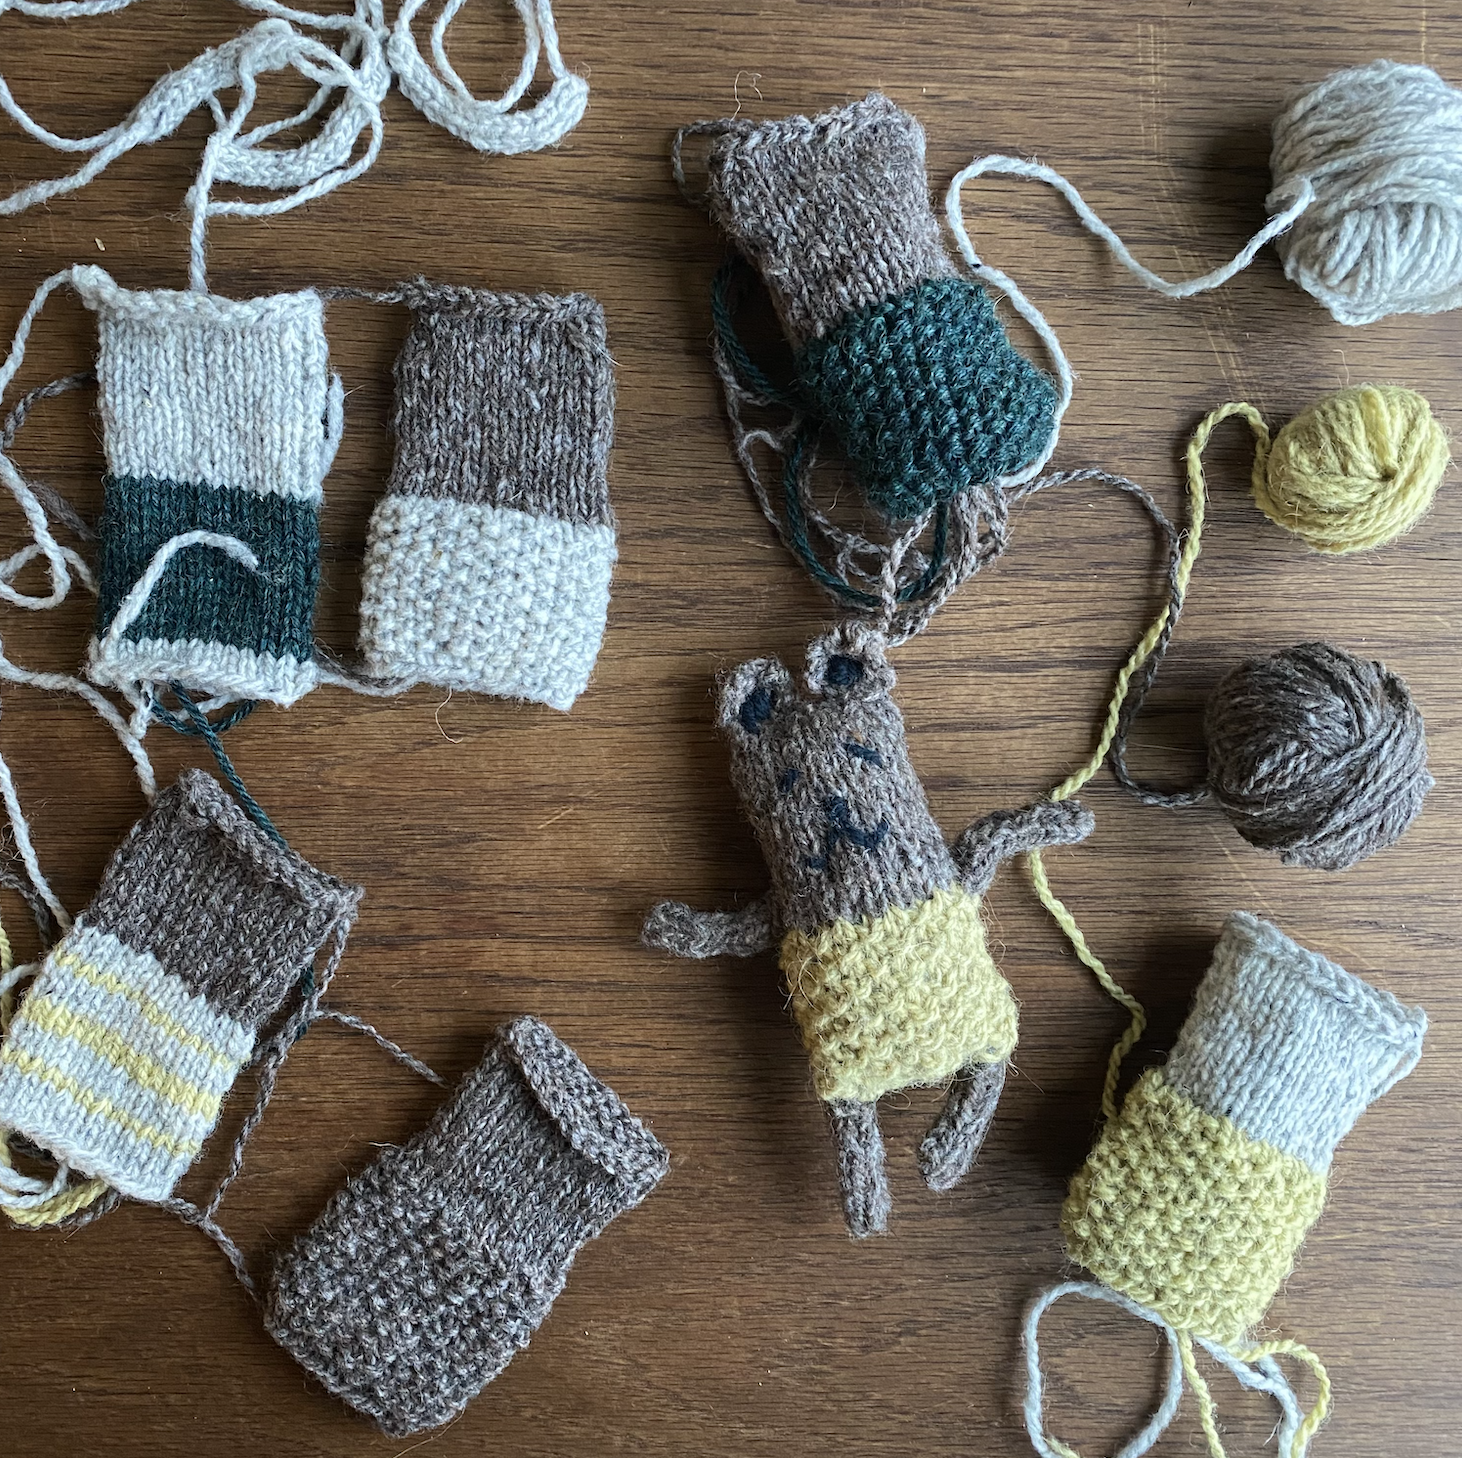
The creation of the bears has been quite fun, but even more remarkable has been connecting with friends in our fiber community and seeing those creative undertakings. You can see yourself by clicking #BEARBITSKNITS
Along the way, several conversations happened. If you have free time and care to watch, you can click here to watch this conversation with Kate.
My bear took a different path, and I wound up making an elephant friend, which is still in process…though isn’t that the way of it? Ideas and adventure continue to grow and expand, or maybe draw in and focus

If you would like to see how to create the bear, I share the pattern notes step by step and include video tutorials.. See more here.
I am excited to share how the little friends I created also have wee bitty homes of their own that I plan to tuck them into and wrap up this evening in preparation for doorstep deliveries on Christmas Eve Day to a few local kids here on my island home. I won’t be able to visit with the kids or see them as our island today has lost our 5th community member due to Covid. For so many months during this pandemic, our island has been insulated and safe. Only in the last couple of weeks has life here felt the harsh and bitter effects of Covid. It has caused me to be a bit quieter. I have had lots of thoughts but not many words to share. We all need time and space to process and think, to step in and out of conversations and circles, to share and contribute again when we are ready.
I do hope wherever and whenever these words here find their way to you, it is at a time when you can enjoy them, or at the very least see them as a kind hand reaching out to you! Perhaps enjoy casting on a few bears of your own. These fun little friends do not have an expiration date. You can enjoy making them any time and delivering them as a treat no matter what time of year!
Now, before you go, please catch me up on you in the comments below! How are you? What is on your needles? Any suggestions for these knitted animal friends?
In kindness and aloha,
Mel

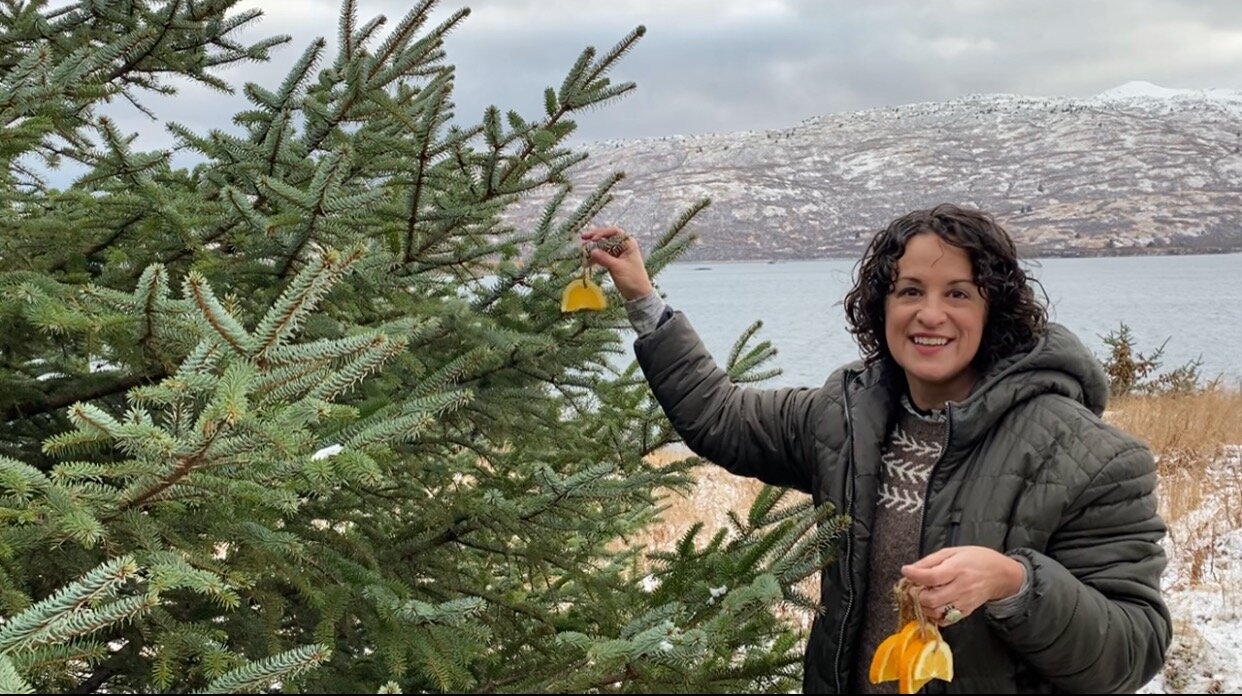
Simple Single Skein Hat (that turns you in to a knitting fairy!)
Time outdoors with knitting is a perfect way to create. Join me in Kodiak, Alaska! I am sharing a quick free pattern to make a handknit hat, as well as how to be a friend to local wildlife.

I took you with me hiking and shared with you a hat story. Here I am going to unpack that story a bit more and share with you the simple easy instructions for you to make your own. (Watch on YouTube HERE)
Leading up to the overnight hat project was a previously knitted gift and all the fun surrounding it. So let me start there so you will understand why I am breaking one of my knitting rules…
Last year my husband had a terrific, Brooklyn Tweed yarn, hand knit hat created by yours truly. He spent so much time on the BT website looking through yarn and hat ideas. It was a delight to see him participate in the creation of this hand knit. Once the yarn arrived I put it on the swift and set him to balling it. During that time we chatted about a variety of things, and the construction of the hat was, of course, part of that. He was keen to have a heavily ribbed, large brim to fold over, snug-fit, watch-cap. I smiled then, as I am smiling now, because he was so darn excited about me making him something, HIS SOMETHING, a hat that was just for him.
That hat was worn all the time once completed…
until it couldn’t be found.
Yup. My little kitten, he lost his knittin’
And he broke the #1 handknit worthy requirement: DO NOT LOSE THE HANDKNIT
But I watched him search everywhere for the hat, and I knew it wasn't intentional.
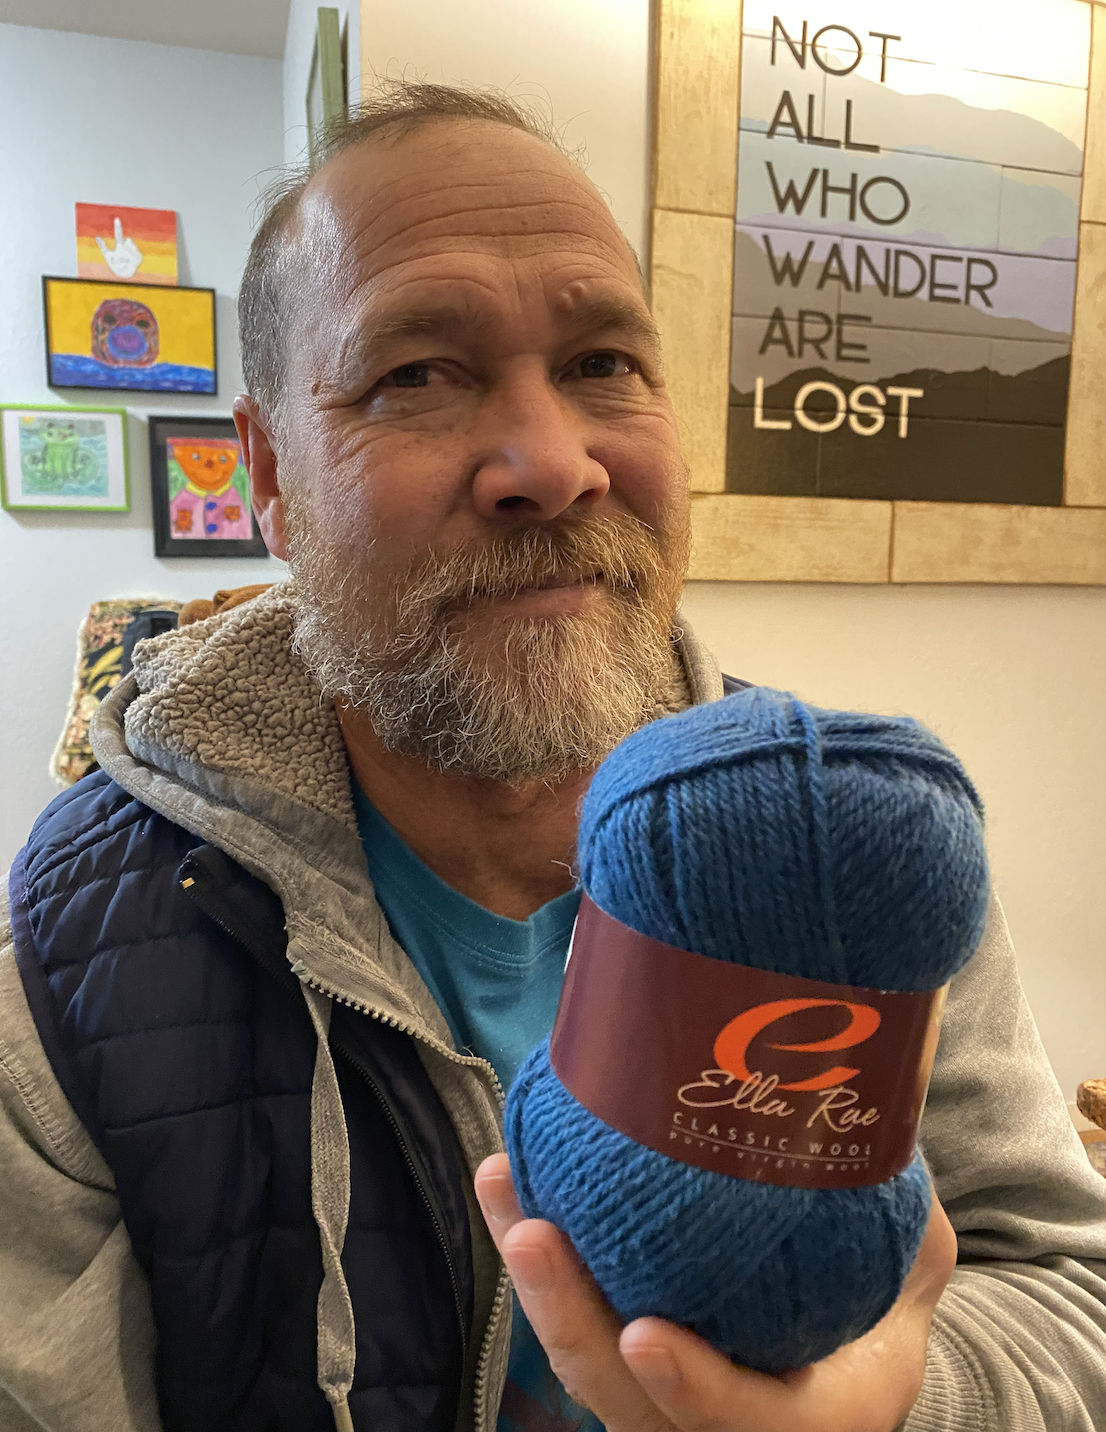
So when he came to me on Wednesday night with a ball of Ella Rae yarn from my brainstorming basket and asked gently:
“Can you work your magic with this to make me a hat?”
I asked him to sit very still and say that again so I could take his picture. And I threw out my silly rule and got to work.
Friend, it was a great decision!
Every few rounds he would ask: Should I try it on now? and happily I would hand it over. On it went and more talk ensued about the brim length, or the yarn, or the optional possibilities of construction past the brim. He marveled at how quickly it was growing and “at this rate I will wear it tomorrow!”
I knew I could make it happen, but I played down that possibility just to have a bit of fun with him. I forgave him for losing the other hat, but I hadn’t forgotten hahaha.
And when he awoke he had a new hat.
And I have joyous memories to keep, as well as a free hat pattern for you!
This pattern assumes your ability to knit and purl. We work some purl decreases and some knit decreases. We cinch the to securely and call it a hat. My friend you too can be the amazing hat fairy to someone else…and do it magically overnight (if you want, but it isn’t a race, so take time to savor it if you choose!) Also you can make this magic for under $10!
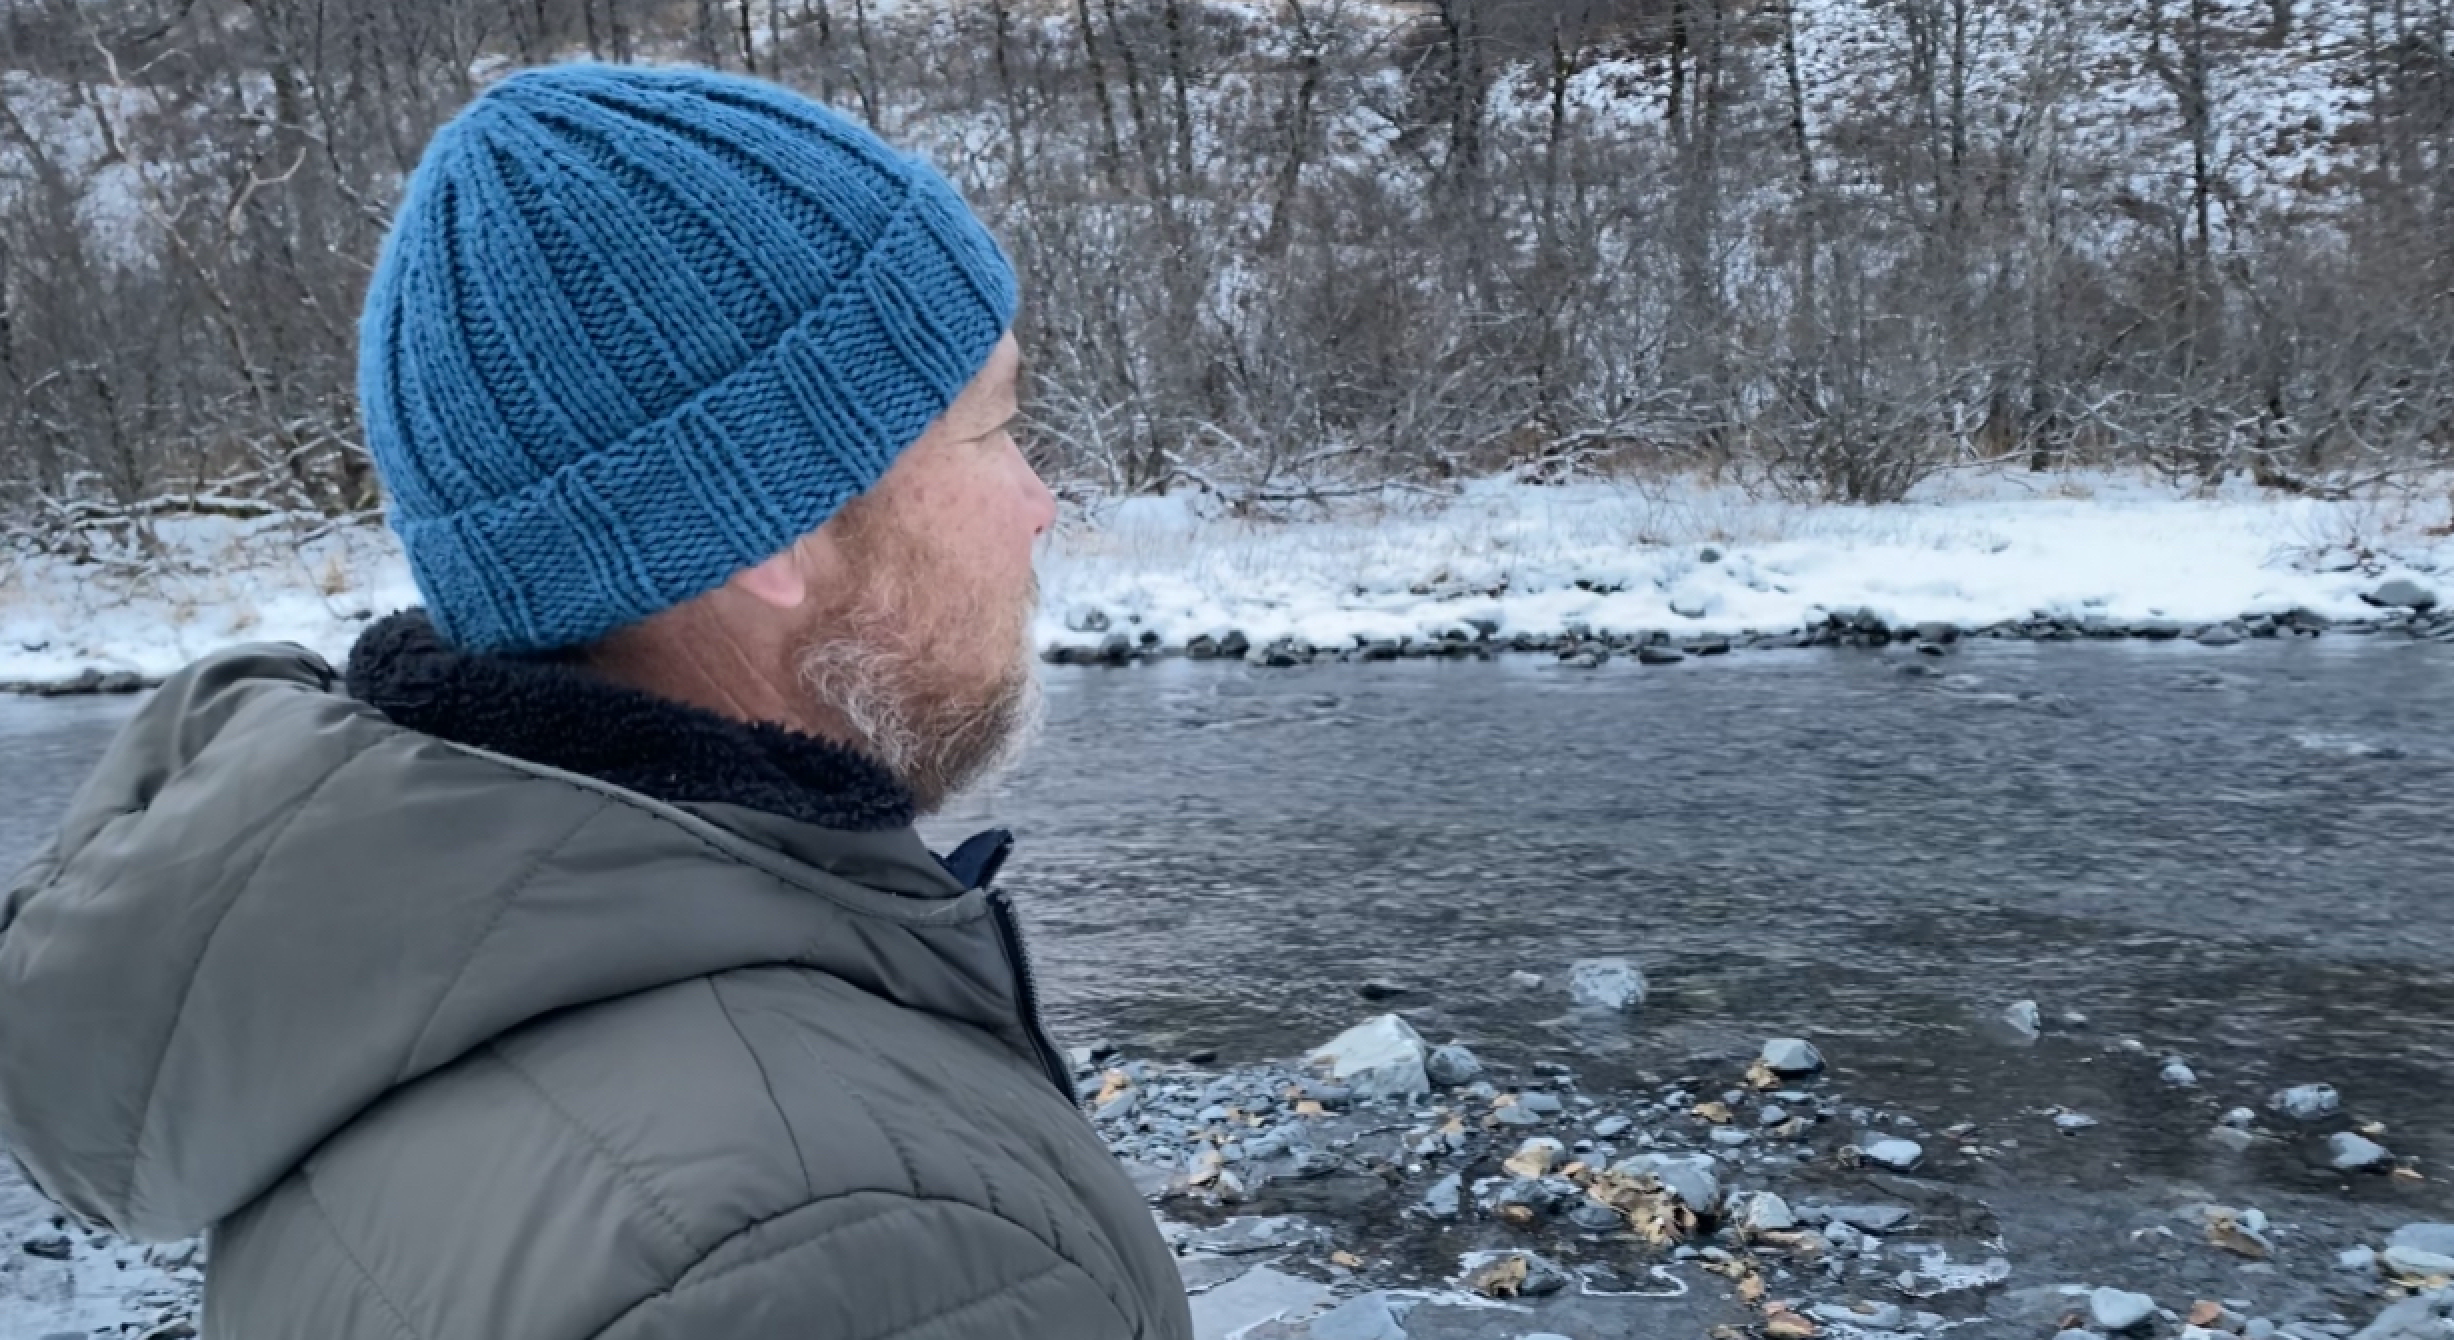
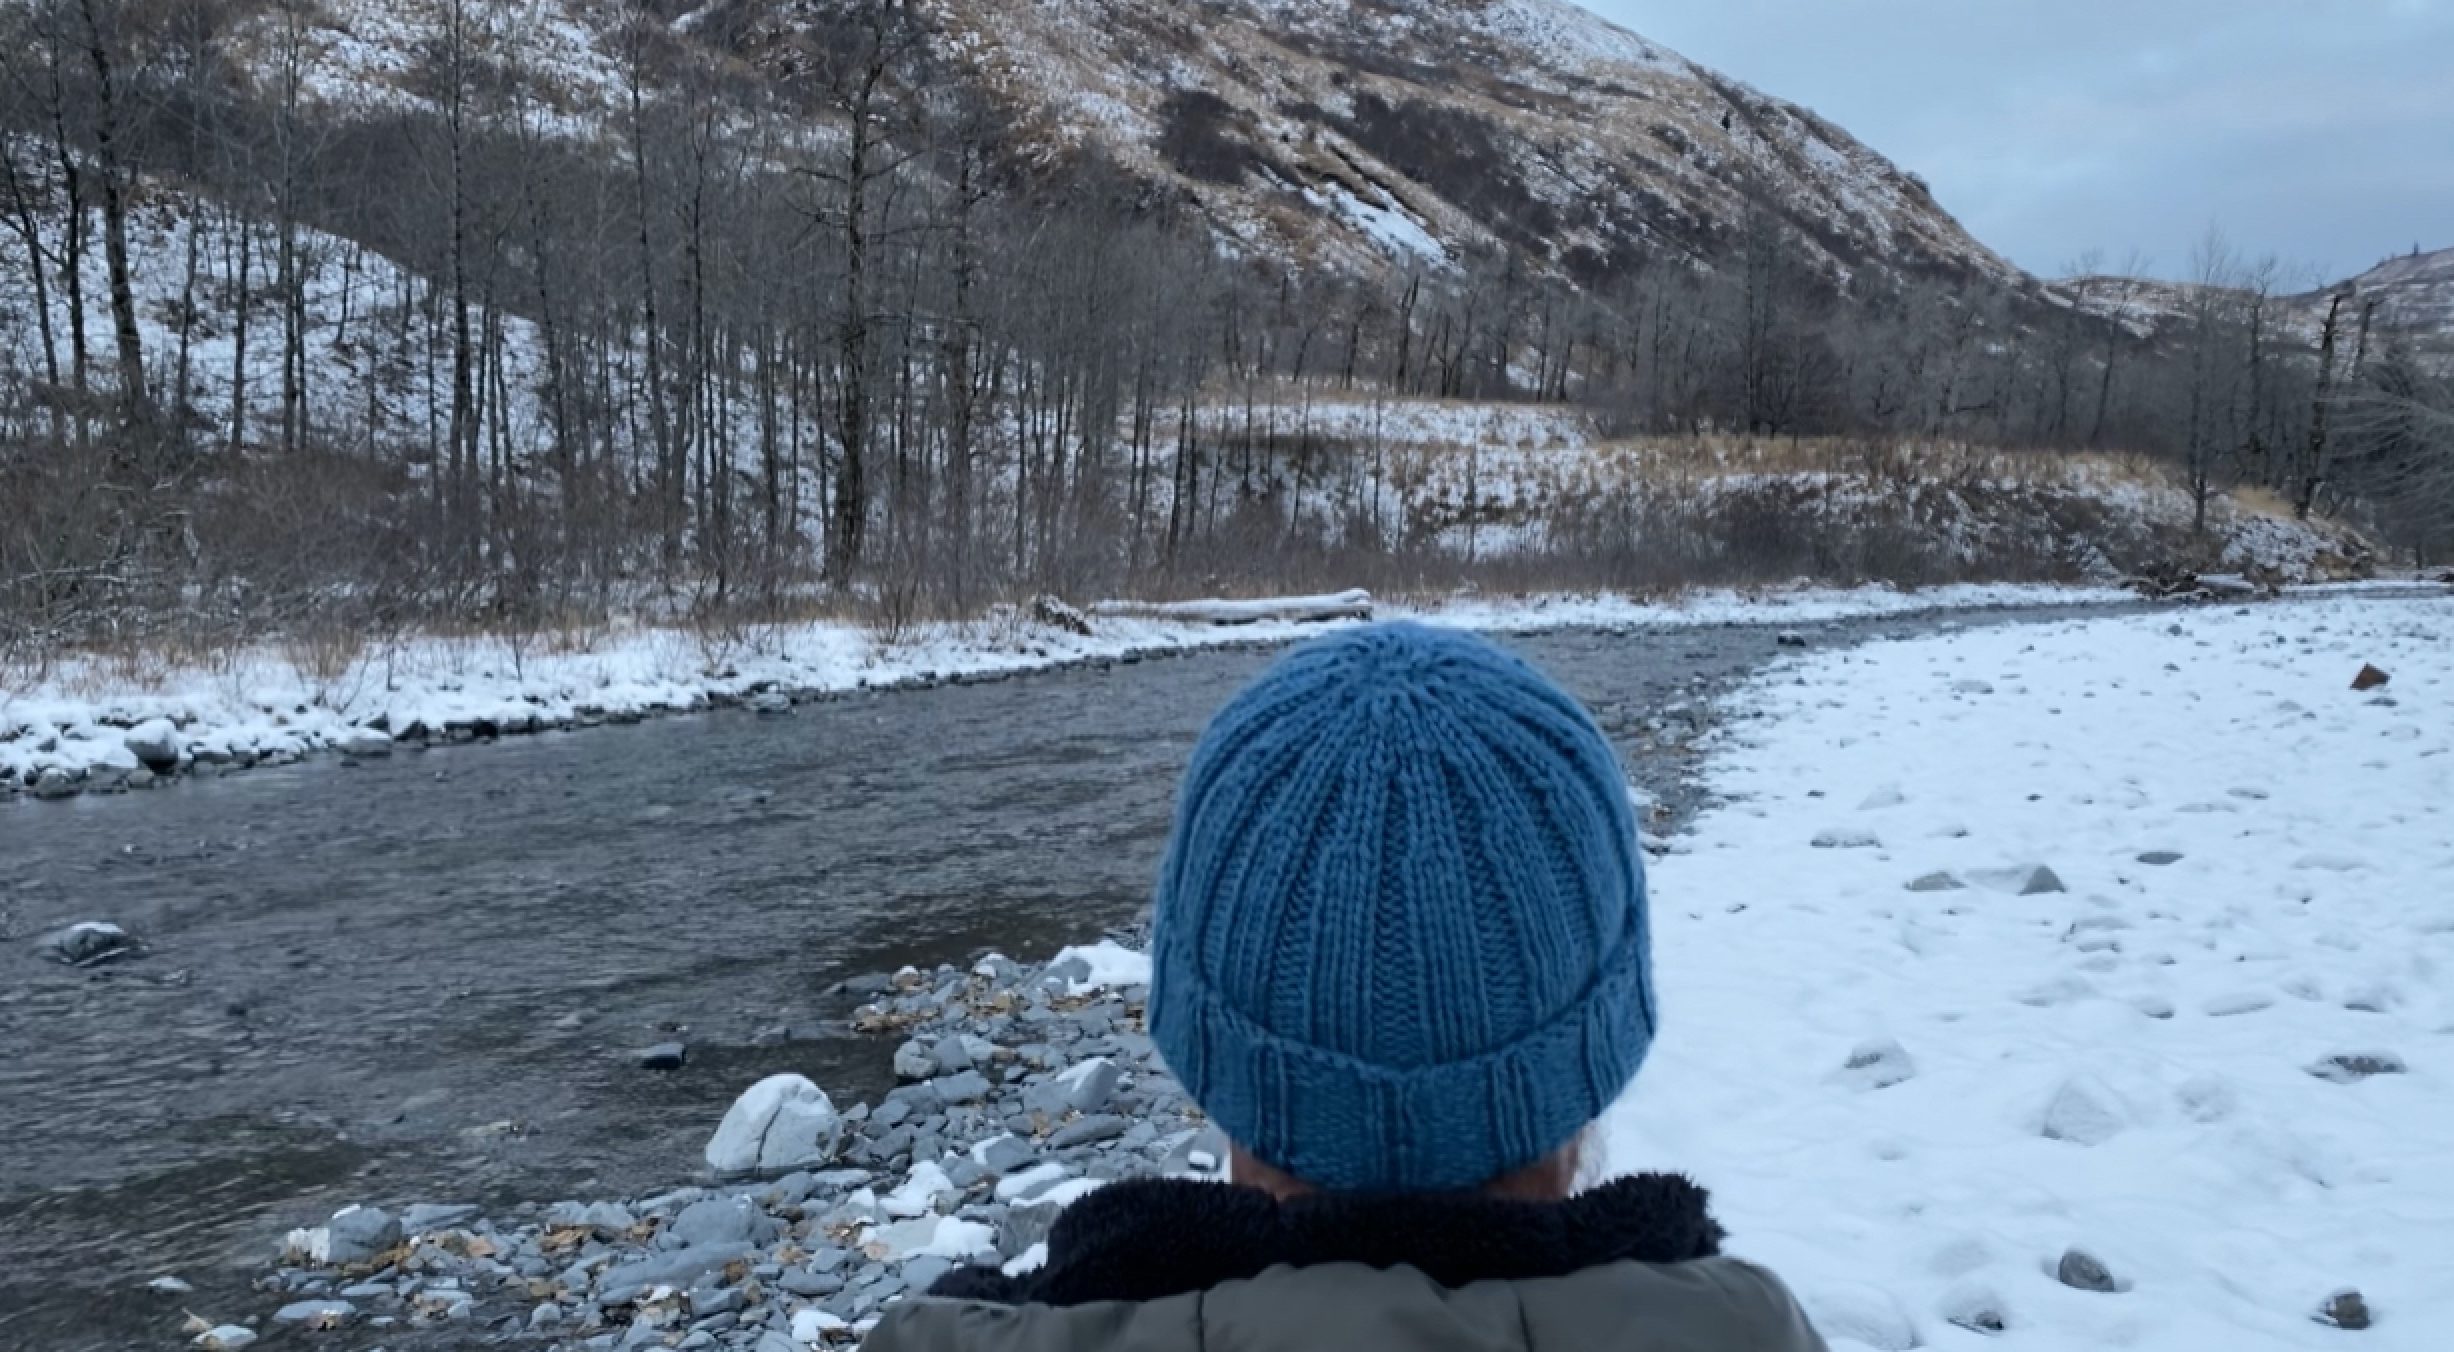


I bought this Ella Rae yarn from The Rookery, my local yarn shop. I am going to brag on Chris for a moment. She is doing her best to keep her yarn and fabric store accessible to the creative community. She is working hard to pivot in these times. So if you find it hard to connect with a Local Yarn Shop of your own, or you just want to support small, I want to share mine with you! I also encourage you to follow her on Instagram (Click here!) She carries this Ella Rae yarn in a bunch of colors, maybe all the colors. And a ball of it, which is all you need for this hat, is $7.95.
Let’s gather supplies:
Ella Rae Classic Wool 219yards/200 meters 100% wool (non-superwash) is what I chose in Color 341 and
Size US 8/5.0mm needles (circs or dpns your call!)
1 stitch marker is all that you need to get started. At the very end of things you will need a tapestry needle to bind it all up.
Notes: To knit the version shown which fits snugly on size range 21inch (my head size if you saw in the video) to a 23.5 inch (as shown on my husband) you will use the entire skein. If you plan to do the size larger, or make hat longer, or if you are not going to check gauge have an additional skein on hand otherwise you will not have enough yarn. You can reduce the length of the hat by 1.5 inches and safely fall into the safe area and avoid losing at the game of yarn chicken.
Gauge unblocked, laid naturally and not stretched: Over 2 inches you will have 13 stitches, 12 rounds.
To knit the hat: Using long tail method, loosely cast on 75 stitches holding 2 strands of yarn together. Do not join. Row 1 is the wrong side of the project.
Row 1 : [Purl 3, Knit 2] across all stitches
Row 2: [Knit 3, Purl 2] across all stitches
Row 3: Work as Row 1
Row 4: Work as Row 2 and at the end of row, place your stitch marker and join to work in the round. You will be able to see a bit more easily your established work and avoid having it twisted as you join.
Round 1: [Knit 3, Purl 2] across all stitches
Continue to work as round 1 until work measures 8 inches from cast on edge. (if you want a shorter brim as opposed to a 3.5 inch folded brim, knit less. If I were to knit this for myself I would work for 5.25 inches.)
It is important to note from the first decrease to the end of the hat, which is the top of crown, there is about 3 inches.
Decrease Round: [Knit 1, Slip 1, knit 1, pass slipped stitch over, Purl 2] repeat for round (15 stitches decreased, 60 stitches remain)
Next round: [Knit 2, purl 2] for round. Work 4 more rounds this way (a total of 5 rounds)
Decrease Round: [Knit 2, purl 2 together] repeat for round (15 stitches decreased, 45 stitches remain)
Next Round: [Knit 2, purl 1] repeat for round. Work 2 more times this way (a total of 3 rounds)
Decrease Round: [Slip 1, knit 1, pass slipped stitch over, Purl 1] repeat for round (15 stitches decreased, 30 stitches remain)
Next Round: [Knit 1, Purl 1] repeat for round
Decrease Round: Knit 2 together (15 stitches decreased, 15 stitches remain)
Leaving an 8 inch tail, break yarn and thread tapestry needle. Slip all stitches from knitting needle on to tapestry needle and pull tightly. Run the thread through the cinched top of hat once more and secure. Trim end.
With the cast on tail, stitch the start of the hat together.
I did not soak or block the hat. I simply presented it to him as I handed him his morning cup of coffee. It was a sweet and happy moment.
To make the hat smaller or larger add 5 stitches or subtract 5 stitches. You will adjust up or down the repeats as well as modify the decreases and numbers accordingly. Need help with those numbers? Ask in the comments.
Well my friend, I hope between this hat story & pattern and the podcast, you have found a little diversion today to bring a smile to your face!
Catch me up on you in the comments!

Knitting WIP Fun!
Today’s Knitting Podcast adventure is a time to relax and enjoy some beach knitting, as well as digging into our WIP* and UFO* situations to get them sorted!
During the video I share “My Current WIP and UFO Situation Bingo Board Scavenger Hunt” download. You can get it below with a click if you have not received it in your inbox already.
THIS IS A FUN GAME WITH A HIDDEN MESSAGE FOR YOU— AS WELL AS AN OPPORTUNITY TO JOIN ME LIVE IN A FREE MASTERCLASS!
Yup! It may look like a simple pdf but it is really SO MUCH MORE!
It is a game to brighten your day by reuniting you with some possibly overlooked knitting projects!
You can win a beautiful treat from me (as shown in the video podcast) simply by having a good time!
It is the opportunity to prepare you for a series of live free classes I am giving Nov. 24th through Dec. 4th. that are focused on YOU and moving you in easy, creative, satisfying steps of becoming your best knitting self and storyteller!
It is going to be great fun!
For the purposes of today’s video:
Watch and enjoy!
Want to play along? Simply download the Bingo Board-Scavenger Hunt and follow these guidelines:
Gather up your WIPs and UFOs…SO FUN!
See which squares on the board describe your reaction to each project…SO FUNNY!
Pick only 2 squares to describe each project! (even funnier for real!)
Once you fill in all the squares as best as you can—and you get a FREE square, your choice!— Share your board on Instagram and tag me so I see it @mskiknits.
Add the hashtag #knittersprojectbagcollective
I will choose 8 winners— which is 4 more than I said in the video! 4 will be via Instagram, 4 will be from comments below describing what you thought of playing along!
Winners will be announced on Monday November 23rd here on the blog and on Instagram.
And yes, you may enter both places!
And what about those LIVE classes we can have together?
Take a moment right now to get on the wait list BY CLICKING HERE. Those folks will hear from me Nov 19th and 20th about grabbing the limited seats first before I announce it to the general public. Getting your projects together will be such a treasure trove of inspiration for the free masterclass.
As always, I am glad you are here,
Mel
*(WIP=Work In Progress and UFO=UnFinished Object)

Camping in Kodiak, Alaska
I took you on a camping trip & shared it in this podcast episode HERE. It was the first time I have been camping since arriving here on Kodiak. It was the first day the mountain tops were cover in Termination Dust. (At the end of this post is a link to my photo journal of my time!)
As you listen I share about these mitts I am knitting, which are now done and gifted to my sweet friend Janelle, who I hope to have on as a guest in an episode in the very near future. She has so many interesting things to share on topics from grading to food scarcity, which is a consideration to keep top of mind as we live on a remote island that has so many things flown and barged in from sources not on our island. There is a lot to say on that to mull over, but I will wait and enjoy that as future conversation to have with her and share with you.

Today let me share with you about these mitts, which really are wrist warmers, or “tubes” was my friend Kate Selene calls them. Of note: I show these to you in the video podcast I have below. They have been a delightful project to kick start my no-pressure color exploration, an adventure I am determined to take! I never want my life to something routine, something I seek to fill only with the comfortable. Now I do enjoy being comfortable, but not at the expense of growth. Does that make sense?
You probably know this already, but I naturally gravitate to natural colors: browns, greens, greys especially. But I also like the natural color of golden sunsets, and the pink and purple sunrises. The ocean has a sparkling vibrant blue that calls to me as well. Orange pumpkin make me happy, white clouds give me many things to dream about…my perspective on “natural colors” needs to become more realistic and encompass a fuller range.
Do you, my friend, ever think of your color wheelhouse as a “safe space” or more of a “routine confine”? If you were to look over your WIPs and UFOs (works in progress/unfinished objects) do you see common themes? What are they? I am interested in hearing!
• And in case you are interested, you can subscribe to the podcast from a variety of platforms! The most popular is Apple Podcast here: https://podcasts.apple.com/us/podcast/encourage-better-knitting-adventures-in-alaska/id1534357882 (but you can go directly to this site if you don’t want to use Apple Podcast by clicking HERE! ) I would love it if you could give me a 5 star rating and leave a review AND IF I AM NOT hitting the 5 star mark, please email me your thoughts on what you would need to get to that point!
• My video podcast is available on YouTube HEAD HERE
• And if you want a completely different knitting podcast experience, A Knit With Me Story podcast is wrapping up Series 1 this weekend! Series 2 starts recording soon and will launch in the new year! (Looking forward to 2021! Anyone else?)
Thanks for spending time with me today. Let me know in the comments below your thoughts on where you prefer to visit!

Sock Knitting and Seagulls

It isn’t lost on me that most places I wander are quiet enough I hear the beautiful sounds of eagles chirruping, and also the sound of their wings pressing down the air with each strong flap. It is an incredible thing.
This time of year though, the eagles aren’t what I hear and see everywhere. The seagulls are constant companions by the water, almost as numerous as the salmon!
And so today we sit together with seagulls in the water behind me, knitting needles at the ready, clicking away as I chat. I hope you have time for a little get together out in Pasagshak.
Before you go, be sure to grab your new free knitting pattern!
If you do get a moment to watch the video, consider subscribing to my YouTube channel! I have a lofty goal of hitting 1k subscribers by the end of October. Enjoy my podcasts? Use the like and share buttons to tell friends! It would mean so much to me!
If I make my goal I have an exclusive pattern to share with subscribers!
I hope you have the most wonderful day. Please drop by the comments below and let me know how you are!
