Seaming Ebbie’s Shoulders
In comments from a previous post, I have been sharing with individuals tips and methods to seam the upper shoulders toward the neck of the sweater we are creating. I thought capturing those suggestions here might be helpful for you. I ordinarily have lots of time to devote to taking lovely pictures as well as free time to knit small scale versions, but life has changed for my household as it has for so many of you I am sure. These photos are the best I can offer at present, but I am happy to answer further questions in the comments once you have read and tried these ideas.

You can see here the result we will get once the sweater is completed. The shaping we did becomes an upper arm and shoulder section that really helps shape this sweater’s unique fit.
First I would like to share:
The front and back are not identical in length. This differentiation is slight but allows for our seam to sit behind our shoulders a bit as you will see in the following images.


When I seam pieces I use the mattress stitch and secure key points along the two pieces. Generally, I use waste yarn in a contrasting color and loosely tie it in places, but below I’m showing you the extra fancy knitting clips that I use every so often (when I remember that I have them and can remember where I put them!)

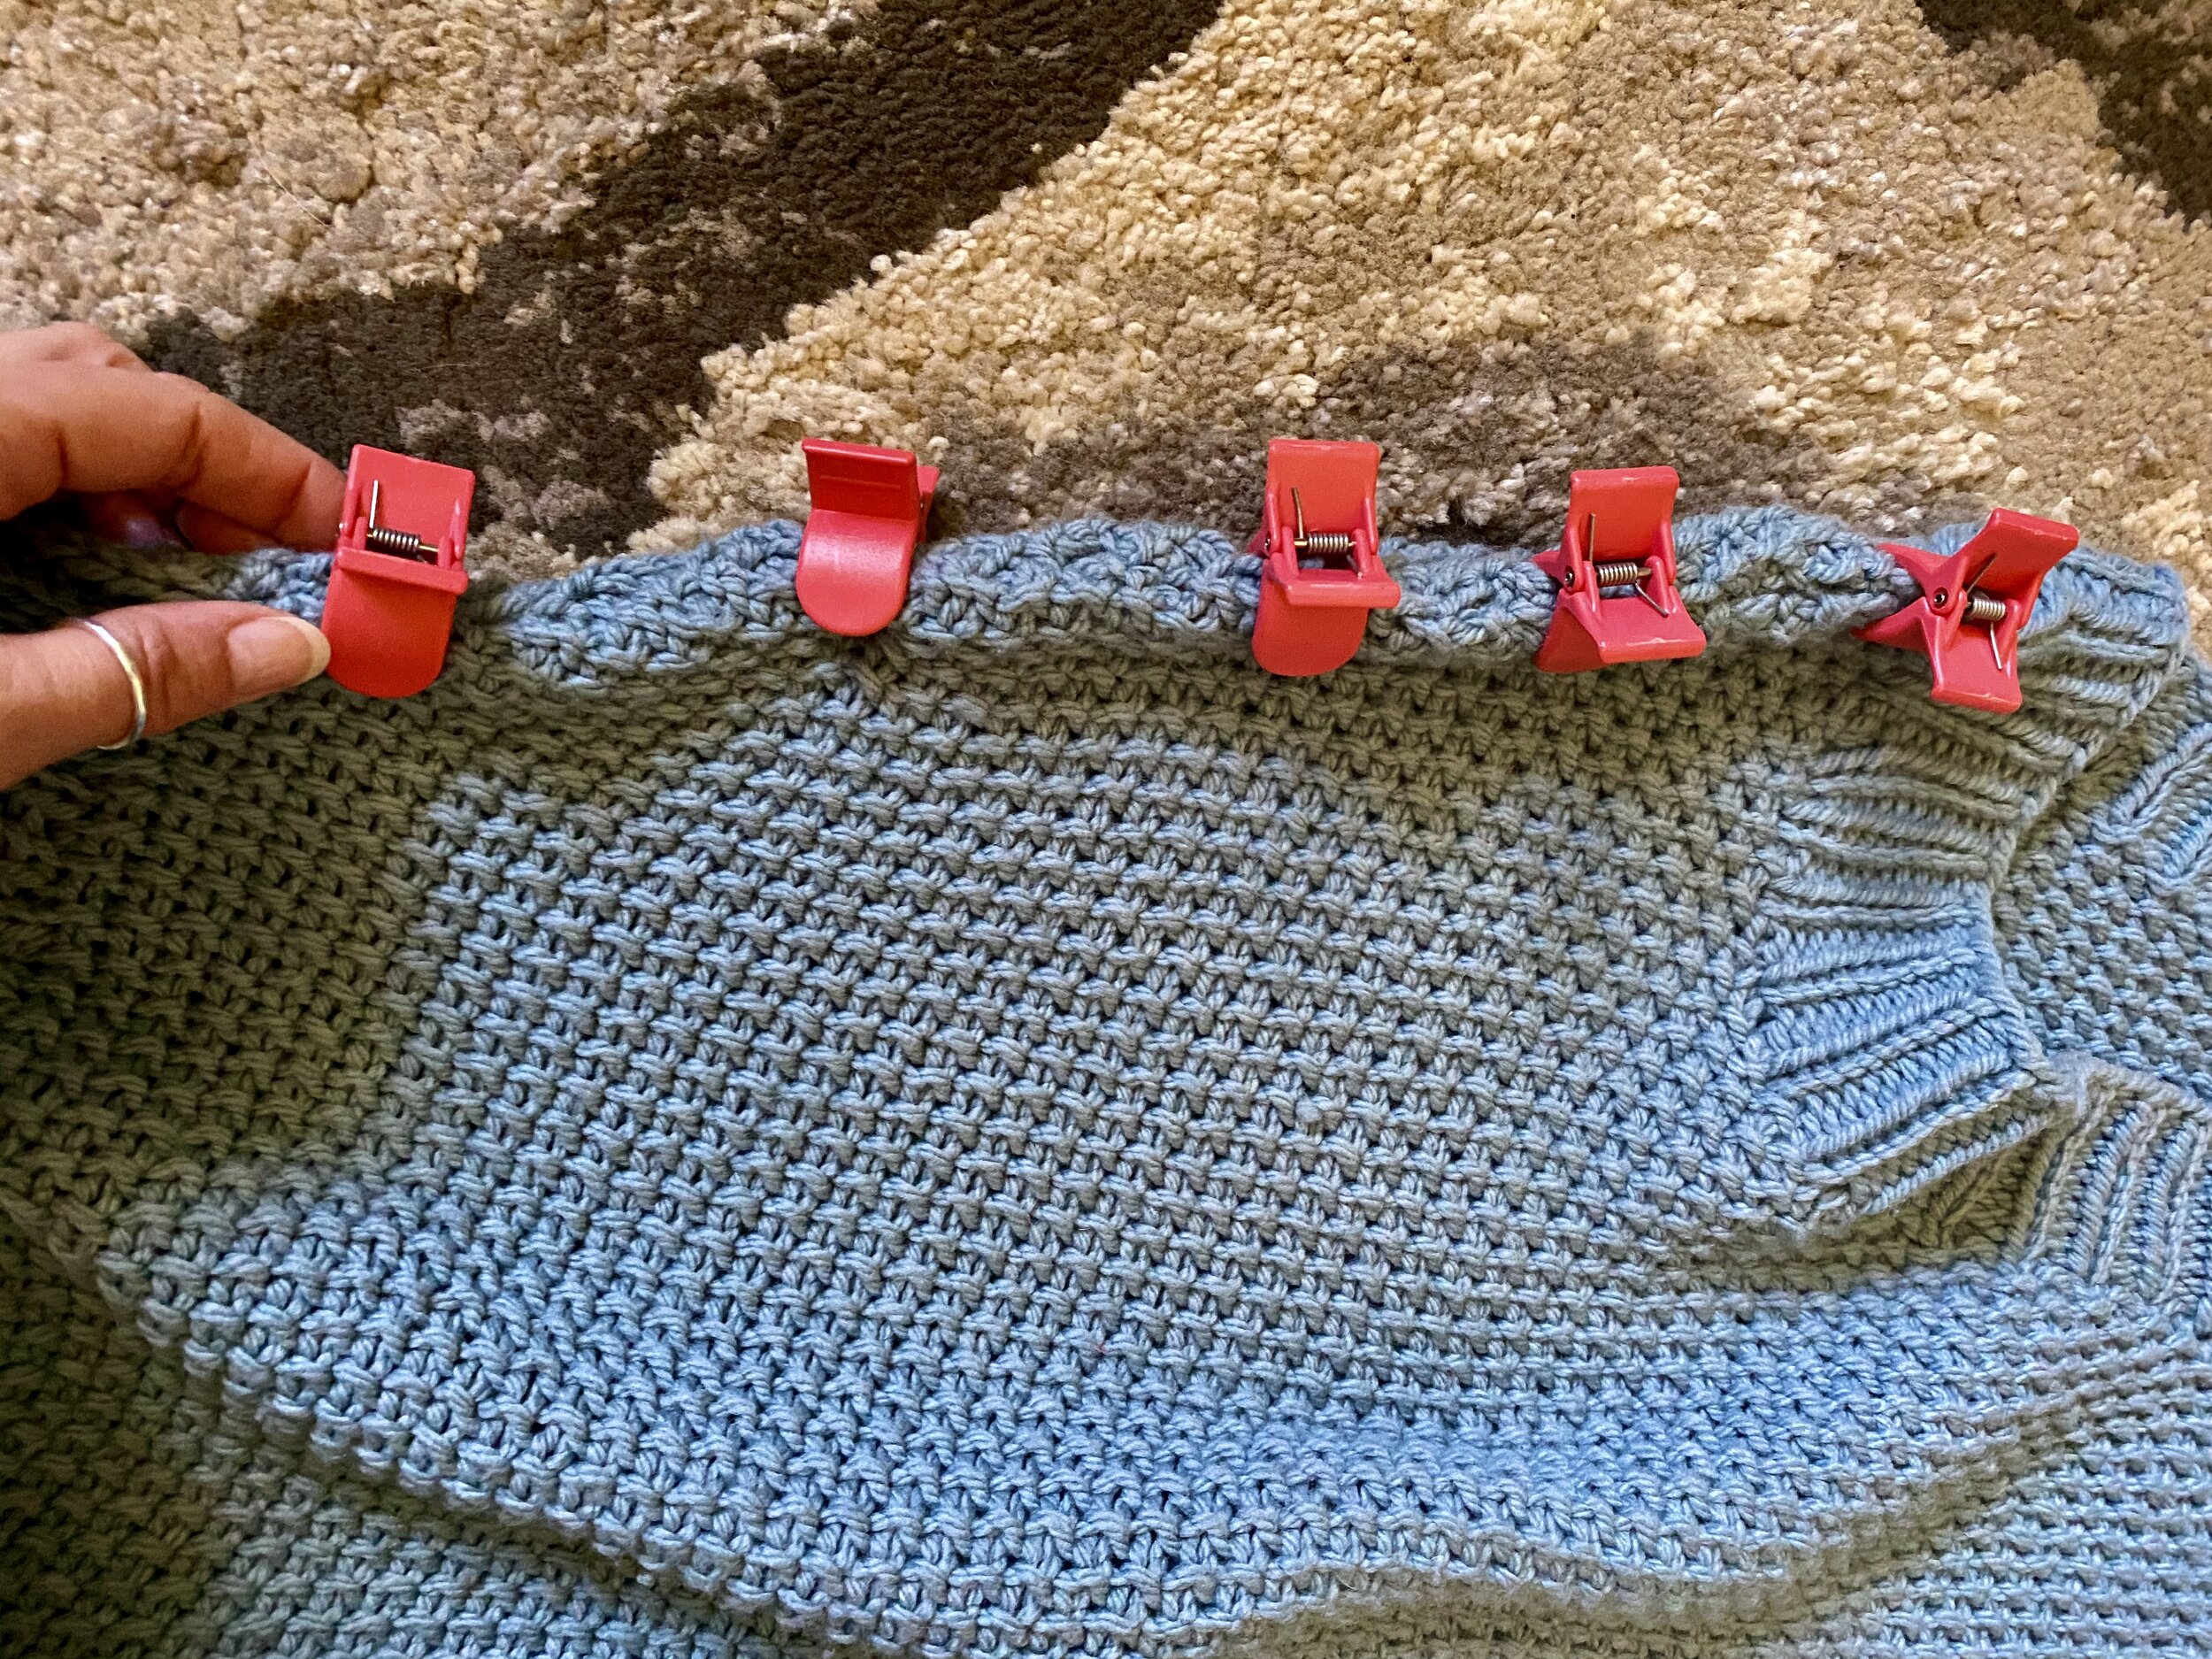
You would place yarn ties in much the same way as these clips are positioned. For new to seaming friends, spacing them out every 1.5 to 2 inches may be helpful to you. When I seam I generally make a tie at each end, one in the center and one halfway on either side of the center to the end. This helps hold the fabric as you work the mattress stitch and ease the two sides into one another evenly.

I mention “easing” the stitches in to one another as you seam. That will look like stitching at an angle in some cases, where material will not align stitch for stitch. (If you have ever picked up along a neckline or for a button band, it is akin to this. If you have not worked anything like that before it will mean gently working your seaming to allow the area between each red clip in the photo being matched up.
It is important to work your stitches firmly but not to pull them too tightly. This is something that will get easier in time.
Something I suggest if you are willing
If you have your swatch, practice on it. Take the 2 sides and old them in toward the center to meet. You can practice here.
If you are a knitter who regularly swatches, you can practice on 2 different swatches as well. You can practice easing stitches into one another by working a corner. Begin about 2 inches (or more) before the corner, ease gently around the corner, and continue past it. This becomes a great way to build confidence as well as increase your skill!
Please share any further questions below and I will help you along.